
A client once handed me a mop bucket full of vinegar water and asked why her gorgeous terracotta floor had turned chalky and pale after just one season. She’d been mopping weekly with a splash of vinegar because a video told her it was “natural” — and the acid had eaten straight through the sealer and into the soft clay underneath. By the time I saw it, the damage was done, and half the floor needed stripping and resealing.
Saltillo is unfired-feeling, low-fired terracotta from Mexico, and it drinks up everything you put on it. Learning how to clean Mexican Saltillo tile is really about respecting how soft and porous the clay is and never reaching for anything acidic. Get the routine right and these floors glow warm for decades.
What You’ll Need
Most of this is stuff you already own. The item people skip — every single time — is a pH-neutral cleaner, and that skip is exactly what turns routine mopping into stripped, dull tile.
- A pH-neutral tile or stone cleaner (label should say “safe for sealed stone/terracotta”)
- A dust mop or soft broom
- A microfiber flat mop or soft string mop
- Two buckets — one for cleaning solution, one for rinse water
- Warm water
- A soft nylon scrub brush or non-scratch pad for grout lines
- Baking soda for spot stains
- A vacuum with a hard-floor setting (no beater bar)
- Clean, dry towels or a second microfiber for drying
- Terracotta or stone sealer for periodic resealing
- Rubber gloves
Skip the vinegar, lemon, ammonia, bleach, and any generic “all-purpose” or bathroom cleaner. Those either etch the clay or strip the sealer, and often both.
Test the Sealer Before You Touch It
Before any deep clean, find out what you’re working with. Drip a little water in a low-traffic corner and watch. If it beads on top, your sealer is intact and dirt is sitting on the surface where it’ll lift easily. If the water soaks in and darkens the tile within a minute, the sealer is worn thin and the clay will absorb whatever you spill — including cleaner.
Here’s something I told every client with Saltillo: this tile behaves completely differently by climate. In dry desert homes it stays stable and just needs dusting and light mopping. In humid coastal houses, the same floor pulls moisture, and worn sealer lets efflorescence — that white powdery bloom — push up through the pores. If you’re seeing white haze, that’s usually humidity and worn sealer talking, not dirt.
The Step-by-Step Cleaning Process
Saltillo isn’t a floor you attack with a wet mop and heavy cleaner. Too much water sits in the porous clay and grout, and strong products chew through the finish. Work in stages and keep water to a minimum.
Dry Sweep or Vacuum First
Pull up all the loose grit before any water touches the floor. Sweep with a soft broom or run a vacuum on the hard-floor setting — no rotating beater bar, which can chip the softer edges of hand-made tiles. Grit left on the surface acts like sandpaper underfoot and grinds fine scratches into the sealer, so this step matters more than it looks.
Mix a pH-Neutral Solution
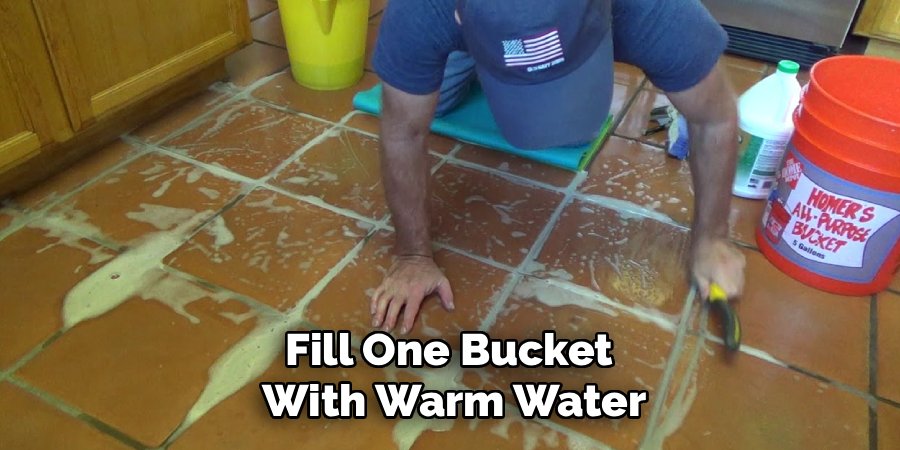
Fill one bucket with warm water and add pH-neutral cleaner at the label’s dilution. Fill the second bucket with plain warm water for rinsing your mop. Resist the urge to make it stronger — extra cleaner doesn’t lift more dirt, it leaves a film that dulls the tile and grabs dust faster.
Damp-Mop, Never Soak
Wring your mop until it’s damp, not dripping. Work in sections, mopping with the grain of any tile pattern, and rinse the mop often in the plain-water bucket so you’re not pushing dirty water around. The goal is a barely-there film of moisture that evaporates fast. Standing water is the enemy here — it seeps into unsealed spots and into grout, where it lingers and grows mildew.
Work the Grout Lines by Hand
Grout between Saltillo tiles collects grime and darkens over time. For dingy lines, make a paste of baking soda and a little water, work it in with a soft nylon brush, and rinse with a damp cloth. Skip wire brushes and harsh scouring — they scratch both the grout and the tile edges.
Lift Spot Stains Gently
For a set-in mark — grease, a dropped drink, a scuff — dab baking soda paste over it, let it sit 10 to 15 minutes, then lift with a damp microfiber. Repeat rather than scrubbing hard. On soft terracotta, patience beats pressure every time.
Rinse and Dry Fully
Go over the floor once more with a clean, damp mop and the plain rinse water to pull up any cleaner residue. Then dry it — towel it off or let air move through the room until it’s completely dry. Leaving Saltillo to sit wet is how you get water spots, haze, and slow sealer breakdown.
Safe vs. Damaging: What to Use and What to Avoid
| Safe to Use | Avoid |
| pH-neutral tile or stone cleaner | Vinegar, lemon, or any acidic cleaner |
| Warm water, damp mop | Soaking the floor or standing water |
| Baking soda paste for spots | Bleach and ammonia products |
| Soft nylon brush or non-scratch pad | Wire brushes and abrasive scouring pads |
| Microfiber or soft string mop | Steam mops (heat and moisture damage) |
| Terracotta/stone sealer to protect | Generic “all-purpose” floor cleaners |
That vinegar row is the one that gets everybody. It feels safe and natural, but Saltillo is calcium-rich clay and acid dissolves it — dulling the surface and stripping the sealer in one pass.
Common Mistakes to Avoid
Mopping with vinegar or lemon. Acid etches the clay and eats the sealer. This is the number-one killer of Saltillo floors, and the damage doesn’t undo — it needs stripping and resealing.
Using too much water. A soaking mop drives moisture into the porous tile and grout, feeding efflorescence and mildew. Keep the mop damp, not wet.
Running a steam mop. The combination of heat and forced moisture is rough on sealer and soft terracotta. Skip it entirely.
Reaching for bleach or all-purpose cleaner. These strip the finish and can discolor the clay. Stick to pH-neutral products.
Letting the floor air-dry with puddles. Standing water leaves haze and spots and slowly wears the sealer thin. Dry it off.
Ignoring the sealer. An unsealed or under-sealed Saltillo floor stains from almost anything and shows every spill. Resealing is the maintenance step people skip until it’s too late.
Safety and Warnings
This is a low-hazard job overall, but a few points keep you and the floor out of trouble — especially when sealing.
- Never mix cleaning products. Don’t combine bleach with ammonia or any acid — the fumes are toxic. Since you’re sticking to pH-neutral cleaner and baking soda here anyway, keep it that simple and rinse between any different products.
- Test any new product in a hidden spot. Try it in a closet corner or under furniture, wait a few minutes, and check for dulling or color change before doing the whole floor.
- Ventilate well when sealing. Terracotta sealers give off strong fumes as they cure. Open windows, run fans, and keep people and pets out of the room until it’s fully dry.
- Wear gloves. Repeated wetting and sealer contact dry out and irritate skin over a long session.
- Mind your footing. Freshly mopped or sealed Saltillo is slick. Work backward toward a doorway so you’re not stepping across wet tile.
- Read the sealer label. Solvent-based sealers especially need good airflow and proper drying time — rushing it leaves a tacky, blotchy finish.
Maintenance and Prevention Tips
The Saltillo floors that still looked warm and rich years after I first sealed them all belonged to people who did small things often. A little upkeep saves the big rescue job.
- Reseal every one to two years. A good terracotta sealer keeps spills, water, and dirt sitting on top instead of soaking in. Use the water-bead test to know when it’s due — high-traffic paths and humid rooms wear through sooner.
- Dust or sweep every few days. Keeping grit off the surface stops it grinding scratches into the sealer underfoot.
- Use mats at entryways. Most of the dirt that lands on your floor walks in on shoes. A good doormat cuts your cleaning in half.
- Wipe spills right away. Wine, grease, and acidic drinks stain fast on terracotta. Blot them the moment they land.
- Put felt pads under furniture. They stop legs from scratching and chipping the softer tile edges.
- Watch humidity indoors. If you’re in a damp climate and seeing white bloom, a dehumidifier and prompt resealing keep efflorescence from coming back.
- Damp-mop weekly, not daily. These floors don’t need constant washing. Over-mopping just wears the sealer faster.
FAQ
What is the best cleaner for Saltillo tile?
A pH-neutral tile or stone cleaner is your safest, most effective choice. It lifts dirt without touching the sealer or the soft clay underneath. For occasional spot stains, a baking soda paste works well. Steer clear of anything acidic, bleach-based, or labeled “all-purpose,” since those strip the finish and can etch the tile.
Can you use vinegar on Saltillo tile?
No. Saltillo is calcium-rich terracotta, and vinegar’s acid dissolves the surface and strips the sealer, leaving the tile dull and chalky. The same goes for lemon juice and any acidic cleaner. Stick to pH-neutral products and warm water only.
Why is my Saltillo tile turning white or hazy?
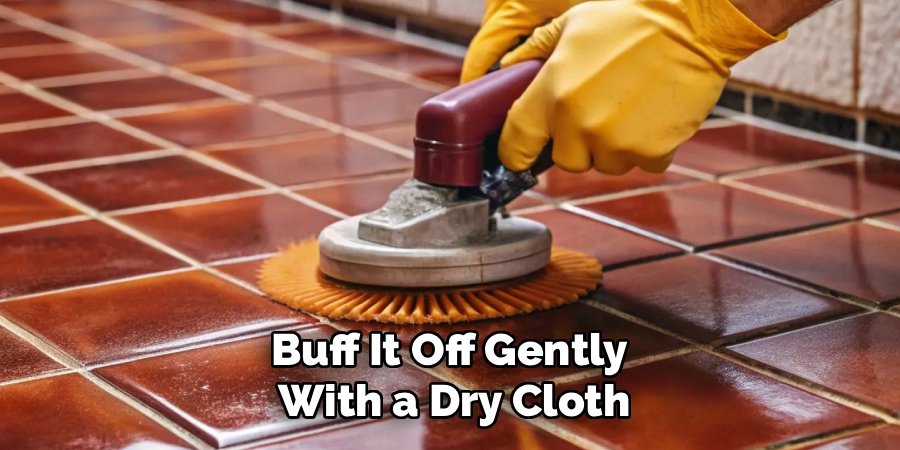
That white powdery bloom is usually efflorescence — mineral salts pushed up through the porous clay by moisture, common in humid climates or when the sealer has worn thin. Buff it off gently with a dry cloth, address the moisture source, and reseal once the floor is fully dry. A cloudy haze right after mopping, though, is often just cleaner residue or trapped water, so rinse and dry more thoroughly.
How often should you seal Saltillo tile?
Most Saltillo floors need resealing every one to two years, though high-traffic areas and humid rooms wear through sooner. Test with a few drops of water — if it soaks in and darkens the tile within a minute, it’s time to reseal. If it beads on the surface, the sealer is still doing its job.
Can I use a steam mop on Saltillo tile?
Skip it. The heat and forced moisture together are hard on the sealer and can drive water into the porous clay, leading to haze and faster wear. A damp microfiber mop with pH-neutral cleaner is gentler and does the job just as well.
How do you clean grout between Saltillo tiles?
Make a paste of baking soda and a little water, work it into the grout with a soft nylon brush, then wipe clean with a damp cloth. Avoid wire brushes and harsh scouring pads, which scratch the tile edges. For ongoing brightness, keep the floor sealed so grime can’t settle deep into the lines.
Go gentle on the water, keep anything acidic far away, and let the floor dry fully before it sees foot traffic. Stay on top of resealing, and your Saltillo keeps that warm terracotta glow for years.
