
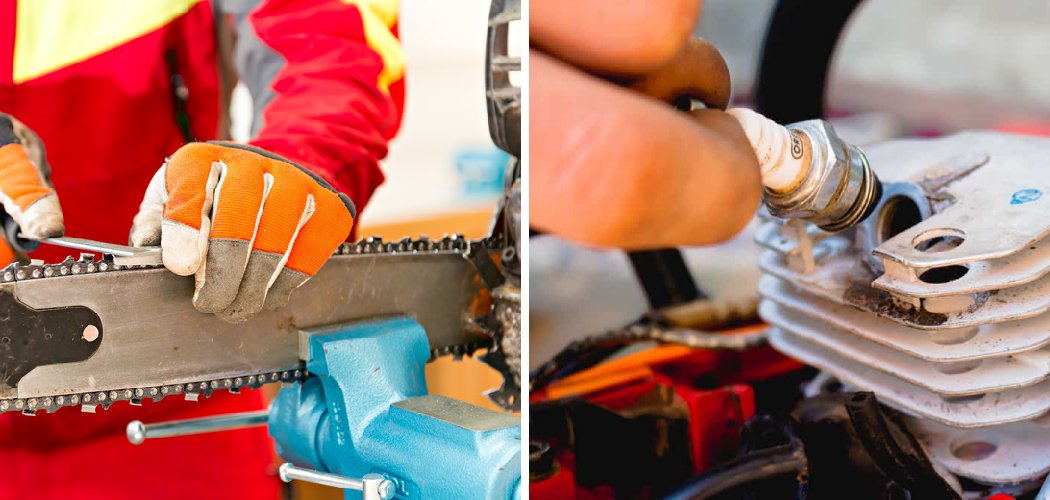
The saw that starts on the third pull in October and won’t fire at all in April tells you exactly what happened: the fuel sat all winter, the light stuff evaporated, and what’s left turned to varnish inside the carburetor. Most people respond by spraying a can of carb cleaner straight into the intake while the tank is still full of that same stale gas. That’s the fastest way to wash gunk deeper into the passages and end up worse off than when you started.
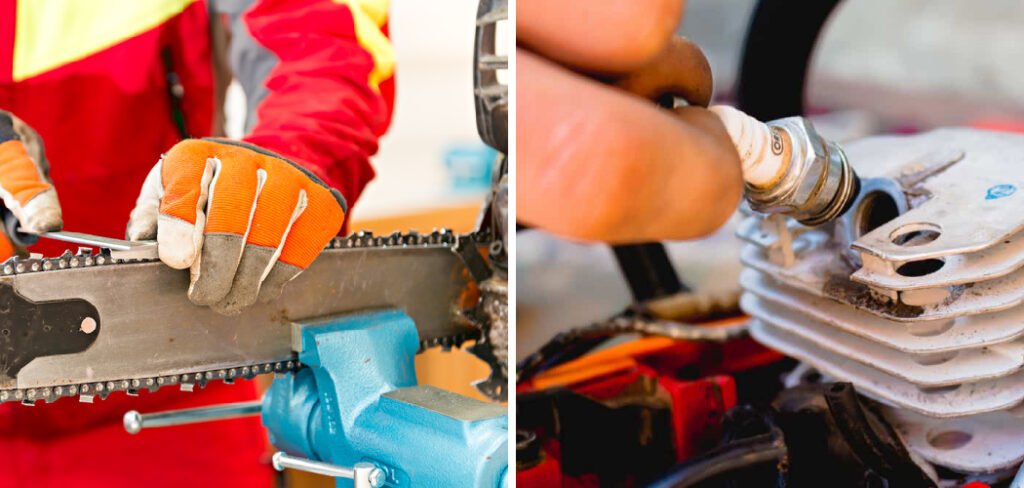
A gummed-up carb is the number one reason a chainsaw idles rough, dies under load, or refuses to start after storage. Knowing how to clean a chainsaw carb the right way saves you a shop bill and a week without your saw. The job takes patience and a steady hand more than it takes muscle.
What You’ll Need
- Carburetor cleaner (aerosol, with the thin red straw)
- Compressed air (a can or a compressor set to low pressure)
- A small Phillips and flathead screwdriver
- A carburetor adjustment tool (or the right screwdriver for your model)
- A clean, lint-free rag
- A small parts tray or magnetic dish
- A carb rebuild kit or gasket/diaphragm set for your exact model
- Fine wire or a single bristle from a brass brush (for clogged jets)
- Nitrile gloves and safety glasses
- A fuel-safe container to drain old gas into
- Your saw’s manual or a photo of the carb before you start
Grab the rebuild kit before you tear anything apart. The tiny diaphragms and gaskets inside dry out and warp with age, and nine times out of ten they’re part of the problem.
Drain the Old Fuel First
Before a single spray, empty the tank into your fuel-safe container. Cleaning around fresh varnish while the system is soaked in stale ethanol-blended gas just recirculates the mess. Old fuel is also flammable and slippery, and you don’t want it dripping while you work with cleaner nearby.
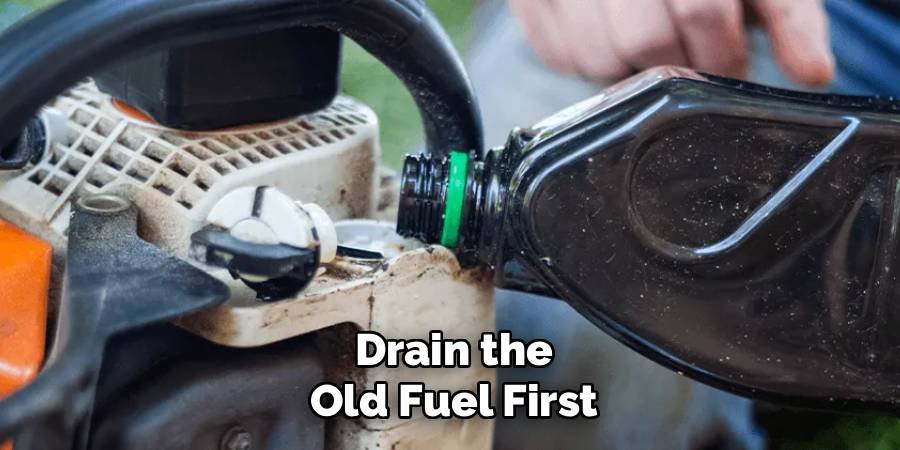
Pump the primer bulb a few times to pull the last of the gas from the lines into the tank, then drain again. Wipe down any spills before moving on.
Remove the Air Filter and Cover
Take off the top cover and the air filter housing to expose the carburetor. Snap a quick photo first, or better yet, photograph each stage as you go. I’ve watched plenty of confident people pull a carb apart, get called away for ten minutes, and come back with no memory of which spring hooked where.
Set every screw in your parts tray as you remove it. These fasteners are small and love to vanish into the grass or a shop floor crack.
Detach the Carburetor
Disconnect the throttle linkage and the fuel line, noting exactly where each connects. The choke rod and throttle wire often look interchangeable but aren’t. Pull the carb free from its mounting studs and set it on your clean rag.
Check the gasket and the plastic manifold boot behind the carb while it’s off. A cracked boot lets in extra air and mimics carb problems, so you don’t want to clean everything and still have a rough idle from a leak you missed.
Open the Carb Body and Clean the Passages
Split the carburetor into its main sections by removing the metering cover and the pump cover. Lay the diaphragms and gaskets out in order on your rag.
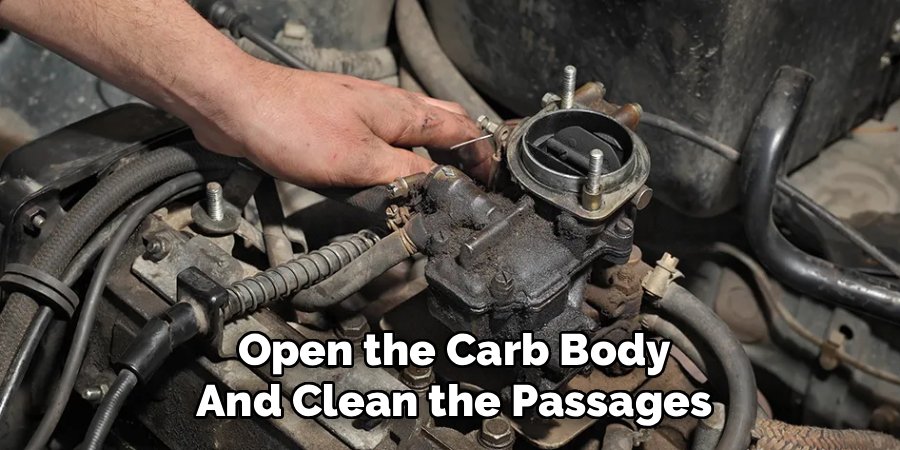
Look at the diaphragms closely: if they’ve gone stiff, curled, or shiny, replace them from your kit.
Flush the Jets and Channels
Fit the red straw onto your carb cleaner and shoot short bursts through every passage and jet you can see. You want to see cleaner spray out the other side, which tells you the channel is clear.
For a fully blocked jet, run a single fine wire or brass bristle gently through it, then flush again. Never use a steel needle or drill bit. The jet openings are precisely sized, and scratching them out changes how the saw runs for good.
Blow It Dry
Follow every flush with compressed air through the same passages to push out loosened varnish and leftover cleaner. Keep the pressure low. Blast the metering chamber and the tiny screen filter until they’re dry and clear.
Reassemble With Fresh Gaskets
Rebuild the carb in reverse, dropping in the new diaphragms and gaskets from your kit. Orientation matters here more than anywhere else. The metering diaphragm has a lever it must sit against, and getting it backward means the saw won’t draw fuel.
Reattach the fuel line, throttle linkage, and choke rod using your photos. Mount the carb back on its studs, torque the screws snug but not cranked, and reinstall the filter and cover.
Safe Products vs. What to Avoid
| Safe to Use | Avoid |
| Aerosol carburetor cleaner | Brake cleaner on rubber/plastic parts |
| Compressed air (low pressure) | High-pressure air on delicate diaphragms |
| Brass bristle or fine wire | Steel needles or drill bits in jets |
| Fresh gaskets and diaphragms | Reusing hardened old diaphragms |
| Lint-free rag | Paper towels that shed fibers |
| Fuel stabilizer for storage | Leaving ethanol gas in over winter |
| Model-specific rebuild kit | Generic parts that don’t seal right |
Common Mistakes to Avoid
Spraying cleaner with the tank full. You just push dissolved varnish deeper into the passages. Drain first, every time.
Losing track of parts. Springs, the throttle plate, and the metering lever all go back one specific way. Photos and an ordered parts tray save you from a puzzle you can’t solve.
Poking jets with metal. A steel pin scratches the calibrated opening and changes your fuel flow permanently. Brass or a soft wire only, and light pressure.
Skipping the rebuild kit. Cleaning a carb but reusing a stiff, warped diaphragm is the most common reason a saw still runs badly after all that effort. The rubber parts age even when the saw sits unused.
Blasting high-pressure air at the diaphragms. Too much force tears or stretches them. Keep compressed air aimed at the metal passages, not the soft parts.
Ignoring the intake boot. A cracked manifold boot leaks air and copies every symptom of a dirty carb. Check it while the carb is off.
Safety and Warnings
Carb cleaner and old fuel are both serious hazards, so treat this job with respect.
- Work in a ventilated space. Carburetor cleaner fumes are strong and harmful to breathe. An open garage, a carport, or outdoors is ideal. Never do this in a closed room.
- Kill all ignition sources. No smoking, no pilot lights, no space heaters, no sparks. Fuel vapor ignites easily, and you’ll have both gas and flammable aerosol around.
- Wear PPE. Nitrile gloves keep the solvents off your skin, and safety glasses protect your eyes from spray blowback, which shoots straight out of jets under pressure.
- Handle fuel properly. Drain stale gas into an approved fuel container, not a random bottle. Old gas still burns, and it needs correct disposal at a hazardous waste site, not down a drain.
- Let the cleaner flash off. Give the carb a few minutes to dry before you reattach fuel lines. Assembling while it’s still wet with solvent invites trouble when you go to start the saw.
- Read the can. Carb cleaner eats certain plastics and rubber. Check that yours is safe for the diaphragms, or keep it off the soft parts entirely.
Keep Your Carb Clean Longer
Most carb problems start in the tank, not the carb. A little fuel discipline means you may never have to tear one apart again.
- Use fuel stabilizer. If your saw sits more than a few weeks, treat the gas. Stabilizer keeps ethanol fuel from breaking down and forming the varnish that clogs jets.
- Run the tank dry before storage. Start the saw and let it burn off the fuel in the lines before you put it away for the season. An empty carb can’t gum up.
- Buy fuel fresh and in small amounts. Gas starts degrading within a month. A smaller can you cycle through beats a big jug that sits half-used all summer.
- Consider ethanol-free fuel. It costs more, but it stores far better and is gentler on small engine carbs. Many pros use it for exactly this reason.
- Clean or replace the air filter often. A clogged filter throws off the fuel-air mix and makes the carb work harder. It’s a two-minute check.
Clients used to bring me saws every spring like clockwork, all with the same complaint: ran fine in fall, dead now. It was almost always ethanol-blended gas left in the tank over winter, drawing moisture and turning to gum. Draining the tank before the cold months is the single habit that would have saved most of them a repair.
Frequently Asked Questions
How do you know if your chainsaw carburetor needs cleaning?
Watch for hard starting, rough idling, stalling under load, or a saw that only runs with the choke half on. Those all point to restricted fuel flow, usually from varnish in the jets. If the saw sat with old gas in it, a dirty carb is the likely culprit.
Can you clean a chainsaw carb without removing it?
You can do a light cleaning by spraying carb cleaner through the intake with the air filter off, but it’s a surface fix at best. Real varnish buildup lives inside the passages and metering chamber, and you can’t reach that without pulling the carb apart. For a saw that’s been sitting, plan on a full teardown.
What’s the best cleaner for a chainsaw carburetor?
An aerosol carburetor cleaner with a spray straw is the standard choice, since it cuts varnish and evaporates clean. Avoid brake cleaner on the rubber and plastic parts, because it can damage them. Always check that your cleaner is labeled safe for the diaphragms.
Why does my chainsaw carb keep gumming up?
Ethanol-blended fuel is usually the reason. It absorbs moisture and breaks down within weeks, leaving behind a sticky varnish that coats the jets. Leaving fuel in the tank between uses, especially over winter, makes it far worse.
Do I need to rebuild the carb or just clean it?
If the diaphragms and gaskets are stiff, warped, or shiny, cleaning alone won’t fix it, so plan to replace them with a rebuild kit. Since those parts are cheap and age even when the saw sits, most people clean and rebuild in the same job. It saves a second teardown later.
How often should you clean a chainsaw carburetor?
With good fuel habits, you may only need a full cleaning every couple of years. If you run the saw hard, use ethanol gas, or store it with fuel in the tank, expect to clean it more often. A quick air filter check between uses keeps the carb happier for longer.
Closing
A clean carb comes down to draining the old fuel, flushing the passages gently, and swapping in fresh diaphragms rather than fighting old ones. Treat your fuel right and run the tank dry before storage, and you’ll spend far more seasons cutting than wrenching.
