
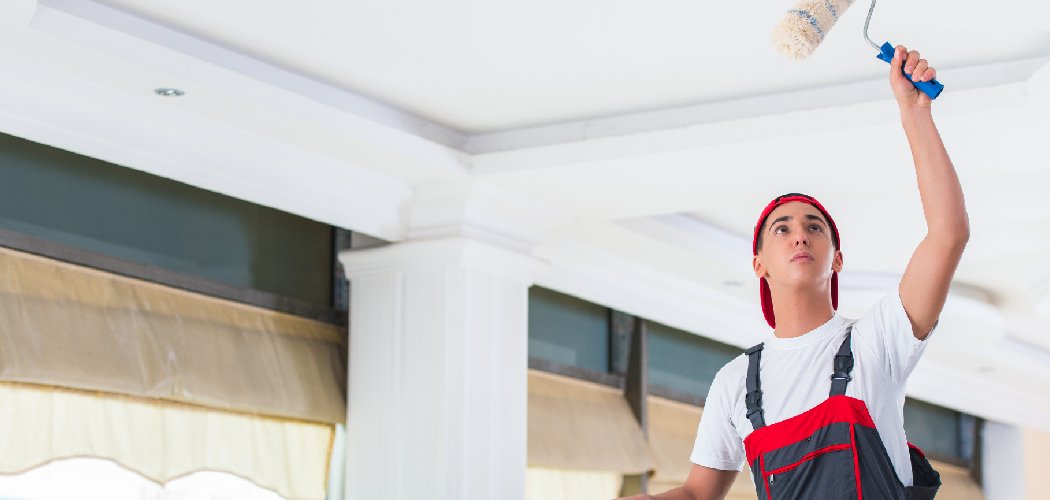
A guy on a repaint job I consulted on sanded his freshly primed walls, then went straight to painting without wiping a thing down. Two weeks later the topcoat was flaking off in sheets, and he blamed the paint. The real culprit was the fine white dust sitting on every square foot of that primer, acting like a powdery barrier between his primer and his color coat.
That single skipped step trips up more people than any bad brush ever will. Learning how to clean primer before paint takes about fifteen minutes and saves you from a peeling, blotchy finish you’ll have to redo. The good news is you probably already have everything you need under the sink.
What You’ll Need
Gather these before you start so you’re not hunting for a rag with dusty hands.
- Microfiber cloths (a few of them)
- A tack cloth
- A soft-bristle brush or vacuum with a brush attachment
- A bucket of clean, lukewarm water
- Mild dish soap or a bit of TSP substitute (for greasy or heavily soiled primer)
- Fine-grit sanding sponge (220-grit)
- A second bucket for rinse water
- Clean sponge or lint-free rags
- Painter’s tape (to check for dust transfer)
- Rubber gloves
- A drop cloth
Let the Primer Fully Cure First

This is where impatience wrecks the whole job. Wiping down primer that’s still soft smears it, lifts it, and leaves streaks you’ll see through your topcoat.
Check the can for the recoat window, but as a rule, give latex primer at least 3 to 4 hours and oil-based primer a full 24 hours before you touch it. Press a fingernail lightly into an inconspicuous corner. If it dents or feels tacky, walk away and give it more time.
Why Curing Time Changes With the Weather
Primer dries by evaporation, so humidity slows it down dramatically. On a muggy summer day, that 4-hour latex primer can still be soft after 6. I used to tell clients to prime in the morning on dry days so the surface had all afternoon to harden before we cleaned and painted. In winter, cold rooms do the same thing, so bump the heat up a little and keep air moving.
Dust Off Sanding Residue
If you sanded your primer to smooth it out, you’ve created fine dust that sits everywhere. This dust is the number one reason topcoats fail to bond.
- Start at the top of the wall and work down, so falling dust lands on areas you haven’t cleaned yet.
- Use a vacuum with a soft brush attachment to pull off the bulk of the powder.
- Follow with a dry microfiber cloth, wiping in long straight strokes rather than circles.
- Finish with a tack cloth, dragging it lightly across the surface to grab the last clinging particles.
- Run a strip of painter’s tape across a cleaned section and peel it off. If it comes back clean, you’re good. If it lifts white dust, keep wiping.
The Difference Between Microfiber and a Tack Cloth
Microfiber grabs loose dust and holds it. A tack cloth is slightly sticky and catches the ultra-fine stuff microfiber leaves behind. You want both, in that order. Skipping the tack cloth is the most common corner people cut, and it’s exactly the residue that ruins adhesion.
Wash Off Grease, Grime, and Fingerprints
Primer on a kitchen wall, a garage, or anywhere hands land picks up oils you can’t see. Paint won’t stick to grease.
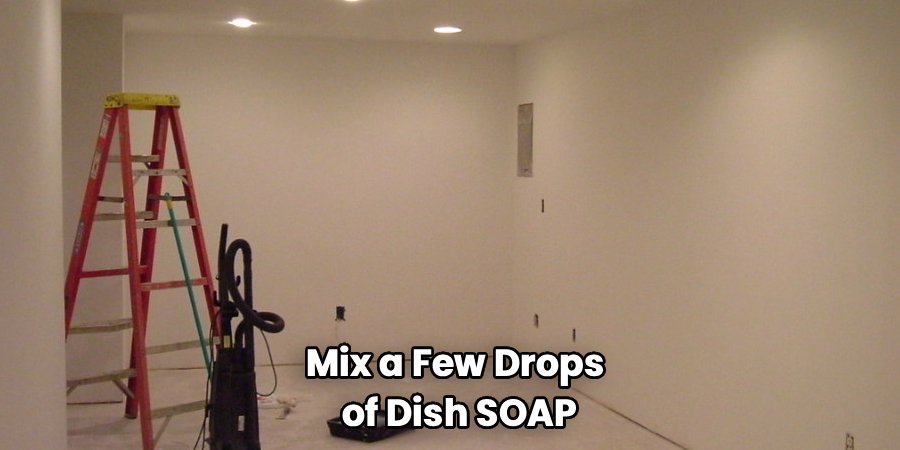
Mix a few drops of dish soap into lukewarm water, wring your sponge until it’s barely damp, and wipe the surface down. For heavier grime, a diluted TSP substitute cuts grease better. Don’t soak the wall. You want a light, even pass, not runoff dripping down your baseboards.
Rinse and Dry Completely
Go over the washed area with a second sponge and clean water to lift any soap film, since dried soap residue causes the same adhesion problems as dust. Then let the surface dry fully before you open a paint can. Damp primer traps moisture under your topcoat and leads to bubbling later.
Method Comparison: What to Use on What
| Situation | Best Method | Time | Notes |
| Light sanding dust | Microfiber + tack cloth | 10–15 min | No water needed; fastest option |
| Heavy sanding residue | Vacuum, then tack cloth | 15–20 min | Vacuum first or you just push dust around |
| Greasy/kitchen walls | Mild dish soap + rinse | 20–30 min | Must dry fully before painting |
| Garage or outdoor primer | TSP substitute + rinse | 30+ min | Cuts oil and road grime |
| Fresh, unsanded primer | Dry tack cloth only | 5–10 min | Light pass to catch settling dust |
| Still-tacky primer | Wait — don’t clean yet | — | Cleaning soft primer smears it |
Common Mistakes to Avoid
These are the habits I watched sink otherwise good paint jobs.
- Cleaning primer before it cures. Soft primer smears and lifts. Wait for the full recoat window.
- Skipping the tack cloth. Microfiber alone leaves fine dust that ruins bonding. Use both.
- Soaking the wall. Too much water can soften latex primer and leave streaks. Keep your sponge barely damp.
- Wiping in circles. Circular motions redistribute dust. Use long, straight strokes.
- Leaving soap film behind. Dried soap blocks adhesion just like dust does. Always rinse.
- Painting over a damp surface. Trapped moisture causes bubbling and peeling weeks later.
Safety and Warnings
Cleaning primer is low-risk compared to stripping paint, but a few things deserve real attention.
- Ventilate if you use TSP or a strong degreaser. Open a window and run a fan. These cleaners give off fumes in a closed room and irritate your lungs.
- Wear rubber gloves with TSP substitutes. They’re alkaline and dry out or irritate skin on contact.
- Add eye protection when cleaning ceilings or high walls. Dust and cleaner drips fall straight down, and TSP in your eyes is genuinely painful.
- Never mix cleaning products. Combining a degreaser with bleach or ammonia-based cleaners can release harmful gases. Stick to one product at a time.
- Watch for oil-based primer dust. If you sanded an oil-based or shellac primer, that dust is finer and can irritate airways more. Wear a dust mask while vacuuming.
- Test in a hidden spot if you’re unsure how your primer will react to a damp wipe, especially on older or unknown products.
If you catch a headache or dizziness while working with degreasers, stop, step outside, and let the room air out before going back in.
How to Keep the Surface Clean Until You Paint
The cleaner your primer stays between prepping and painting, the better your finish bonds. A little planning here saves you a second cleaning.
- Paint the same day you clean. Dust settles fast in any room. The tighter the gap between cleaning and your first coat, the better.
- Close windows and doors after cleaning. Airborne dust and pollen drift in through open windows and land right on your fresh surface.
- Turn off forced-air heating or AC while it dries. Vents blow dust straight onto the walls. Kill the system for the hour or two you need.
- Cover the floor and any furniture nearby. Dust kicked up from a bare floor resettles on your walls. A drop cloth keeps it down.
- Keep pets and foot traffic out. One dog shaking off in the room undoes your whole tack-cloth pass.
- Do a final tack-cloth pass right before you paint if more than a few hours have gone by. It catches anything that settled while you waited.
Clients used to ask me why their pro-painted rooms looked so much smoother than their own weekend jobs, and half the answer was this: we cleaned, then painted within the hour. No overnight gaps for dust to creep back in.
Frequently Asked Questions
Do you have to clean primer before painting?
Yes, if the primer has any dust, grease, or fingerprints on it. Sanding leaves fine powder that blocks your topcoat from bonding, and hand oils do the same. Even unsanded primer picks up settling dust, so at minimum give it a quick pass with a tack cloth before you paint.
Should I sand primer before painting?
You only need to sand primer if it feels rough, has drips, or shows brush marks. A light pass with 220-grit smooths it out. If you do sand, you must clean off the dust afterward, or the topcoat will flake. Smooth primer that went on evenly can often be painted after just a tack-cloth wipe.
Can I use a wet cloth to clean primer before painting?
You can, but keep it barely damp, not soaking. Too much water softens latex primer and leaves streaks. A slightly damp microfiber cloth handles grime fine, and you should let the surface dry completely before painting so you don’t trap moisture under your topcoat.
How long should primer dry before you clean and paint it?
Give latex primer at least 3 to 4 hours and oil-based primer a full 24 hours, though humidity and cold can stretch those times. Check the can for the recoat window. Press a fingernail into a hidden corner first. If it’s still tacky, it’s not ready to clean or paint.
What happens if you don’t clean primer before painting?
The dust or grease acts as a barrier, so your topcoat can’t grip the surface. You’ll end up with peeling, flaking, or a blotchy, uneven finish that shows up within a couple of weeks. Fixing it usually means scraping and repainting, which costs far more time than a quick cleaning would have.
Is a tack cloth necessary or is microfiber enough?
Use both for the best result. Microfiber grabs the bulk of loose dust, but a tack cloth catches the ultra-fine particles microfiber misses. That leftover fine dust is exactly what causes adhesion problems, so the tack cloth is worth the extra two minutes.
Final Thoughts
A clean primer coat is the whole reason your paint grips and stays put, and it takes far less time than fixing a peeling finish later. Wait for the primer to cure, clear the dust with microfiber and a tack cloth, and paint before new dust has a chance to settle.
