
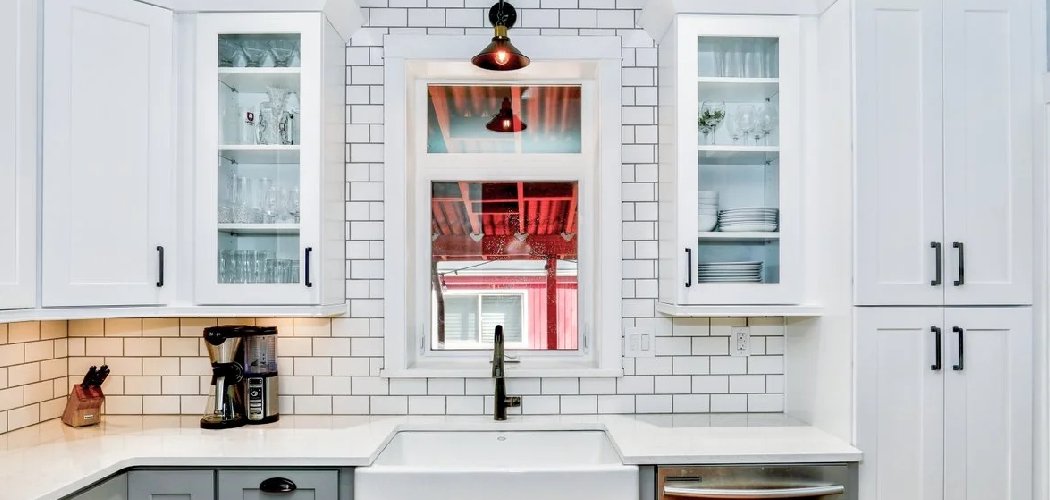
Someone splashes a degreasing spray straight onto a white cabinet door near the stove, scrubs hard with the rough side of a sponge, and walks away pleased. Three months later there’s a dull, chalky patch where the paint sheen used to be, and the finish feels rough to the touch. Painted white cabinets show every mark — but the harsh cleaner and abrasive pad you reach for to fix that only wears the paint thinner.
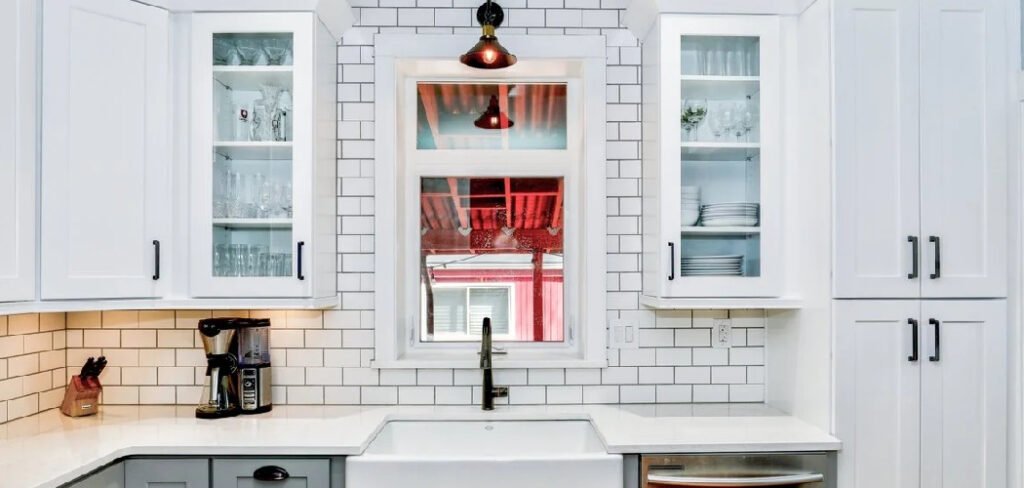
The trick to keeping painted cabinets bright without stripping the finish is using the gentlest cleaner that still cuts grease, and matching your approach to the paint type. Knowing how to clean painted white cabinets the right way protects the finish so it looks freshly installed for years instead of yellowing and dulling by the second summer.
What You’ll Need
- Microfiber cloths (a few — you’ll swap them as they load up with grime)
- Two bowls or a small bucket (one for cleaner, one for rinse water)
- Mild dish soap
- White vinegar
- Baking soda
- A soft-bristle toothbrush or detail brush
- Warm water
- Rubber gloves
- A dry towel for buffing
- Optional: a wood-safe or cabinet-specific cleaner for tough grease
Leave the abrasive pads, ammonia sprays, and “magic” melamine sponges in the cupboard. All three wear down painted finishes fast, and once the sheen is gone from white cabinets, there’s no wiping it back.
Dust and Loosen Debris First
Never wipe a greasy, dusty cabinet with a wet cloth straight off. You’ll just smear dust into the grease and grind it deeper into the corners and grooves. Start dry.
Run a dry microfiber cloth over each door, drawer front, and the frame around them. Pay attention to the top edges and the recessed panel lines, where dust settles thickest. A dry detail brush flicks debris out of the corners of shaker-style panels where a flat cloth skips right over.
Mix a Gentle Cleaning Solution
Fill one bowl with warm water and add a few drops of dish soap — you want it lightly sudsy, not foamy. Fill the second bowl with plain warm water for rinsing.
Dish soap is a surfactant, which is a fancy way of saying it lifts grease off the surface so you can wipe it away instead of smearing it around. For most everyday grime on painted white cabinets, this is all you need. Save the stronger stuff for the greasy zones by the stove.
Wipe Down the Doors and Frames
Dip a microfiber cloth in the soapy water and wring it out well — it should be damp, not dripping. Wipe each door in the direction of any visible brush strokes or wood grain, working top to bottom so drips fall onto areas you haven’t cleaned yet.
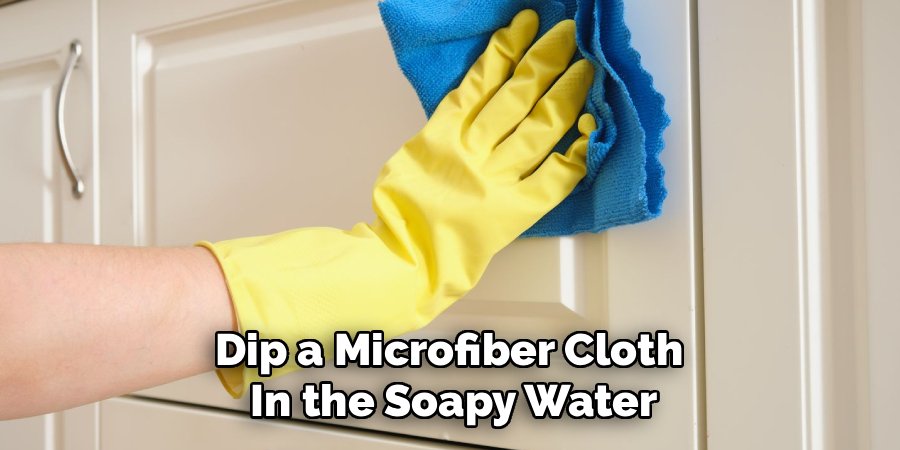
Rinse your cloth in the plain water often. A grimy cloth just moves grease from one door to the next. Once a section is clean, go over it with a second cloth dampened in plain rinse water to lift any soap film, then dry it with a towel. Soap left to air-dry on white paint leaves a faint cloudy residue that catches the light.
Tackle Grease Buildup Near the Stove
The cabinets flanking a stove and the range hood take the worst of it — a sticky, yellowing film of airborne cooking oil bonds to the paint. Warm soapy water alone often can’t shift months of it.
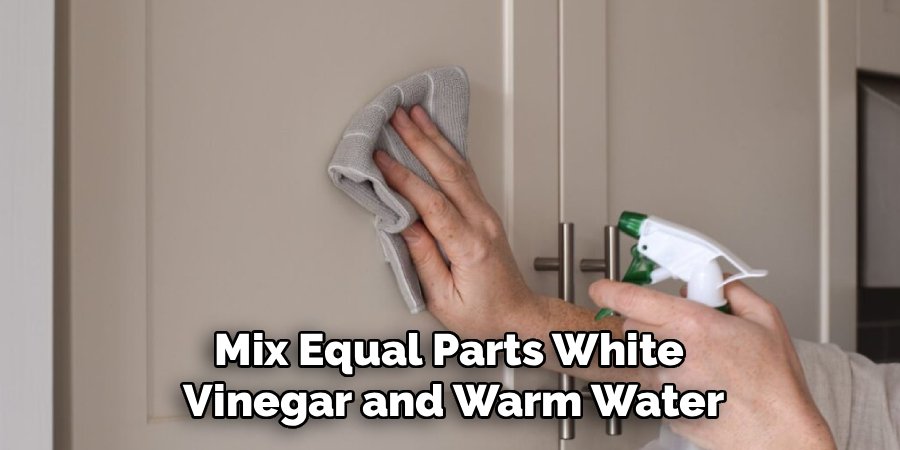
Mix white vinegar with an equal part of warm water and dampen a cloth with it. Vinegar’s mild acidity breaks down grease without the harshness of ammonia. Wipe the greasy zone, let it sit for a minute so it can work, then wipe again and rinse with plain water. Clients used to ask me why the cabinets right beside the stove yellowed while the rest stayed white — it’s that greasy film oxidizing over time, and catching it early with a vinegar wipe stops it from setting in.
Lift Stuck-On Spots and Handprints
For dried food splatter, sticky fingerprints around handles, or crayon, make a loose paste of baking soda and a little water. Dab it onto the spot with a soft cloth or toothbrush and rub gently in small circles — never bear down. Baking soda is a mild abrasive, so keep the pressure feather-light and always test a hidden spot first, like the inside edge of a bottom door.
Wipe the paste away with a damp cloth, then dry the area. Follow the direction of the brush strokes on your final wipe so any faint marks blend into the finish.
Detail the Handles, Edges, and Corners
The areas your hands touch most — around knobs and pulls, and the edges people grab to open doors — collect the most oil and grime. Dip your soft-bristle brush in the soapy water, work it gently into the grooves around hardware, then wipe clean and dry.
If your hardware is loose or you want a deeper clean, unscrew the knobs and pulls, soak them separately in soapy water, and clean the paint underneath. It’s an extra ten minutes that makes a tired kitchen look genuinely refreshed.
Safe vs. Unsafe Products for Painted White Cabinets
The difference between bright cabinets in five years and dull, chipped ones often comes down to what’s on your cloth. Here’s what to reach for and what to skip.
| Safe to Use | Avoid on Painted Cabinets |
| Mild dish soap, well diluted | Ammonia-based cleaners |
| Diluted white vinegar (for grease) | Bleach or bleach sprays |
| Baking soda paste (spot test first) | Abrasive scrubbing pads or steel wool |
| Soft microfiber cloths | Melamine “magic” sponges on a glossy finish |
| A soft-bristle detail brush | Stiff scrub brushes |
| Warm water for rinsing | Undiluted degreasers left to soak |
| Drying by hand after each section | Letting cleaner air-dry on the paint |
A quick note on melamine sponges: people love them, but they work by sanding away a microscopic layer of whatever you rub. On flat or satin white paint that’s a shortcut to a dull worn patch. Use them only as a last resort on a hidden spot, never across a whole door.
Common Mistakes to Avoid
- Scrubbing with abrasive pads. The rough side of a sponge or a scouring pad strips the sheen and leaves a chalky patch that never wipes back.
- Using ammonia or bleach. These break down painted finishes and can yellow white paint over time. Mild soap and diluted vinegar do the job.
- Letting cleaner air-dry. Soap and vinegar leave a cloudy film if they dry on the surface. Rinse and dry each section by hand.
- Over-soaking the cloth. Dripping water seeps into seams and behind edges, where it can swell wood cores and lift paint. Wring it out.
- Bearing down on baking soda paste. Heavy pressure turns a mild abrasive into a finish-scratcher. Keep it light and test first.
- Ignoring the greasy zone by the stove. Cooking film oxidizes and yellows if you leave it. A regular vinegar wipe there prevents set-in staining.
- Skipping the spot test. Every paint and finish reacts differently. A hidden test on a bottom edge saves the whole kitchen.
Safety and Warnings
This is a low-risk job — mostly mild soap and a damp cloth — but a couple of things are worth flagging around the cleaners.
- Never mix cleaners. Don’t combine vinegar with bleach or any ammonia-based product. The fumes are genuinely dangerous. Pick one cleaner and rinse well before switching.
- Ventilate the room. Crack a window while you work, especially when using vinegar, which throws off a strong smell in a closed kitchen.
- Wear gloves. Repeated dips in soapy or vinegar water dry out and irritate skin over a long session.
- Test in a hidden spot first. Try any cleaner or paste on the inside edge of a lower door before touching a visible surface, since finishes react unpredictably.
- Keep water off seams and hardware screws. Standing moisture can seep in, swell the wood core, and creep toward electrical outlets on nearby walls — wipe with a damp cloth, never a soaking one.
Maintenance and Prevention Tips
A little routine care means you’ll almost never face a heavy grease battle again:
- Wipe high-touch spots weekly. A quick damp pass around handles and door edges stops finger oil from building into stubborn grime.
- Hit the stove-side cabinets more often. Give the doors flanking the range a light vinegar wipe every week or two so cooking film never settles in and yellows.
- Dust the tops monthly. The flat top edges collect greasy dust that hardens if left. A dry cloth keeps it from bonding.
- Blot splatters right away. Wipe food splashes and drips the moment they happen so nothing dries into a crust you have to scrub off.
- Run the range hood while cooking. Pulling grease-laden steam out of the air is the single best thing you can do to keep white cabinets bright.
- Keep a microfiber cloth handy. A cloth within reach makes a ten-second wipe effortless, and that habit is what stops deep cleans from becoming an all-day chore.
Frequently Asked Questions
What is the best cleaner for painted white cabinets?
Warm water with a few drops of mild dish soap handles most everyday grime safely. For greasy areas near the stove, switch to a solution of equal parts white vinegar and water. Both cut through buildup without the harshness of ammonia or bleach, which dull and yellow painted finishes over time.
How do you clean white cabinets without ruining the paint?
Dust them dry first, then wipe with a well-wrung microfiber cloth and mild soapy water, following the direction of the brush strokes. Skip abrasive pads and harsh chemicals entirely, and dry each section by hand instead of letting it air-dry. That gentle routine cleans thoroughly while protecting the sheen.
How do you get grease off white kitchen cabinets?
Mix equal parts white vinegar and warm water, dampen a cloth, and wipe the greasy zone. Let it sit for a minute to break down the film, then wipe again and rinse with plain water. For thick, set-in grease, a loose baking soda paste rubbed on gently lifts it — just test a hidden spot first.
Why are my white cabinets turning yellow?
Yellowing usually comes from cooking grease oxidizing on the surface, sunlight, or harsh cleaners breaking down the paint. The cabinets around the stove yellow first because of that greasy film. Regular vinegar wipes remove the buildup before it sets, and running your range hood while cooking slows it down considerably.
Can you use vinegar to clean painted cabinets?
Yes, diluted white vinegar works well for cutting grease on painted cabinets. Mix it with an equal part of water rather than using it straight, and rinse with plain water afterward so no residue dries on the finish. Test a hidden spot first if your paint is older or you’re unsure of the finish.
Can you use a Magic Eraser on white cabinets?
Only sparingly and as a last resort. Melamine sponges work by sanding away a fine layer of the surface, so on flat or satin white paint they can leave a dull worn patch. Test a hidden corner first, use the lightest touch possible, and stick to isolated marks rather than whole doors.
Match your cleaner to the mess, keep that cloth damp rather than dripping, and dry each door by hand as you go. Do those three things and your white cabinets will stay bright and smooth for years instead of dulling by the next summer.
