
Someone grabs an all-purpose spray, soaks a sponge, and wipes down a whole wall of 1970s wood paneling in one enthusiastic afternoon. A week later, the seams have swelled, the finish looks cloudy, and there’s a dull streak running along every board where the water sat too long. Wood paneling hates standing moisture, and drowning it in cleaner is the fastest way to wreck a finish that lasted fifty years.
Learning how to clean paneling walls really comes down to using the least amount of moisture that still gets the job done, and matching your cleaner to the type of panel you have. Real wood, faux-wood laminate, and painted MDF panels each behave differently under a damp cloth. Get that right and you’ll cut through years of grime without lifting a single seam.
What You’ll Need
- Microfiber cloths (several — you’ll swap them out as they get dirty)
- A soft-bristle brush or a clean paintbrush for grooves
- A vacuum with a brush attachment
- Two buckets (one for cleaner, one for rinse water)
- Mild dish soap or a wood-safe cleaner
- White vinegar
- Olive oil or a dedicated wood polish (for real wood only)
- A tack cloth or dry dusting cloth
- Rubber gloves
- A step stool or small ladder
- Old towels to lay along the baseboards
Skip the “all-purpose” sprays loaded with ammonia and the abrasive scrubbing pads. Both strip the finish off wood paneling and leave scratches on laminate that catch dust forever after.
Figure Out What Your Paneling Is Made Of
Before you wet anything, you need to know what you’re working with, because the wrong approach ruins the wrong material fast. Press a fingernail gently into a hidden corner near the floor.
- Real wood feels solid and has a natural grain that runs unevenly, with grooves that go deeper than the printed lines.
- Faux-wood laminate or vinyl has a repeating grain pattern — look closely and you’ll spot the same “knot” showing up every few boards.
- Painted MDF or plywood has a smooth, uniform surface with no grain texture under the color.
Clients used to swear their walls were solid oak when they were actually printed laminate from the seventies — the giveaway was always that repeating knot pattern showing up three times across one wall. Knowing which you have decides how much moisture you can safely use.
Dry-Dust the Whole Wall First
Never put a wet cloth on a dusty panel. You’ll turn loose dust into a muddy smear that grinds into the grooves. Start at the top and work down so you’re not knocking debris onto areas you’ve already cleaned.
Run the vacuum brush attachment along the top edge, into the grooves, and down each seam. Follow with a dry microfiber cloth or tack cloth to grab whatever the vacuum missed. On textured paneling with deep grooves, the soft brush gets into channels a flat cloth skips right over.
Mix a Gentle Cleaning Solution
Fill one bucket with warm water and add a few drops of mild dish soap — you want it barely sudsy, not a foam bath. Fill the second bucket with plain warm water for rinsing.
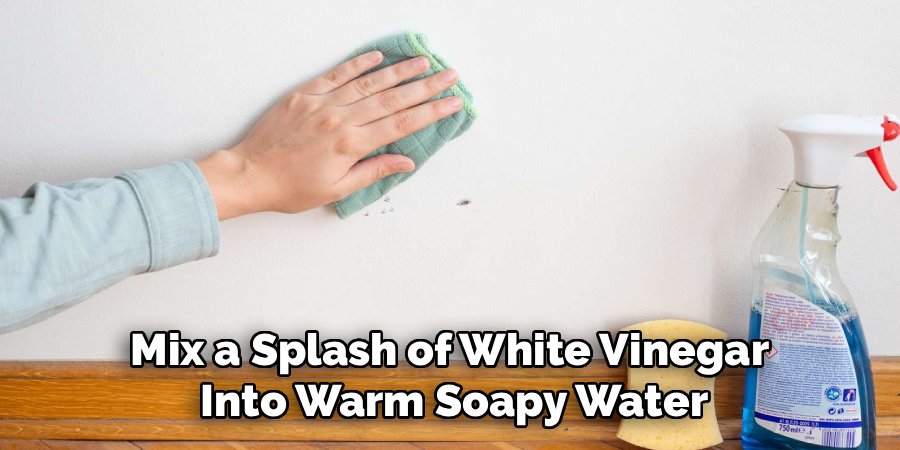
For greasy buildup, especially on kitchen-adjacent walls or near a fireplace, add a splash of white vinegar to the soapy water. Vinegar cuts through the sticky film that dust bonds to, and it’s gentle enough for most finishes. Keep vinegar off unsealed or waxed wood, though — it can dull the finish over time.
Wipe Down the Panels the Right Way
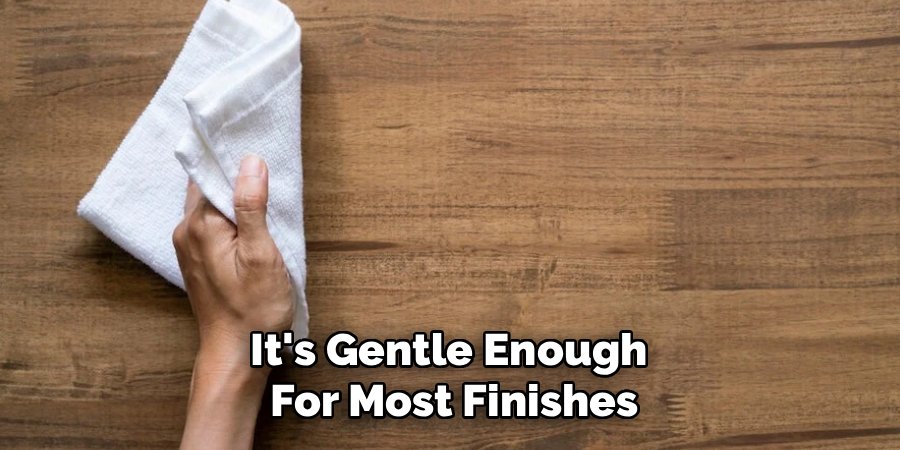
Here’s where most damage happens, so slow down. Dip your microfiber cloth in the soapy water and wring it out hard — it should be damp, never dripping. If you can squeeze water out of it, it’s too wet.
Wipe in the direction of the wood grain, working one section at a time from top to bottom. Following the grain hides any faint streaking and keeps moisture from pooling in the horizontal grooves. Rinse your cloth often in the plain water bucket, because a dirty cloth just moves grime around.
Tackle Stubborn Spots and Stains
For scuffs, greasy fingerprints around light switches, or crayon, dab a little extra dish soap directly onto a damp cloth and rub gently in a circular motion, then go back over it following the grain. A paste of baking soda and a tiny bit of water lifts sticky residue, but test it on a hidden spot first — it’s mildly abrasive and can dull a glossy finish.
Dry Each Section Immediately
Don’t let any section air-dry. Follow right behind your damp cloth with a dry microfiber towel and wipe the moisture off. This single habit prevents 90 percent of the water damage, cloudiness, and seam swelling people complain about after cleaning paneling.
Restore Shine on Real Wood
Once the wall is clean and fully dry, real wood paneling often looks a little thirsty. Put a few drops of olive oil or wood polish on a fresh cloth and buff it into the grain in thin, even passes. Go light — too much oil leaves a tacky film that grabs dust within days.
Skip this step entirely on laminate and painted panels. Oil just sits on top of those surfaces and turns into a smeary mess.
Safe vs. Unsafe Products for Paneling Walls
Matching the product to the panel type is the whole game. Here’s what to reach for and what to leave in the cupboard.
| Safe to Use | Avoid on Paneling |
| Mild dish soap, well diluted | Ammonia-based all-purpose sprays |
| White vinegar (sealed wood, laminate) | Bleach or bleach cleaners |
| A well-wrung damp microfiber cloth | A soaking wet sponge or rag |
| Baking soda paste (spot test first) | Abrasive scrubbing pads or steel wool |
| Olive oil or wood polish (real wood only) | Furniture wax on laminate |
| Soft-bristle brush for grooves | Stiff scrub brushes |
| Wiping with the grain | Circular scrubbing across the grain |
| Drying each section by hand | Letting panels air-dry |
Steam cleaners deserve their own warning here. People love them for floors and assume they’re safe everywhere, but the heat and moisture pry apart laminate layers and swell wood seams. Keep the steamer off your walls entirely.
Common Mistakes to Avoid
- Using too much water. Standing moisture swells seams and clouds finishes. Wring that cloth until it’s barely damp.
- Skipping the dry-dust step. Wet-wiping dust creates muddy streaks that grind into the grooves.
- Scrubbing across the grain. Circular scrubbing leaves visible swirl marks on wood. Always finish with the grain.
- Reaching for ammonia or bleach. These strip finishes and discolor both wood and paint. Mild soap does the job.
- Letting sections air-dry. Air-drying is where the water rings and cloudiness come from. Dry as you go.
- Oiling laminate or painted panels. Oil doesn’t absorb — it just smears and traps dust.
- Forgetting to test first. Baking soda paste and vinegar can dull certain finishes. A hidden spot test saves the whole wall.
Safety and Warnings
This is a low-risk job, but a few things are worth keeping in mind — mostly around chemicals and ladders.
- Test in a hidden spot first. Try any cleaner near the floor or behind furniture before doing a visible area, since older finishes react unpredictably.
- Never mix cleaners. Don’t combine vinegar with bleach or any ammonia-based product — the fumes are toxic. Pick one cleaner and stick with it.
- Ventilate the room. Open a window while you work, especially if you’re using vinegar, which has strong fumes in a closed space.
- Wear gloves. Repeated dips in soapy or vinegar water dry out and irritate skin over a long cleaning session.
- Steady your ladder. Reaching the top of a wall means a stable step stool on level ground — don’t overreach sideways to save a step down.
- Watch for outlets and switches. Keep your damp cloth away from electrical fittings. Wipe around them with a nearly dry cloth, never a wet one.
Maintenance and Prevention Tips
A little regular upkeep means you’ll rarely face a full deep clean again:
- Dust monthly with a dry cloth. A quick pass keeps dust from bonding into the grooves and turning greasy.
- Vacuum the grooves seasonally. The brush attachment clears out channels where dust and cobwebs collect out of sight.
- Wipe high-touch spots weekly. Areas around light switches, door frames, and seating pick up finger oils fast — a quick damp wipe stops buildup.
- Address spills immediately. Blot any splash or splatter right away so moisture never has time to sit and soak in.
- Keep humidity in check. Wood paneling swells in damp conditions, so a dehumidifier in basements and humid rooms protects the seams year-round.
- Refresh the shine twice a year. A light polish on real wood keeps it from drying out and dulling between deep cleans.
Frequently Asked Questions
What is the best thing to clean wood paneling with?
A well-wrung microfiber cloth dipped in warm water with a few drops of mild dish soap handles most paneling safely. For greasy buildup, add a splash of white vinegar to the mix. Always wipe with the grain and dry each section by hand right after — that combination cleans thoroughly without risking the finish.
Can you use vinegar to clean paneling walls?
Yes, diluted white vinegar works well on sealed wood and laminate, especially for cutting grease. Add a splash to your soapy water rather than using it straight. Keep it off unsealed or waxed wood, though, since vinegar can dull those finishes over time — test a hidden spot first if you’re unsure.
How do you clean old wood paneling without damaging it?
Dust it dry first, then use the lightest touch possible: a barely damp cloth with mild soap, wiped along the grain, and dried immediately. Old finishes are fragile, so skip abrasives, ammonia, and heavy moisture entirely. Once it’s clean and dry, a thin coat of wood polish brings back the color that age dulled.
Why does my paneling look cloudy after cleaning?
That haze usually comes from too much water sitting on the surface or a residue left behind by the cleaner. Go back over the wall with a barely damp cloth of plain water to rinse, then dry it thoroughly by hand. Cloudiness on real wood often clears up once you buff in a little polish.
How do you get grease off kitchen paneling?
Mix a splash of white vinegar into warm soapy water and wipe the greasy areas along the grain, rinsing your cloth often. For stubborn sticky film near a stove, dab extra dish soap straight onto the cloth and work it gently. Dry each section as you go so no moisture lingers on the panels.
Can you use a Magic Eraser on paneling?
You can for isolated scuffs, but use it sparingly and with a light hand. Melamine sponges are mildly abrasive and will dull a glossy or printed finish if you scrub hard. Test a hidden corner first, and always go back over the spot following the grain to blend it in.
Match your cleaner to your panel type, keep that cloth barely damp, and dry every section by hand as you go. Do those three things and your paneling walls will look decades younger without a single swollen seam or cloudy streak.
