
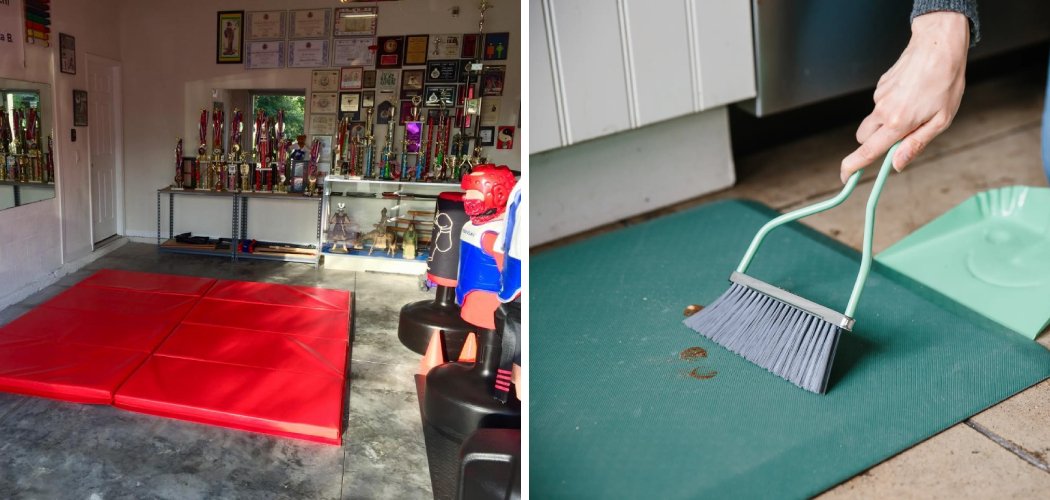
You mop your foam play mat like you would a kitchen floor—bucket of hot water, a splash of bleach, and a soaking-wet mop dragged back and forth. A week later the tiles are curling at the corners, the colors have faded, and the seams have started peeling apart. That flooding-and-bleaching combo is the single fastest way to wreck an interlocking foam floor.

Foam tiles are tougher than they look, but they hate standing water and harsh chemicals. Once you learn how to clean foam tiles the right way, you can pull up grime, kill germs, and keep the interlocking edges tight without warping a single piece.
What You’ll Need
Grab these before you start. You almost certainly own most of it already.
- Mild dish soap or a pH-neutral floor cleaner
- White vinegar
- Two buckets
- A soft microfiber mop or flat mop
- A soft-bristled brush or old toothbrush
- Several dry microfiber cloths
- A vacuum with a hard-floor setting (no beater bar)
- A broom or dust mop
- Rubber gloves
- A fan (optional, for faster drying)
Sweep or Vacuum Before Any Water Touches Them
Foam has a slightly grippy surface that clings to dust, hair, and crumbs, so wet-cleaning over debris just smears it into a paste that settles into the textured top layer. Start dry every single time.

Run a dust mop or broom across the whole floor first. If you’re vacuuming, switch off the rotating brush roll—that spinning bar can chew up soft foam edges and fling tiles loose at the seams. Pay attention to the grooved interlocking joints, since that’s where grit hides and grinds down the connectors over time.
How To Do a Routine Damp Clean
For everyday dirt and light footprints, you don’t need much water at all. This is the cleaning most foam floors actually need.
- Mix a gentle solution. Add a few drops of dish soap to a bucket of warm—not hot—water. You want light suds, nothing sudsy enough to leave residue.
- Wring the mop nearly dry. This is the whole game. A dripping mop floods the seams; a damp one cleans the surface. Squeeze it until it’s barely moist.
- Mop in sections. Work across the floor a few tiles at a time, following the direction of the seams rather than fighting across them.
- Rinse with clean water. Empty the bucket, refill with plain warm water, wring the mop again, and go back over the floor to lift soap residue. Leftover soap makes foam slick and sticky.
- Dry it right away. Wipe up any lingering moisture with a dry microfiber cloth or point a fan at the room. Foam should never sit wet.
How To Tackle Stains and Sticky Spots
Kids’ juice, marker, playdough, gym chalk—foam takes a beating. Spot-treat the mess without soaking the whole floor.
For Fresh Spills and Sticky Residue
Dab a cloth in your soapy water and press it onto the spot, then work gently with a soft brush in small circles. Wipe clean and dry. For gummy residue like tape or sticker glue, a little warm soapy water and patience beats scraping, which gouges the surface.
For Set-In Stains and Odors
Mix equal parts white vinegar and warm water in a spray bottle, mist the stain lightly, and let it sit a minute before brushing. Vinegar cuts grime and neutralizes odors without the color-stripping punch of bleach. Blot dry when you’re done.
One thing I picked up on the job: foam tiles in basements and garages hold smells more than you’d expect because the closed-cell surface traps odor at floor level where air barely moves. Clients used to swear their tiles were “ruined,” when really the room just needed airflow and a vinegar wipe-down. A fan running for an hour fixed what they thought was permanent damage.
How To Deep-Clean the Whole Floor
Every few months, or after a spill soaks into the seams, the tiles need more than a surface pass.

Pull Up and Wash Individual Tiles
The beauty of interlocking foam is that it comes apart. Lift the affected tiles, take them outside or to a bathtub, and wash both sides with soapy water and a soft brush. This is the only safe way to clean underneath, where moisture and dust collect unseen.
Dry Both Sides Completely
Stand each tile on its edge and let air reach both faces. Give them a few hours in a dry, ventilated spot—longer in humid weather. Foam that goes back down damp on the underside grows mildew you won’t notice until it smells.
Reassemble on a Clean, Dry Subfloor
Wipe the floor underneath before you snap the tiles back together. Line up the interlocking edges and press them flat so no corner sits raised. A lifted edge is a trip hazard and a magnet for peeling.
Damp Mopping vs. Deep Cleaning: Which You Need
Pick the right method so you’re not over-wetting a floor that just needs a quick pass.
| Factor | Routine Damp Clean | Deep Clean |
| Best for | Daily dust, footprints, light dirt | Set-in stains, odors, grime under tiles |
| Water used | Damp mop only | Full wash of removed tiles |
| Tiles removed? | No | Yes |
| Time needed | 10–15 minutes | 1–2 hours plus drying |
| Frequency | Weekly | Every few months |
| Drying | Wipe or air a few minutes | Several hours, both sides |
Common Mistakes to Avoid
These are the repeat offenders I’ve seen turn a good foam floor into a curling mess.
- Flooding the floor. Standing water seeps into seams, loosens tiles, and breeds mildew underneath. Keep the mop damp, never wet.
- Using hot water. Heat softens foam and can warp or shrink the tiles. Warm is as high as you go.
- Reaching for bleach or ammonia. Harsh chemicals fade the color, dry out the foam, and break down the surface. Skip them entirely.
- Vacuuming with the brush roll on. That spinning bar tears soft edges and pops tiles apart at the seams.
- Scrubbing hard with abrasive pads. Rough scouring scratches the textured top layer and leaves dull, worn patches.
- Snapping tiles back down while damp. Trapped moisture on the underside is how mildew starts. Dry both sides first.
Safety and Warnings
The good news: this job runs on mild soap and vinegar, so there’s no serious hazard and no protective gear needed beyond gloves. A few cautions still matter.
- Never mix cleaning products. Bleach and ammonia together release toxic gas—and you shouldn’t be using either on foam anyway. Stick to soap or vinegar, used on their own.
- Ventilate the room. Even mild solutions and drying tiles do better with a window open and air moving, especially in a closed basement or garage.
- Watch for slickness. Leftover soap or a still-wet floor gets slippery fast. Dry the surface before anyone walks on it, particularly where kids play.
- Test a hidden tile first. Before you use vinegar or any new cleaner across the floor, spot-test a corner or an out-of-the-way tile to check for color change.
- Wear gloves. Prolonged contact with soap and vinegar dries out your hands.
How To Keep Foam Tiles Clean Longer
The real trick is cutting down how often you deep-clean in the first place.
- Sweep or dust mop every few days. Two minutes of dry cleaning stops grit from grinding into the surface and the seams.
- Wipe spills immediately. The faster you catch a spill, the less chance it has to seep into the interlocking edges.
- Use a doormat or a no-shoes rule. Most of the dirt on a foam floor walked in on someone’s soles. Stopping it at the door saves hours.
- Keep them out of direct sun. Long-term sun exposure fades the colors and makes foam brittle, so position mats away from harsh window light.
- Rotate high-traffic tiles. Swap worn tiles with less-used ones from the edges so wear spreads evenly and the whole floor ages the same.
- Check the seams monthly. Press down any lifting edges before they curl for good.
A seasonal note worth flagging: humid summer stretches slow drying way down, so save deep cleans for dry days or run a fan and a dehumidifier. Tiles that dry in an hour during winter can take an afternoon in muggy July.
Frequently Asked Questions
Can you use a steam mop on foam tiles?
Skip it. Steam forces heat and moisture deep into the foam, which warps the tiles, loosens the interlocking edges, and can melt the surface over time. A damp microfiber mop does the job safely without any risk of heat damage.
How do you disinfect foam floor tiles safely?
A solution of equal parts white vinegar and warm water handles most germs without harsh chemicals. For a stronger option, look for a diluted pH-neutral disinfectant labeled safe for foam or rubber, and always rinse and dry afterward. Avoid bleach—it fades and degrades the foam.
Why are my foam tiles curling at the edges?
Curling almost always comes from heat, too much water, or trapped moisture underneath. Hot water and steam soften the foam, while flooding seeps under the tiles and lifts the corners. Dry the tiles fully, keep them out of direct sun, and press the edges flat to reset them.
How often should you clean foam tiles?
Dust mop or sweep every few days, damp mop weekly, and do a full deep clean every few months. Bump up the frequency for playrooms, gyms, or any space with heavy foot traffic, kids, or pets.
Can foam tiles get wet?
They can handle a damp mop and quick spills, but they’re not built for standing water. Water pools in the seams and under the tiles, causing warping and mildew. Wipe up moisture promptly and never leave the floor soaking.
How do you get smells out of foam tiles?
Mist the tiles with a vinegar-and-water solution, let it sit a minute, then wipe clean and dry. For stubborn odors, pull up the tiles, wash both sides, and air them out with a fan. Good airflow is what actually clears trapped smell at floor level.
Final Word
Foam floors reward a light touch—a damp mop, a gentle cleaner, and quick drying beat any flood-and-scrub approach every time. Treat the seams with care, keep the water minimal, and your tiles stay flat, bright, and tight-fitting for years.
