
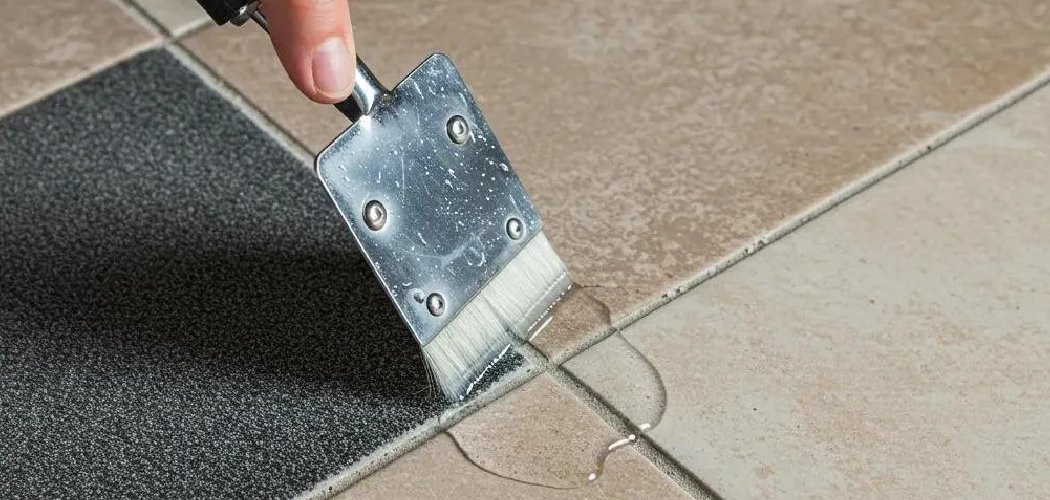
Someone grabs a bottle of vinegar cleaner, sprays it across their marble shower walls, and wipes away the soap scum feeling proud. Two weeks later they’re staring at dull, cloudy patches where the shine used to be. That acid ate right into the stone, and no amount of scrubbing brings it back.
I’ve watched this exact scene play out in more homes than I can count. Learning how to clean natural stone in shower surfaces the right way saves you from etching, staining, and expensive resurfacing. The trick is matching your cleaner to your stone and skipping anything acidic.
What You’ll Need
- pH-neutral stone cleaner (or a few drops of mild dish soap in warm water)
- Two soft microfiber cloths
- A soft-bristle nylon brush or non-scratch sponge
- A squeegee
- Warm water in a spray bottle
- A clean, dry towel
- Baking soda (for stubborn spots only)
- Stone-safe sealer (for periodic resealing)
- Rubber gloves
Skip the magic erasers, steel wool, and anything labeled “heavy-duty bathroom cleaner.” Those almost always contain acids or abrasives that damage stone.
Rinse the Surface With Warm Water First
Before any cleaner touches the stone, rinse the whole shower with warm water. This lifts loose grime and dust so you’re not grinding it into the surface when you scrub. Run your shower head over the walls, or use your spray bottle for spots the water can’t reach.
Warm water also opens up the soap scum a little, making it easier to break down in the next step. Cold water tends to keep everything hardened and stubborn.
Apply a pH-Neutral Cleaner
Spray your pH-neutral stone cleaner across one wall at a time. If you’re using dish soap and water instead, mix just a few drops into warm water — you want it barely sudsy, not foamy. Too much soap leaves a film that dulls the finish over time.
Let the cleaner sit for about a minute so it can loosen the buildup. Don’t let it dry on the surface, especially on darker stones like slate or dark granite, where residue shows more.
Work in Small Sections
Natural stone dries fast, and streaks form when cleaner sits too long. I always tell people to treat the shower like you’d wash a car in the sun — one panel at a time, cleaner on, wiped off, before moving on. That rhythm keeps everything even.
Scrub Gently With a Soft Brush
Use your soft-bristle nylon brush or a non-scratch sponge to work the cleaner into the surface. Move in small circles over soap scum and grout lines. Let the brush do the work — pressing hard doesn’t clean better, it just risks scratching softer stones like marble, travertine, and limestone.
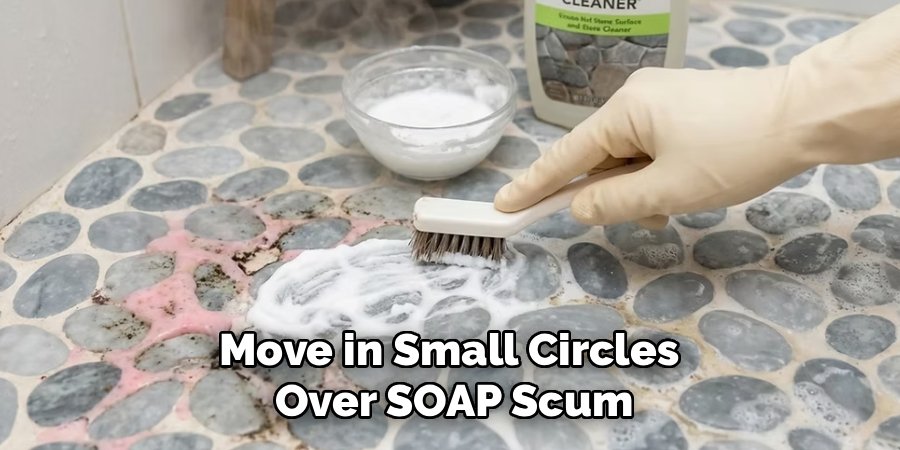
For a stubborn spot that won’t budge, make a paste of baking soda and water, dab it on, and let it sit for a few minutes before gently scrubbing. Baking soda is mildly abrasive but safe when you go light.
Rinse Thoroughly and Squeegee Dry
Rinse every trace of cleaner off with warm water. Leftover residue attracts more grime and can build into a haze. Once it’s rinsed, run a squeegee down the walls to pull off the standing water, then wipe everything dry with a clean towel.
That last drying step is the one most people skip, and it’s the difference between a shower that stays clear and one that spots up again within days. Hard water minerals cling to any moisture left behind.
Safe vs. Avoid: Products for Natural Stone Showers
| Category | Safe to Use | Avoid |
| Cleaners | pH-neutral stone cleaner, mild dish soap | Vinegar, lemon, CLR, bleach-based sprays |
| Tools | Microfiber cloth, soft nylon brush, squeegee | Steel wool, magic erasers, stiff scrub pads |
| Spot treatment | Baking soda paste (light use) | Ammonia, hydrogen peroxide on dark stone |
| Finishing | Stone-safe sealer, dry towel | Wax, generic all-purpose polish |
| Water | Warm water rinse | Leaving surfaces to air-dry |
Common Mistakes to Avoid
Reaching for vinegar or citrus. These are acidic, and acid etches calcium-based stones like marble, travertine, and limestone almost instantly. Even “natural” cleaners cause dull, rough patches.
Using abrasive pads. Steel wool and stiff scrubbers leave micro-scratches that trap dirt and kill the shine. Once the surface is scratched, cleaning gets harder every time.
Letting cleaner dry on the surface. Residue turns into a cloudy film. Rinse before it dries, every time.
Ignoring the grout. Dirty grout makes even spotless stone look grimy. Clean the lines with your soft brush and a pH-neutral cleaner, not acidic grout products.
Never sealing the stone. Unsealed stone is porous and soaks up soap, oils, and water stains. Skipping sealer means fighting stains you could have prevented.
Safety and Warnings
Natural stone cleaning is low-risk, but a few rules matter.
- Never mix cleaning products, especially bleach and ammonia — the fumes are toxic. Stick to one pH-neutral cleaner and you’ll never have this problem.
- Ventilate the bathroom when you seal stone. Sealers release fumes, so open a window or run the fan and wear gloves.
- Test in a hidden spot first. Before using any new product, dab it on an inconspicuous corner and wait a few minutes. Stone varies batch to batch, and this quick check saves you from etching an entire wall.
- Wear rubber gloves to protect your hands from prolonged moisture and cleaning agents.
- Wipe up spills fast, especially anything acidic like shampoo with citrus extracts, which can dull the surface if it sits.
Maintenance and Prevention Tips
The less grime that builds up, the less scrubbing you’ll ever do.
- Squeegee after every shower. Thirty seconds of squeegeeing removes the water that carries hard-water minerals. This single habit keeps stone clear longer than any product.
- Do a quick wipe-down weekly with your pH-neutral cleaner instead of waiting for heavy buildup.
- Reseal every 6 to 12 months. To check if yours needs it, splash a little water on the stone. If it beads up, the seal is fine. If it soaks in and darkens the stone, it’s time to reseal.
- Keep a soft towel in the bathroom for a fast dry-down of the walls and floor.
- Fix leaky fixtures. Constant dripping in one spot leaves mineral trails and encourages mildew in grout lines.
A seasonal note: in colder months when you run hot showers and the bathroom fills with steam, moisture lingers longer on the walls. Ventilation matters even more then, or you’ll fight mildew in the grout by spring.
Frequently Asked Questions
Can I use vinegar to clean natural stone in the shower?
No. Vinegar is acidic and etches calcium-based stones like marble, travertine, and limestone, leaving dull, rough patches. Even on harder stones like granite, repeated use breaks down the sealer. Stick to a pH-neutral cleaner.
How often should I clean my natural stone shower?
A quick wipe-down once a week keeps buildup away, plus a squeegee after each shower. A deeper clean every couple of weeks handles soap scum and grout. The more consistent you are, the less scrubbing each session takes.
What is the best cleaner for a natural stone shower?
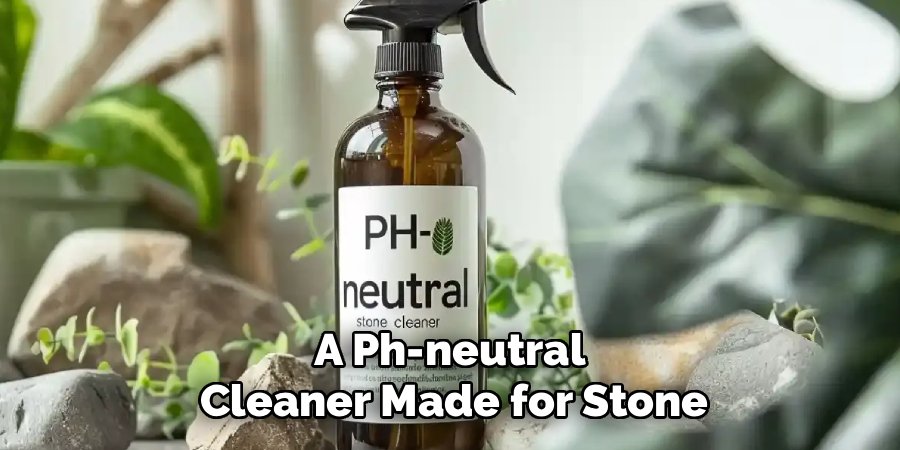
A pH-neutral cleaner made for stone is your safest bet. If you don’t have one, a few drops of mild dish soap in warm water works fine for regular cleaning. Anything acidic, abrasive, or bleach-based should stay far away.
How do I remove hard water stains from stone shower walls?
Loosen them with a warm water rinse, then use a pH-neutral cleaner and a soft brush. For stubborn mineral spots, a light baking soda paste helps. Drying the walls after each use is what actually keeps hard water stains from coming back.
Do I need to seal my natural stone shower?
Yes. Stone is porous and absorbs water, soap, and oils, which leads to staining. Seal it every 6 to 12 months and test with the water-bead method to know when it’s due.
Why does my stone shower look cloudy after cleaning?
Cloudiness usually comes from cleaner residue or hard water left to air-dry. Rinse all cleaner off completely and squeegee, then towel-dry. If the haze won’t lift, you may have etching from an acidic product, which needs professional polishing.
Final Thoughts
Treat your stone gently, keep the acids out of the bathroom, and dry the surfaces after each use. Do those three things and your shower stays clear and glossy for years with barely any effort.
