
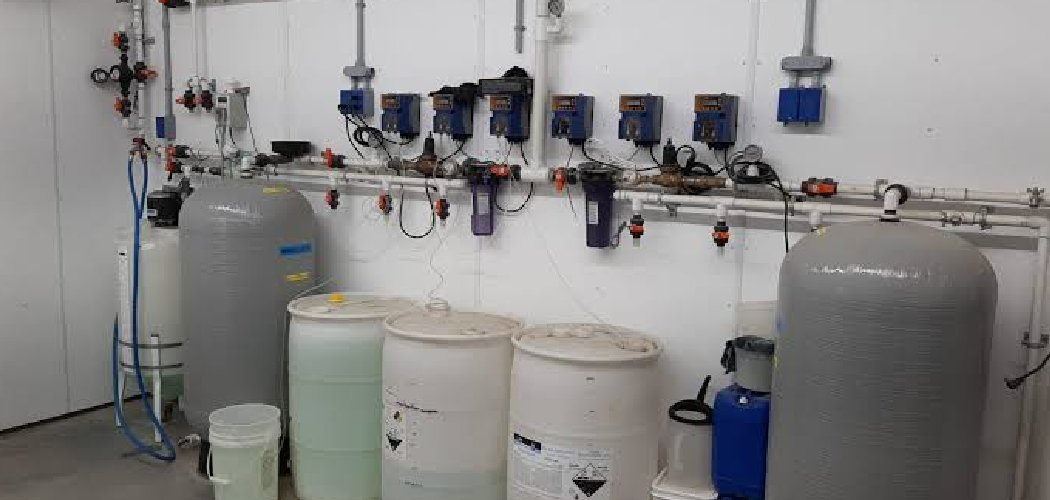
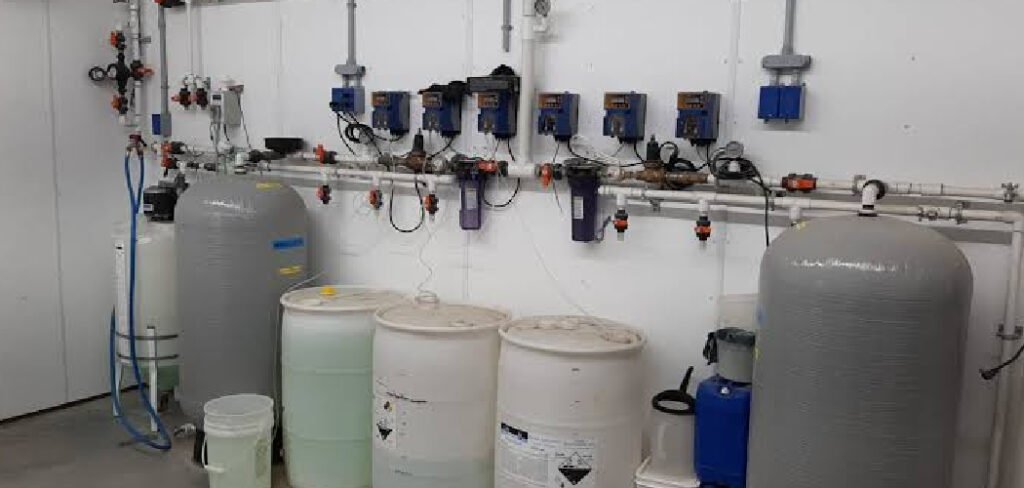
You unscrew the RO tank after two years, tip it over the sink, and out slides a slick, cloudy film that smells faintly of a damp basement. That gunk is biofilm, and it’s the number one reason people think their pricey system “stopped working” when really the tank just never got cleaned. I’ve lost count of how many under-sink units I opened where the filters were fresh but the storage tank was a science experiment.
The tank is the one part almost everyone forgets, and it’s exactly where stale, off-tasting water comes from. Learning how to clean ro water tank the right way clears out that buildup, kills the bacteria hiding in the lining, and brings back that crisp taste you paid for. Set aside about an hour and you’ll fix it yourself.
What You’ll Need
- Unscented household bleach (5–6% sodium hypochlorite) or an NSF-certified RO sanitizer
- A clean bucket
- Rubber gloves and safety glasses
- Adjustable wrench or the tank fitting wrench
- Soft microfiber cloths
- White distilled vinegar (for mineral scale)
- Teflon plumber’s tape
- Paper towels
- A small funnel (optional, but it saves a mess)
Lay it all out before you touch a single fitting. The worst position to be in is holding a half-drained tank with soapy gloves, digging through a drawer for the wrench.
Shut Off the Feed and Drain the Tank Completely
Turn off the cold water feed valve to your RO system, usually a small quarter-turn valve on the incoming line under the sink. Then open the RO faucet and let it run until the flow drops to a slow drip and stops. This empties the pressurized tank.
Once the faucet quits, close the small ball valve on top of the storage tank. A tank that isn’t fully drained will dump water down your arm the second you loosen the fitting, so give it that extra minute to empty.
Disconnect and Remove the Storage Tank

Place your bucket under the tank connection to catch drips. Loosen the fitting where the tube meets the tank’s ball valve, then unscrew the tank from its mount or lift it out of the cabinet.
Tip out any water still trapped inside. Give it a gentle shake and listen. If you hear sloshing after it “empties,” there’s residual water clinging to the bladder wall, which tells you buildup has narrowed the outlet.
Inspect the Inside Before You Clean
Peer into the tank opening with a flashlight. A thin, clear slime is normal wear after a year or two. What you’re checking for is color: a pink, orange, or black film means bacteria and mold have set up shop, and that’s your cue for a full bleach sanitize rather than a quick rinse.
Here’s something clients used to ask me constantly: “Why does the water smell fine at first but weird by the weekend?” That’s stagnant water sitting in a dirty tank all week. The tank, not the filter, is the culprit almost every time.
Sanitize the Tank With Bleach
This is the part that actually kills what’s growing in there.
- Fill the empty tank about a third full with clean water.
- Add 1–2 tablespoons of unscented bleach through the opening (a funnel helps here).
- Reattach the fitting loosely, then gently rock and swirl the tank so the solution coats the entire inner wall.
- Stand the tank upright and let the bleach solution sit for 20 minutes.
- Don’t push past 30 minutes. Prolonged bleach contact can degrade the rubber bladder over time.
While it sits, wipe down the outside of the tank and the ball valve threads with a damp microfiber cloth.
Scrub the Mineral Scale With Vinegar
If you saw white, crusty deposits around the outlet, bleach won’t touch those. Pour out the bleach solution, rinse once, then add a cup of distilled white vinegar and swirl it around the outlet area. Let it sit 15 minutes to dissolve the scale.
Never mix the vinegar and bleach together. Empty and rinse out the bleach first, then run the vinegar as a separate step.
Flush the Tank Until the Smell Is Gone
Drain the tank fully, then refill with clean water, swirl, and drain again. Repeat this rinse three or four times until you can’t catch any bleach or vinegar smell at all.
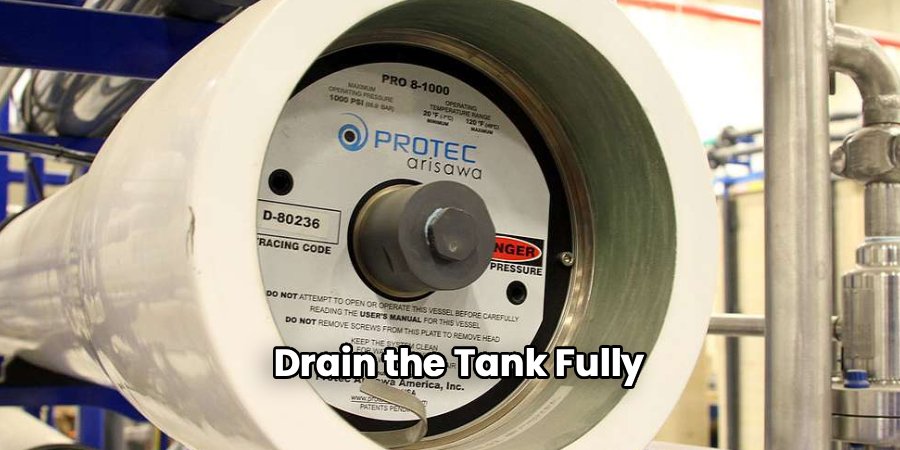
Take a genuine sniff at the opening after the final rinse. If you catch even a hint of chlorine, run one more full flush. That first glass of water shouldn’t taste like a swimming pool.
Reinstall the Tank and Restart the System
Wrap the tank valve threads with two turns of Teflon tape, reconnect the tube fitting, and snug it up. Don’t crank it, just firm and a light turn past hand-tight.
Open the tank ball valve, turn the feed water back on, and check the fitting for leaks. Let the tank fill completely, then drain that first full tank down the sink before you drink any. Refill once more and you’re back in business.
Dos and Don’ts at a Glance
| Do This | Avoid This |
| Use unscented 5–6% bleach for sanitizing | Scented or “splashless” bleach (leaves residue) |
| Fully drain and depressurize before disconnecting | Loosening the fitting on a pressurized tank |
| Flush 3–4 times until no odor remains | Assuming one rinse clears the chlorine |
| Keep bleach contact under 30 minutes | Leaving bleach in the tank for hours |
| Use distilled white vinegar for scale | Using CLR or harsh acids on the bladder |
| Sanitize the tank every 6–12 months | Only changing filters and skipping the tank |
| Wrap valve threads with fresh Teflon tape | Reusing old, gummed-up tape and forcing threads |
Common Mistakes to Avoid
Skipping the tank entirely. People swap filters religiously but never touch the storage tank. That’s where stale water and biofilm live, so a filter change alone won’t fix a bad taste.
Not depressurizing first. Loosening a fitting on a charged tank sprays water across the cabinet and can strip the threads. Always drain through the faucet until it stops.
Rushing the flush. The most common taste complaint I dealt with came from under-rinsing. Chlorine clings to the bladder, so flush more times than feels necessary.
Mixing cleaners. Bleach first, fully rinsed, then vinegar as a separate step. Never together.
Over-tightening the fitting. Cranking the tank valve cracks the plastic threads. Snug plus a light turn is plenty once you’ve taped it.
Safety and Warnings
Bleach and vinegar are both household staples, but they still deserve respect.
- Never mix bleach with vinegar or ammonia. Combining them releases toxic chlorine gas. Complete the bleach step and rinse it out fully before you introduce any vinegar.
- Wear gloves and safety glasses. Bleach irritates skin and eyes, and swirling a tank can splash.
- Work in a ventilated space. Open a window or run the exhaust fan while you handle the bleach solution.
- Use only unscented, additive-free bleach. Scented and thickened versions leave residue you can’t rinse out of a water system.
- Keep the bleach concentration mild. One to two tablespoons is enough. More doesn’t sanitize better; it just takes longer to flush clear.
- Store chemicals away from children and pets while you work.
If you’re unsure about your specific tank, check the manufacturer’s manual for their recommended sanitizer and dosage.
How To Keep Your RO Tank Clean Longer
A little upkeep between deep cleans stretches out the time before the gunk comes back.
- Sanitize the tank on the same schedule as your filters. Doing both at once means you only open the system up once a year.
- Run the faucet a few times a week. Moving water gives bacteria less chance to settle. This matters most in a vacation home or guest bathroom that sits idle.
- Watch the fill time. If the tank takes noticeably longer to fill up, that’s an early sign of buildup narrowing the outlet or a tiring bladder.
- Wipe the valve and fittings with a damp cloth now and then to stop grime from creeping into the threads.
- Mind the season. In summer, warmer incoming water speeds up bacterial growth, so I always nudged clients toward a summer sanitize rather than waiting for a fixed calendar date.
- Log your service date. A sticky note inside the cabinet door with the last cleaning date beats guessing a year later.
Frequently Asked Questions
How often should you clean an RO water tank?
Sanitize the tank every 6 to 12 months, ideally at the same time you change your filters. Households that use a lot of water or run on well water should lean toward the six-month mark. If the water starts tasting stale between cleanings, that’s your signal to do it sooner.
Can you use bleach to clean an RO storage tank?
Yes, a small amount of unscented household bleach is the standard home method. Use 1 to 2 tablespoons in a partially filled tank, swirl it to coat the walls, let it sit up to 30 minutes, then flush three or four times until the smell is gone. Never leave bleach sitting in the tank long-term.
Why does my RO water taste stale or smell bad?
Stale, musty, or eggy water almost always traces back to a dirty storage tank rather than the filters. Bacteria and biofilm grow in the standing water and taint every batch. Sanitizing the tank and flushing it thoroughly usually clears the problem right up.
Do I need to remove the tank to clean it?
Removing it makes the job far easier and lets you swirl the solution across the whole inner wall. You can sanitize in place by adding bleach through the system, but you won’t clean the tank as thoroughly, and you can’t inspect the inside for mold or scale.
How long does it take to clean an RO tank?
Plan for about an hour total. The bleach sits for around 20 minutes, the vinegar step adds another 15 if you need it, and the multiple flush cycles take a bit depending on how fast your tank drains and refills.
Is RO water safe to drink right after cleaning?
Not immediately. Dump the entire first tank of water after you reconnect everything, and confirm there’s no chlorine smell at the faucet. If you catch any bleach odor, run one more full tank before you drink.
Final Word
Put a reminder on your phone so the tank doesn’t get forgotten for another two years. Once you’ve done it once, the whole routine takes an afternoon and your water goes right back to tasting clean.
