
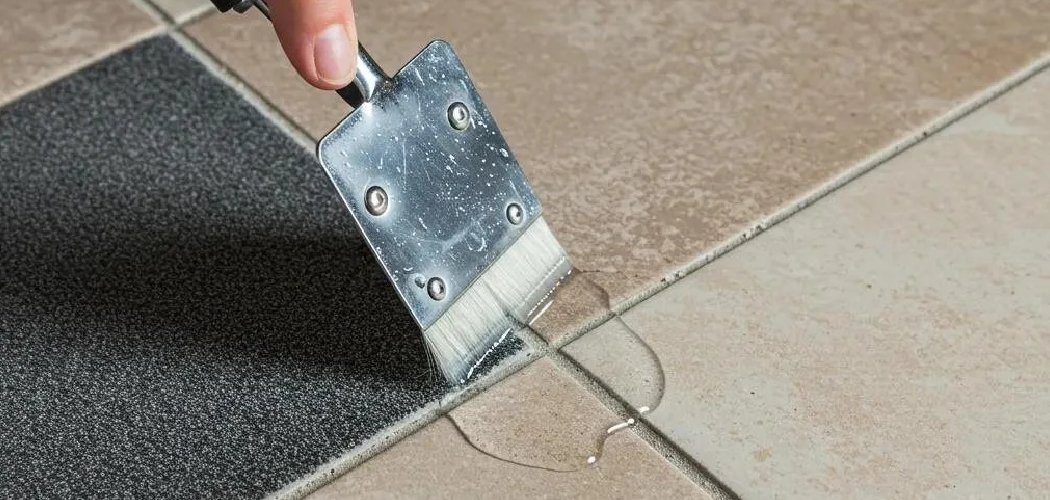
The first time I walked into a client’s newly tiled kitchen, the floor looked like someone had rubbed it with wax paper. Every tile wore a dull, gray-white film that no amount of regular mopping would budge. That haze wasn’t dirt — it was leftover grout, and it had already started curing hard because the crew handed over the room without a proper post-install clean.
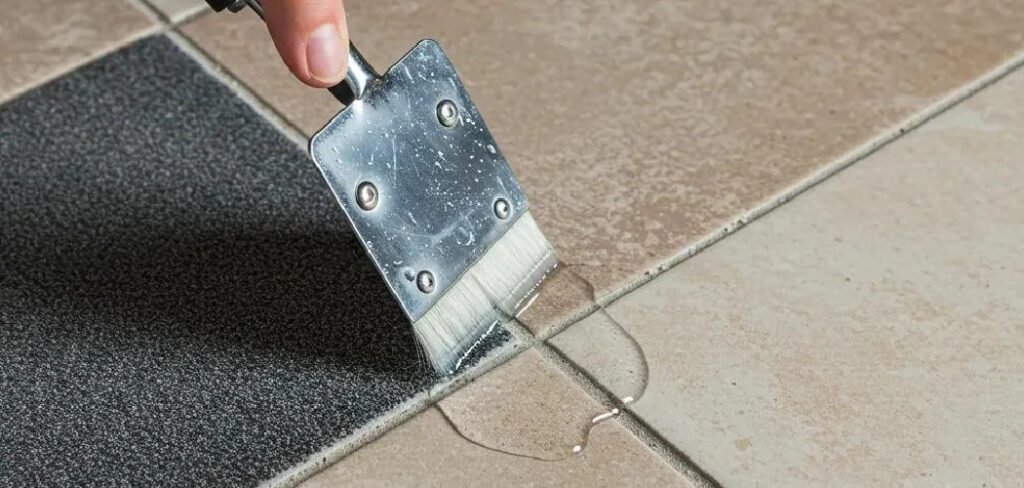
Knowing how to clean porcelain tile floors after installation comes down to timing and tackling that grout residue before it sets like concrete. Get to it in the first few days and it wipes away with the right solution. Wait too long and you’re chiseling at a permanent film.
What You’ll Need
Most of this you probably already own. The one item people skip is the pH-neutral cleaner, and that omission causes half the problems I used to get called back for.
- Two buckets (one for cleaning solution, one for rinse water)
- A soft-bristle nylon brush or scrubbing pad (non-abrasive)
- A large sponge or microfiber mop
- Clean microfiber cloths or towels
- Warm water
- pH-neutral tile cleaner OR a dedicated grout haze remover
- White vinegar (for light haze only — see the safety note)
- A plastic putty knife or wooden scraper
- Rubber gloves
- A wet/dry vacuum or broom for loose debris
- Knee pads (your knees will thank you)
Skip anything with a scouring powder, steel wool, or a stiff wire brush. Porcelain is tough, but the polished and glazed finishes scratch, and once you dull them the shine never fully comes back.
The Step-by-Step Cleaning Process
Fresh installation grime is different from everyday dirt. You’re dealing with grout haze, dried thinset specks, and sometimes sealer overspray — not muddy footprints. The order matters here, because scrubbing wet grout residue too early can smear it into the pores.
Wait for the Grout to Cure First
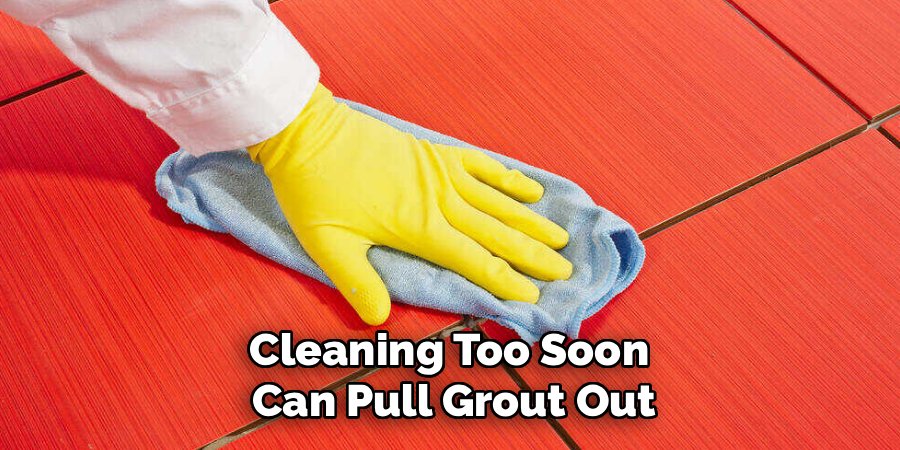
Don’t touch the floor with water for at least 24 to 72 hours after grouting. The exact window depends on your grout type and how humid the room is — bathrooms and basements take longer. I’ve seen people rush this on day one and pull grout right out of the joints, leaving gaps they had to refill. Check the grout bag for the cure time and give it the full wait.
Sweep and Vacuum Every Speck of Debris
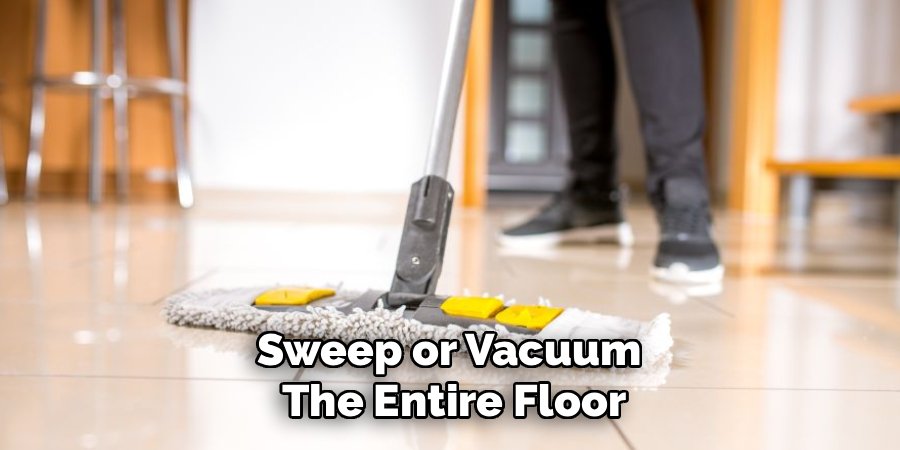
Start dry. Sweep or vacuum the entire floor to lift construction dust, grout crumbs, and any hardened bits sitting on the surface. If you mop over loose grit, you drag it across the tile and scratch the finish. Run your hand along the surface — if it feels sandy, go over it again.
Scrape Off Dried Thinset and Grout Chunks
Look for raised specks of dried mortar or grout, usually near the edges and corners. Hold your plastic putty knife at a low angle and gently push them loose. Never use a metal blade on the tile face; save any metal tool for grout lines only, and even then, work carefully.
Mix a pH-Neutral Cleaning Solution
Fill one bucket with warm water and add a pH-neutral tile cleaner following the label’s dilution. This is your workhorse solution. Keep the second bucket full of plain warm water for rinsing. If you’re only dealing with a light, powdery haze, you can mix one part white vinegar to four parts warm water instead — but stop there and read the safety section before you reach for vinegar.
Loosen the Grout Haze
Mop or sponge the solution generously across a small section — about a square yard at a time. Let it sit for two to three minutes so it can soften the film. Then work it with your soft nylon brush in small circles. You’ll feel the haze release and see the tile darken as it actually gets clean. Don’t flood the whole floor at once; the solution dries before you get to it and you’ll be starting over.
Rinse Twice With Clean Water
This is the step that separates a clear floor from a streaky one. Wipe up the dirty solution with your sponge, then go over the same section with plain water from your rinse bucket. Change the rinse water the moment it turns cloudy. Leftover cleaner and dissolved haze will re-deposit as a new film if you let it dry on the surface — the exact problem you’re trying to fix.
Dry and Inspect Under Angled Light
Buff the section dry with a clean microfiber towel, then look at it from a low angle with light coming across the floor. Haze hides when you look straight down but shows clearly from the side. If you still see a cloudy film, repeat the cleaning and rinse on that spot. A stubborn haze may need a dedicated grout haze remover, which is stronger and formulated for exactly this.
Cleaners: What Works vs. What Wrecks the Floor
| Do Use | Don’t Use |
| pH-neutral tile cleaner | Acidic cleaners on colored grout |
| Dedicated grout haze remover | Bleach on unsealed grout lines |
| Diluted vinegar (light haze only) | Undiluted vinegar or lemon |
| Soft nylon brush | Steel wool or wire brushes |
| Microfiber mop and cloths | Scouring powders |
| Warm water, changed often | Oil-based or wax “shine” cleaners |
The wax and oil-soap cleaners are the sneakiest offenders. They promise shine but leave a residue that traps dirt, so the floor looks worse a week later. Porcelain doesn’t need any of that — it gets its finish from the fire it’s baked in.
Common Mistakes to Avoid
Mopping too soon. Washing before the grout cures pulls it out of the joints and forces you to regrout. Respect the wait time.
Using the same dirty water the whole time. One bucket of gray water spreads haze around instead of removing it. Two buckets, and rinse water changed often, fixes 90% of streaking complaints.
Reaching for acidic cleaners on new grout. Acids can eat into fresh grout and discolor it, especially colored or dark grout that hasn’t fully set.
Skipping the rinse. Cleaner left on the surface dries into its own film. You end up cleaning twice.
Scrubbing with anything abrasive. Powders and metal pads leave micro-scratches on polished porcelain that dull the shine permanently.
Ignoring the corners. Grout haze and thinset build up worst along baseboards and in tile corners, and those spots get missed when you’re focused on the open floor.
Safety and Warnings
This is a low-hazard job, but a couple of things can genuinely hurt you or the floor.
- Never mix cleaners. Bleach and ammonia together create toxic fumes. Vinegar and bleach do the same. Pick one product and stick with it — a single pH-neutral cleaner handles the whole job with zero risk.
- Go easy on vinegar. It works for light haze, but it’s acidic. Used too strong or too often, it etches unsealed grout and can dull some polished porcelain over time. Dilute it, use it once, and rinse well.
- Ventilate when using haze removers. Commercial grout haze removers can be strong. Open windows, run a fan, and keep the room aired out while you work.
- Wear gloves. Even mild cleaners dry your skin, and repeated contact over a full floor adds up. Rubber gloves keep your hands comfortable.
- Test any new product in a hidden spot first. Try it inside a closet doorway or under where an appliance sits before treating the visible floor. Wait a few minutes to check for any dulling or color change.
- Watch your footing. Wet porcelain is slick. Work in sections you can reach without walking across the freshly cleaned, wet area.
Maintenance and Prevention Tips
The floors that still looked new years later belonged to people who set up simple habits early. This first cleaning sets the baseline — keeping it easy is about not letting grime rebuild.
- Seal the grout once it’s fully cured. Unsealed grout soaks up spills and stains fast. Ask your installer whether your grout needs sealing, and if so, do it about two to three weeks after installation once everything is dry. Most kitchens and bathrooms benefit from resealing every year or two.
- Sweep before you mop, every time. Grit is what wears down a floor. A quick sweep or vacuum first means your mop cleans instead of grinding dirt around.
- Stick with pH-neutral cleaner for routine mopping. No need for anything harsh once the install haze is gone. Warm water and a neutral cleaner keep the finish intact.
- Put down mats at entrances. A client of mine tracked in fine construction dust for weeks after a remodel because the hallway was still under work — a mat at each doorway cut her mopping in half.
- Wipe spills quickly. Even sealed grout stains if colored liquids sit long enough. A fast wipe prevents it.
- Rinse after cleaning. Make the double-rinse a habit, not just a post-install step. It keeps residue from building up over months.
FAQ
How long after installation can you clean porcelain tile floors?
Wait 24 to 72 hours after grouting before you clean with water, depending on your grout type and room humidity. Cleaning too soon can pull grout out of the joints. Check the grout manufacturer’s cure time and give it the full window, especially in damp rooms like bathrooms.
How do you remove grout haze from porcelain tile?
Mop a pH-neutral cleaner or diluted vinegar solution over a small section, let it sit two to three minutes, then work it with a soft nylon brush. Rinse twice with clean water and dry with a microfiber towel. For stubborn haze that won’t lift, use a dedicated grout haze remover made for the job.
Can you use vinegar to clean new porcelain tile?
You can use diluted vinegar for a light haze — about one part vinegar to four parts warm water — but use it sparingly. Vinegar is acidic and can etch unsealed grout or dull some polished finishes if used strong or too often. For routine cleaning, a pH-neutral cleaner is the safer choice.
Why does my new tile floor look cloudy after cleaning?
That cloudiness is usually leftover grout haze or dried cleaner residue. It happens when you skip the rinse or reuse dirty water. Re-clean the area, rinse twice with fresh water, and dry it. Check the result under angled light rather than looking straight down, since haze shows best from the side.
Do you need to seal porcelain tile after installation?
Porcelain itself doesn’t usually need sealing because it’s dense and non-porous, but the grout often does. Seal the grout once it fully cures, roughly two to three weeks after installation. Ask your installer to confirm, since some newer grouts come pre-sealed.
What’s the best mop for porcelain tile floors?
A microfiber mop works best. It lifts residue instead of pushing it around and won’t scratch the finish. Pair it with two buckets — one for cleaner, one for rinse water — and change the rinse water often to avoid streaks.
Get to that first clean while the haze is still soft, work in small sections, and rinse more than you think you need to. Do that and your porcelain will show its true finish from day one — no film, no streaks, just the floor you paid for.
