
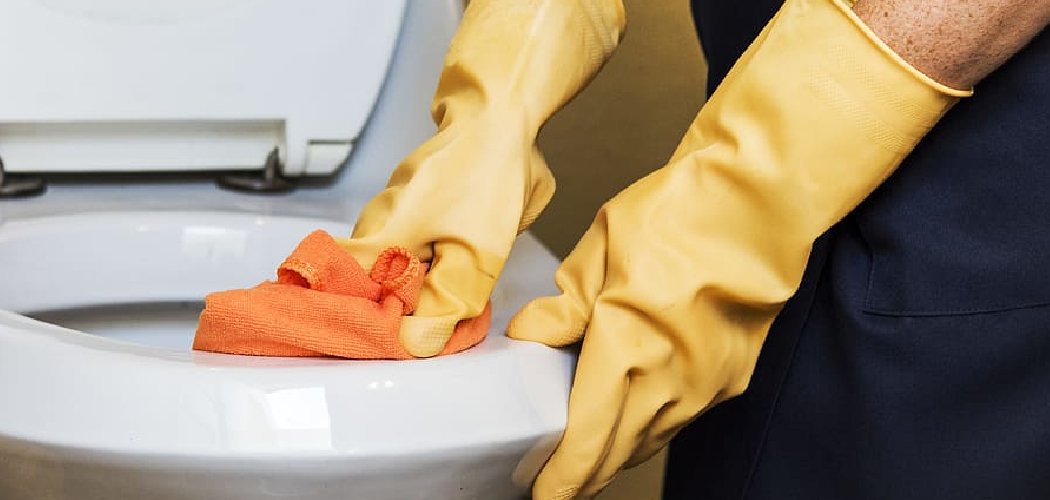
The worst one I ever opened had been left sealed shut for three weeks in a hot festival lockup. Someone thought skipping the drain and closing the lid would “keep it fresh” until the next event. Instead, the waste tank had turned into a fermenting swamp, the seals had dried out, and the smell hit the back of my throat from six feet away.
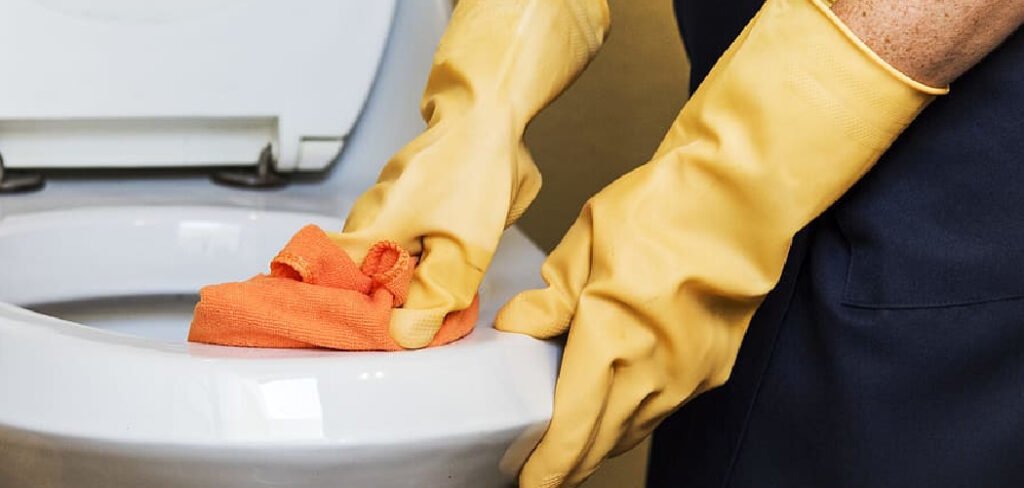
That single habit — sealing a full tank and walking off — causes more ruined units than heavy use ever will. Knowing how to clean a portable toilet properly means emptying it fully, scrubbing both tanks, and drying the seals so nothing festers between uses. Do it right and the same unit stays fresh for years.
What You’ll Need
Set everything out before you crack the tank open. Hunting for gloves halfway through is a mistake you only make once.
- Rubber gloves (thick, not the flimsy kitchen kind)
- Eye protection or a face shield
- An old apron or clothes you don’t mind ruining
- A dedicated toilet brush or a long-handled scrub brush
- A soft sponge or microfiber cloth
- A bucket
- Portable toilet cleaner or a mild dish soap
- White vinegar (for hard-water buildup and odor)
- Baking soda
- A garden hose with a spray nozzle
- Fresh toilet chemical (deodorizer/holding tank treatment)
- A funnel
- A separate rinse container just for the fresh-water tank
Keep two brushes if you can — one for the waste tank, one for the seat and lid. Cross-contaminating those is grim, and I’ve seen people do it without thinking.
Empty the Waste Tank First
Nothing else happens until the waste tank is empty. Carry the unit to an approved dump point — a sani-station, an RV dump, or a proper sewer connection. Never pour waste onto the ground or into a storm drain.
Point the pour spout away from your body, twist off the cap slowly, and press the vent button as you tip. That vent breaks the vacuum so the contents flow out smoothly instead of glugging back at you. Let it drain fully, then give the tank a few gentle shakes to loosen what clings to the bottom corners.
Rinse and Scrub the Holding Tank
Half-fill the empty waste tank with clean water from the hose, cap it, and swirl it hard for ten to fifteen seconds. Dump that rinse water at the same dump point. Repeat until the water pours out mostly clear.
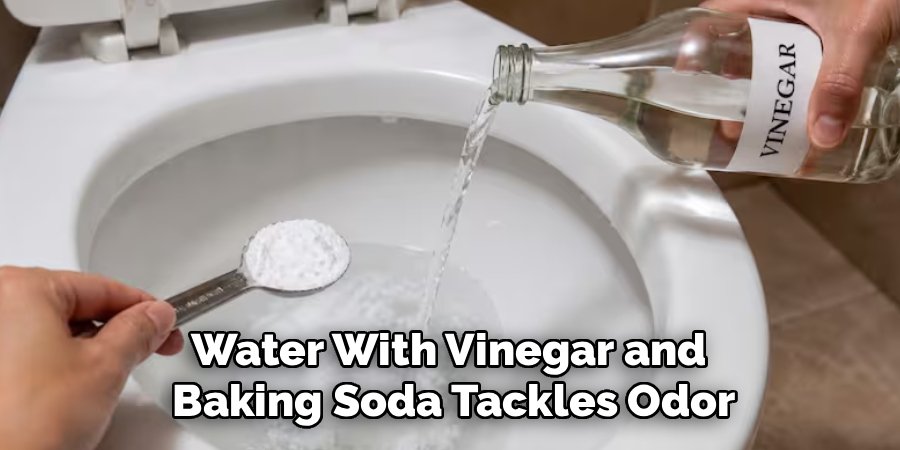
For stubborn residue or a ring around the inside, add a couple of cups of water, a splash of white vinegar, and a scoop of baking soda. Let it fizz and sit for ten minutes, then scrub the interior with your long-handled brush. The vinegar cuts through mineral scale and the baking soda knocks back the smell without you needing anything harsh.
Clean the Seat, Lid, and Bowl
With the waste tank sorted, move to the parts people actually touch. Mix warm water and a little dish soap or portable toilet cleaner in your bucket. Wipe down the seat, lid, hinges, and the bowl with your sponge, getting into the crease where the seat meets the base — that’s where grime and bacteria hide.
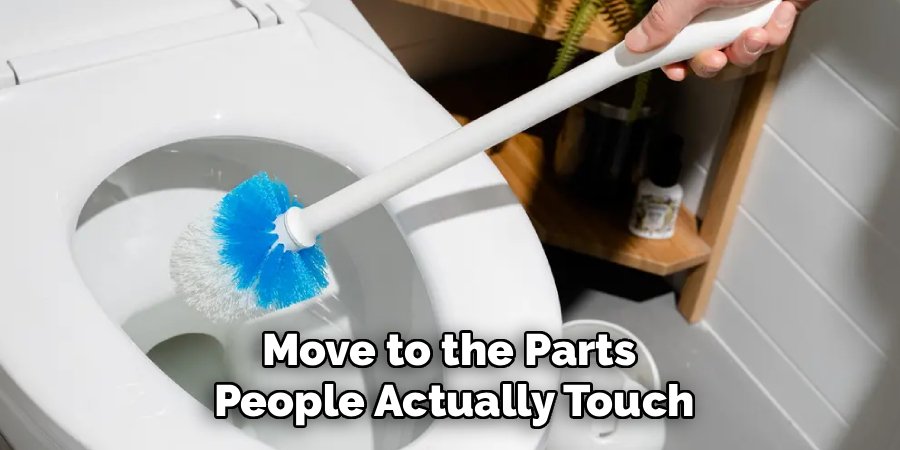
For the bowl itself, a paste of baking soda and water lifts staining without scratching the plastic. Rinse everything with clean water and wipe it dry.
Flush and Clean the Flush Mechanism
The flush pump and its channels clog with mineral deposits over time, especially if you fill with hard water. Fill the fresh-water tank with a mix of clean water and white vinegar, then pump it through several times to run the solution across the flush valve and nozzle. Let it sit for a few minutes, pump again, then drain and flush through with plain water twice to clear the vinegar out.
Here’s a field detail worth remembering: in cold months, always drain both tanks and the flush line completely before storing. Trapped water freezes, expands, and cracks the pump housing — and a cracked pump usually means a new toilet, not a repair.
Dry the Seals and Recharge the Tanks
Wipe every rubber seal and gasket dry with a clean cloth. Damp seals breed mold and, worse, they stick and tear when you next twist the tanks apart. Leave the lid open for an hour or two so the interior air-dries fully.
Once dry, add fresh toilet chemical to the waste tank using your funnel, following the dose on the bottle, and top up the fresh-water tank with clean water and a flush additive if you use one. Now it’s ready for the next use.
Dos and Don’ts at a Glance
| Do This | Not That |
| Empty the waste tank at an approved dump point | Pour waste on the ground or in a storm drain |
| Use portable toilet cleaner or mild dish soap | Use bleach in the holding tank |
| Scrub with a dedicated long-handled brush | Reach in with bare hands or a kitchen sponge |
| Use vinegar and baking soda for scale and odor | Mix bleach with any other cleaner |
| Dry the seals fully before reassembling | Reseal the unit while seals are wet |
| Drain everything before winter storage | Leave water in the pump over a freeze |
Common Mistakes to Avoid
- Leaving a full tank sealed shut. This is the swamp scenario from the top of the page. Empty it after every use, even if it’s only half full.
- Pouring bleach into the holding tank. Bleach reacts with many toilet chemicals, degrades the rubber seals, and gives off fumes in a sealed tank. Stick to products made for portable toilets.
- Skipping the fresh-water tank. People scrub the waste side and forget the flush side, then wonder why the water smells stale. Clean both.
- Storing it wet. Damp seals and standing water are how mold and cracked pumps start.
- Using an abrasive scrubber on the bowl. Scratched plastic traps stains and bacteria, making every future clean harder.
Safety and Warnings
You’re dealing with human waste and cleaning chemicals, so treat this as a genuine hygiene job, not a quick wipe-down.
- Wear PPE. Thick rubber gloves and eye protection are non-negotiable. A splash of waste water in the eye is a real risk when you tip a tank.
- Never mix cleaning products. Do not combine bleach with vinegar, ammonia, or any other cleaner — the fumes can be toxic. This is exactly why I keep bleach out of the routine entirely.
- Ventilate. Clean outdoors or in a well-aired space. Tank fumes and chemical vapors build up fast in an enclosed area.
- Wash up properly. Scrub your hands and forearms with soap after you finish, even though you wore gloves.
- Handle chemicals by the label. Portable toilet treatments are concentrated. Use the funnel, measure the dose, and keep them away from kids and pets.
Maintenance and Prevention
A steady routine means you’ll never open another fermenting tank.
- Empty after every use. The single best habit. Waste left sitting is what creates smell and staining.
- Use enough tank chemical. Under-dosing to save money backfires — the deodorizer needs the full dose to break down waste and control odor.
- Rinse the waste tank each time. A quick water swirl after emptying stops residue from building into a hard ring.
- Keep the seals conditioned. A thin wipe of silicone-safe lubricant on the rubber seals a few times a year keeps them flexible and leak-free.
- Do a vinegar flush monthly. Running vinegar through the flush line regularly stops mineral scale before it clogs the pump.
- Store it clean and dry. Empty both tanks, dry the seals, and store with the lid slightly open so air moves through.
One seasonal note: if you camp or travel in summer heat, empty and rinse more often than you think you need to. Warm weather speeds up bacterial activity in the tank, and a unit that stays fresh for three days in spring can turn in a single hot afternoon.
FAQ
What can I use to clean a portable toilet?
Mild dish soap or a purpose-made portable toilet cleaner handles the seat, lid, and bowl. For the holding tank, water with vinegar and baking soda tackles odor and scale. Avoid bleach — it damages seals and reacts with tank chemicals.
How often should you clean a portable toilet?
Empty and rinse the waste tank after every use, and do a full clean — both tanks, seat, and flush mechanism — every week or two with regular use. If you only use it occasionally, clean it fully before storing and again before the next trip.
Can you put bleach in a portable toilet?
No. Bleach breaks down the rubber seals, can react with the deodorizing chemical to release fumes, and offers no real benefit over proper toilet treatment. Use a product designed for portable and RV toilets instead.
How do you get rid of the smell in a portable toilet?
Empty and rinse the tank thoroughly, then treat it with the full dose of fresh toilet chemical. For lingering smells, swirl a mix of water, vinegar, and baking soda through the tank and let it sit before dumping. Persistent odor usually means the tank wasn’t fully emptied or the seals are holding moisture.
What is the black stuff in my portable toilet?
That’s usually a mix of bacterial buildup and mineral scale coating the tank walls, often from infrequent emptying or under-dosing the chemical. Scrub it with a vinegar-and-baking-soda solution and a long-handled brush, then keep up with regular emptying to stop it returning.
Can you use a portable toilet without chemicals?
You can for very short-term use if you empty it immediately after, but the chemical does real work — breaking down waste and controlling odor. Without it, smells build fast, especially in warm weather. For anything beyond a single quick use, treat the tank.
The Takeaway
A portable toilet stays clean when you build the routine around emptying, rinsing, and drying every time — not just when it starts to smell. Keep bleach out, keep the seals dry, and give both tanks their turn, and the same unit will serve you reliably for years.
