
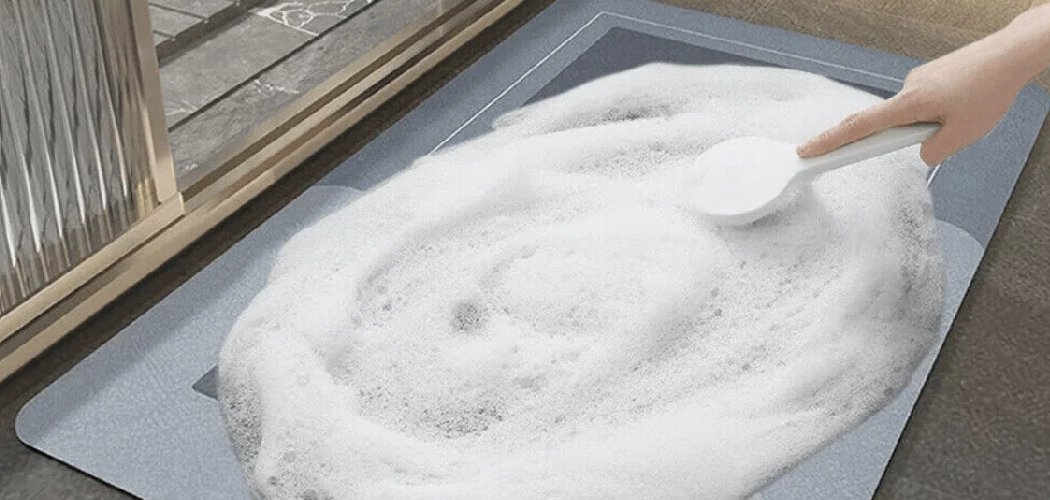
You step out of the shower onto your fancy stone bath mat, and instead of that instant dry grip, you’re standing on a slick, gray, water-logged slab that smells faintly of mildew. Nine times out of ten, someone soaked it in the tub with soap to “deep clean” it — and that’s the fastest way to clog the pores that make it work in the first place. Soap, oils, and lotion fill those tiny channels, and once they’re plugged, the mat stops absorbing entirely.
Knowing how to clean diatomaceous bath mat comes down to one idea: you’re not washing it, you’re unclogging it. These mats are made of fossilized algae pressed into a porous stone-like board, and they dry your feet by wicking water into thousands of microscopic pores. Keep those pores open and clear, and the mat lasts for years.
What You’ll Need
- Fine-grit sandpaper (around 200-400 grit; many mats come with a sheet)
- A soft-bristle brush or old toothbrush
- Mild dish soap (used sparingly, not soaked in)
- White vinegar or hydrogen peroxide for stains
- A microfiber cloth or clean towel
- A spray bottle
- Rubber gloves
- A dust mask (for the sanding step)
- A flat, stable surface to work on
Skip the bleach baths, the pressure washers, and the long tub soaks. I’ve watched people ruin a perfectly good mat in one afternoon by “restoring” it with harsh chemicals — the surface crumbles and the absorbency never comes back.
Test the Absorbency First
Before you clean anything, splash a little water across the surface. If it beads up or just sits there instead of vanishing into the stone within a second or two, your pores are clogged and the mat needs a light sanding. If the water absorbs fine but the mat looks dingy, you only need a surface wipe.
This quick test saves you effort. There’s no point sanding a mat that’s just dusty, and no point wiping one that’s genuinely clogged.
Give It a Dry Dust and Wipe
Start with the mat completely dry. Brush off any loose hair, dust, and skin flakes with a dry soft-bristle brush — these mats sit right where you shed the most, and that debris settles into the pores over time.
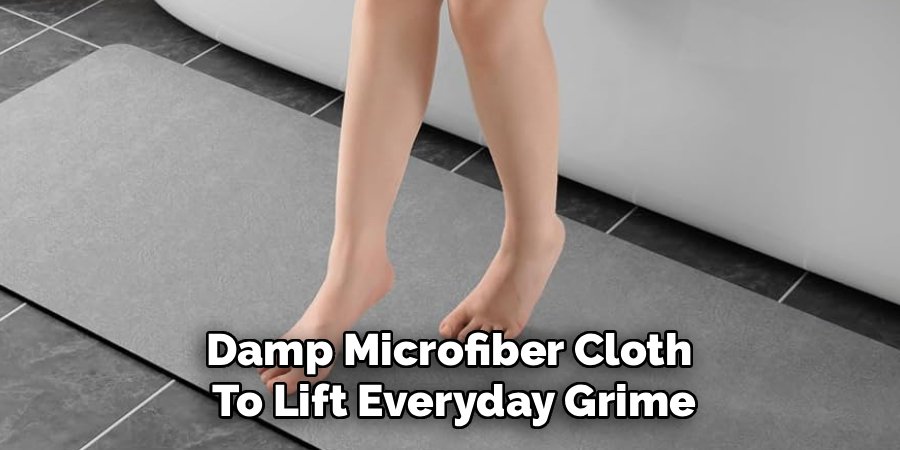
Then wipe the surface with a barely-damp microfiber cloth to lift everyday grime. Don’t drench it. A light pass is all you want at this stage, since the whole point is to keep water out of the deeper structure until you’re ready to dry it fully.
Sand the Surface to Reopen the Pores
This is the step people are scared of, and it’s actually the most important one. Lay the dry mat flat and rub the fine-grit sandpaper across the whole surface in smooth, even strokes. Work in one direction, then cross over the other way, using light pressure.
You’ll see a thin layer of pale dust come up — that’s the clogged top layer lifting off along with trapped soap and oils. Sanding exposes fresh, open pores underneath. Wipe the dust away with a dry cloth when you’re done, and run the water test again. The water should sink in almost instantly now.
How Much to Sand
Light and even beats hard and aggressive. You’re refreshing the surface, not grinding the mat down. A few passes with 200-grit paper handles most clogging; save heavier sanding for mats that have gone completely non-absorbent. Clients used to panic that sanding would wear the mat out, but these boards are thick enough to take a light refresh many times over the years you own them.
Lift Stains and Discoloration
For pink or gray patches, mist the spot with white vinegar or hydrogen peroxide and let it sit for five to ten minutes. Then scrub gently with a soft brush in small circles. Vinegar handles hard-water and mildew marks; peroxide works better on organic stains and general dinginess.
Wipe the area with a damp cloth to remove residue, then let it dry. Stubborn stains sometimes need a second treatment plus a light sanding on top, since the discoloration can sit just below the surface.
Dry It Completely and Stand It Up
Never store a damp mat flat. Stand it on its edge against a wall or in a drying rack so air reaches both sides, and leave it until it’s bone dry to the touch. A properly dried mat feels cool and matte, not cold and damp.
Once dry, it’s ready to go back on the floor. If you sanded it, that first step out of the shower should feel like the day you bought it.
Cleaning Method Comparison
| Method | Best For | Watch Out For |
| Dry brush + damp wipe | Everyday dust, hair, light grime | Won’t fix clogged pores or lost absorbency |
| Fine-grit sanding | Clogged pores, weak or no absorption | Wear a mask; sand lightly and evenly |
| Vinegar spray | Hard-water marks, mildew spots | Rinse residue; can smell strong in a closed bathroom |
| Hydrogen peroxide | Organic stains, gray dinginess | Test a corner first on colored mats |
| Long tub soak | Nothing — avoid | Waterlogs the mat and drives soap deeper into pores |
| Bleach or pressure washer | Nothing — avoid | Crumbles the surface and destroys absorbency for good |
Common Mistakes to Avoid
- Soaking it in soapy water. This is the number one mistake. Soap and oils clog the pores you’re trying to clear, and the mat comes out worse than before.
- Using bleach. It breaks down the porous structure and leaves the mat brittle and flaky.
- Storing it wet and flat. Trapped moisture breeds mildew underneath where you can’t see it. Always stand it up to dry.
- Sanding too hard. Heavy grinding wears the board down faster than it needs to. Light, even passes do the job.
- Skipping the water test. Sanding a mat that’s only dusty is wasted effort, and a damp wipe won’t fix a mat that’s actually clogged.
- Letting lotion and oils build up. Stepping on the mat with freshly moisturized feet clogs it fastest of all — dry your feet, then apply lotion.
Safety and Warnings
The real hazard here isn’t the cleaners — it’s the sanding dust. Diatomaceous earth is a fine mineral powder, and breathing the dust from sanding isn’t good for your lungs, so wear a dust mask and work in a ventilated room or outside. Wipe the dust up with a damp cloth rather than blowing it around.
If you use vinegar and peroxide, never mix them in the same container or apply them at the same time — combined they form peracetic acid, which is irritating to skin, eyes, and airways. Use one, rinse the surface, then use the other if you need to. And never reach for bleach on these mats: beyond wrecking the material, mixing bleach with vinegar releases toxic chlorine gas in your enclosed bathroom. Test any liquid treatment on a hidden corner first, especially on colored or patterned mats, since some finishes lighten.
How to Keep Your Bath Mat Absorbent Longer
- Dry your feet before lotion. Oils are the fastest pore-cloggers. Step out, dry off, then moisturize away from the mat.
- Stand it up to dry between uses. In a busy household with back-to-back showers, prop it against the wall so it fully dries before the next person.
- Do a light monthly sanding. A quick pass with fine-grit paper once a month keeps the pores open before clogging ever sets in.
- Wipe it down weekly. A dry brush and damp cloth clears hair and dust before it works into the surface.
- Keep it out of the shower stream. Constant direct water saturates the mat instead of letting it wick and release naturally.
- Watch the humidity in winter. Bathrooms stay damp longer in cold months when windows stay shut, so mats take longer to dry — I always told clients to run the exhaust fan an extra ten minutes and give the mat a full standing dry, or mildew creeps in along the bottom edge.
Frequently Asked Questions
How do you clean a diatomaceous bath mat that stopped absorbing water?
Its pores are clogged with soap, oils, and dead skin. Let the mat dry completely, then sand the whole surface lightly with fine-grit sandpaper (200-400 grit) in even strokes. Wipe away the dust and run a water test — the water should sink in almost instantly once the fresh pores are exposed.
Can you put a diatomaceous bath mat in water?
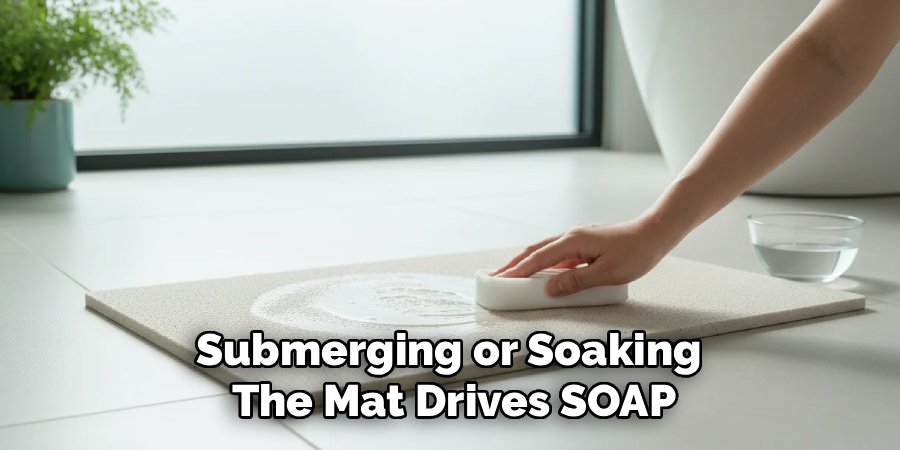
Not to soak it. A quick damp wipe is fine, but submerging or soaking the mat drives soap and grime deeper into the pores and waterlogs the material. Clean it dry as much as possible, spot-treat stains, and always stand it up to dry fully afterward.
How do you get stains out of a stone bath mat?
Mist the stain with white vinegar for hard-water and mildew marks, or hydrogen peroxide for organic and gray discoloration. Let it sit five to ten minutes, scrub gently with a soft brush, then wipe clean. Deep stains may need a second treatment plus a light sanding over the top.
How often should you clean a diatomaceous bath mat?
Wipe and dry-brush it weekly to clear hair and dust, and do a light sanding about once a month to keep the pores open. If it starts feeling slick or water stops absorbing quickly, sand it sooner regardless of the schedule.
Why does my diatomaceous mat smell musty?
It’s being stored damp, usually flat on the floor, which traps moisture underneath and breeds mildew. Stand it on its edge to dry completely between uses, spot-treat any gray patches with vinegar or peroxide, and improve airflow in the bathroom with the exhaust fan.
Is sanding a diatomaceous bath mat safe?
Yes, as long as you protect your lungs. The mineral dust is fine, so wear a dust mask, work in a ventilated space, and wipe up the dust with a damp cloth instead of scattering it. The mats are thick enough to handle light sanding many times over their lifespan.
Final Thoughts
Treat the mat like a stone that breathes, not a rug you wash — keep the pores open, keep it dry, and skip the soaps and bleach that clog and crumble it. A light sanding once a month is the whole secret, and it’ll keep that instant dry-underfoot feeling going for years.
