
Someone grabs a green scouring pad, scrubs hard at a soap scum patch, and steps back to find a dull, cloudy scratch that catches grime worse than before. Those tiny scratches are permanent, and they turn a glossy acrylic or fiberglass wall into a magnet for buildup you’ll never fully wipe away. That single mistake ruins more plastic shower surrounds than hard water ever will.
The good news is that learning how to clean plastic shower walls is mostly about restraint — the right mild products and soft tools do the work without harming the finish. Skip the harsh scrubbers and the acid-heavy cleaners, and you’ll keep that shine for years.
What You’ll Need
- White vinegar
- Dish soap (a grease-cutting type works best)
- Baking soda
- A spray bottle
- Two or three soft microfiber cloths
- A non-scratch sponge or a soft nylon-bristle brush
- A rubber squeegee
- Warm water and a small bucket
- Rubber gloves
- An old, soft toothbrush for corners and seams
- A magic eraser (melamine sponge) for stubborn spots — used carefully
Keep the scouring pads, steel wool, and stiff scrub brushes out of the bathroom entirely. Plastic scratches at the slightest provocation, and once it does, there’s no undoing it.
Rinse and Clear the Walls First
Pull out every bottle, razor, and caddy so nothing hides a patch of grime. Then run warm water over the walls, or wipe them down with a wet cloth, to knock off loose dirt and dust.
This first rinse matters more than people think. Dragging a sponge across dry, gritty walls grinds those loose particles into the surface like sandpaper — the exact thing you’re trying to avoid.
Spray Down the Walls With a Gentle Solution
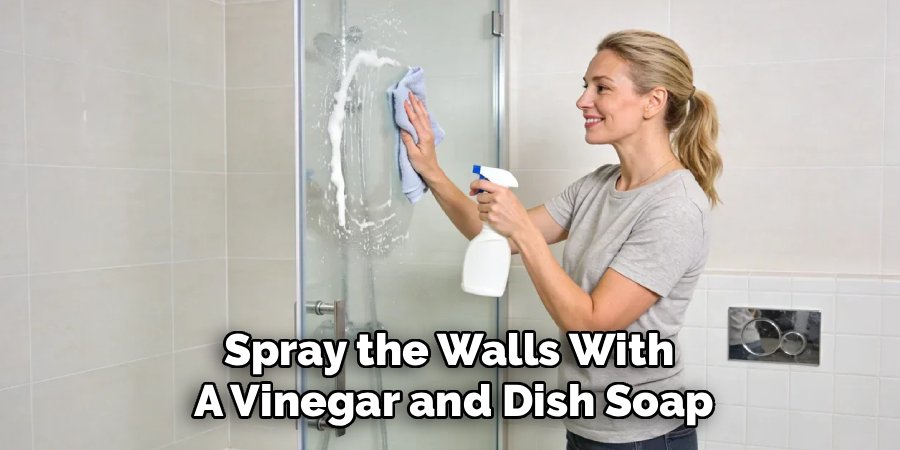
Mix a spray bottle with equal parts warm water and white vinegar, plus a good squirt of dish soap. Shake it gently and mist the entire wall surface, top to bottom.
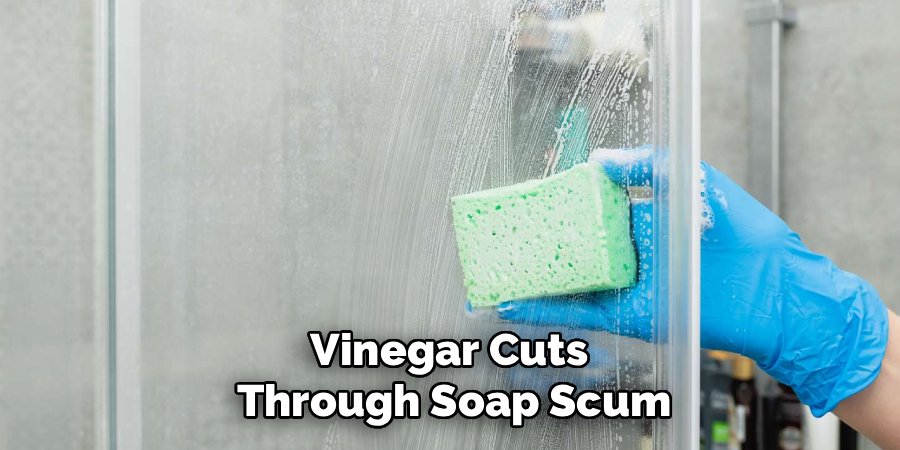
Vinegar cuts through soap scum and light mineral film, while the dish soap lifts body oils and grime. Let the solution sit for five to ten minutes so it can loosen buildup before you touch the wall.
Give Soap Scum Time to Break Down
Here’s a detail I learned the hard way on the job: plastic holds a greasy, waxy film from soap and body wash that water alone just smears around. If you scrub too soon, you’re pushing that film side to side instead of dissolving it.
For thicker scum, sprinkle baking soda over the damp wall while the vinegar is still wet. It’ll fizz a little, and that reaction helps lift the gunk without any abrasive scrubbing on your part.
Wipe With a Soft Cloth or Non-Scratch Sponge
Once the solution has had time to work, wipe the walls in gentle circles with a microfiber cloth or a non-scratch sponge. Work from the top down so drips land on surfaces you haven’t cleaned yet.
Let the loosened grime come away on its own — you shouldn’t need to press hard. If a spot resists, spray it again and wait another few minutes rather than muscling through it.
Tackle Corners and Seams With a Toothbrush
The seams where walls meet, and the corners near the floor, collect the worst buildup. A soft old toothbrush dipped in your vinegar solution gets into those tight spots without scratching the surrounding plastic.
For caulk lines that have gone gray or pink, a paste of baking soda and a little water, scrubbed in gently with the toothbrush, brightens them up. Pink or orange staining is usually a bacteria called Serratia marcescens feeding on soap residue, not mold — it wipes away more easily than people expect.
Rinse Thoroughly and Squeegee Dry
Rinse the walls with clean warm water until no soapy residue remains. Leftover cleaner attracts dirt fast, so don’t rush this part.
Finish by pulling a rubber squeegee down the walls to sheet the water off, then buff any remaining droplets with a dry microfiber cloth. Drying the walls is what leaves them streak-free and keeps water spots from setting in.
Safe Cleaners vs. Damaging Ones for Plastic
| Cleaner or Tool | Safe for Plastic? | Why |
| Dish soap + water | ✅ Yes | Gentle, cuts grease, no risk to the finish |
| White vinegar (diluted) | ✅ Yes | Handles scum and light minerals without harming plastic |
| Baking soda paste | ✅ Yes | Mild abrasive that’s soft enough for acrylic and fiberglass |
| Microfiber cloth | ✅ Yes | Lifts grime without scratching |
| Non-scratch sponge | ✅ Yes | Safe pressure-scrubbing for stubborn spots |
| Magic eraser | ⚠️ With care | Works, but it’s mildly abrasive — test first, use light pressure |
| Abrasive powder cleansers | ❌ No | Scratches and dulls the surface permanently |
| Steel wool / scouring pads | ❌ No | Leaves scratches that trap grime forever |
| Acetone or paint thinner | ❌ No | Eats into plastic and clouds it |
| Bleach (full strength) | ❌ No | Can yellow and weaken plastic over time |
Common Mistakes to Avoid
- Reaching for abrasive pads. Steel wool and scouring pads carve tiny scratches into plastic that dull the shine and hold onto scum. Stick to soft cloths and non-scratch sponges.
- Using acetone or harsh solvents. These dissolve and cloud plastic on contact. Keep nail polish remover and paint thinner far from your shower.
- Skipping the rinse before scrubbing. Dry grit acts like sandpaper. Always rinse loose dirt off first.
- Letting cleaner dry on the wall. Dried residue looks streaky and pulls in fresh dirt. Rinse fully every time.
- Scrubbing too soon. Give your solution time to dissolve the buildup so you’re not grinding away at a stubborn film.
- Using full-strength bleach regularly. Over time it yellows plastic and makes it brittle. Dilute it heavily and only use it when you truly need to.
Safety and Warnings
Never mix cleaning products. Vinegar and bleach together release toxic chlorine gas, and bleach mixed with ammonia does the same — pick one cleaner per job and rinse well before switching. A shower is a small, enclosed space, so run the exhaust fan or open a window whenever you clean, especially with anything stronger than soap and vinegar.
Wear rubber gloves to protect your skin, particularly if you’re using diluted bleach for mildew. Before trying any new cleaner or a magic eraser on the whole wall, test it on a hidden patch first — near the floor or behind where a bottle sits — to make sure it won’t dull or discolor the finish. Watch your footing too, since wet plastic underfoot gets slick fast.
How to Keep Plastic Shower Walls Clean Longer
- Squeegee after every shower. Thirty seconds of squeegeeing sheets water off before it can leave spots or feed scum. This one habit cuts your deep-cleaning down to almost nothing.
- Keep a daily spray handy. A quick mist of your vinegar-and-dish-soap mix after each use stops buildup from ever settling in.
- Run the fan for 15 minutes. Pulling humidity out fast starves mildew and slows the pink bacteria that love damp plastic.
- Switch to liquid body wash. Bar soap leaves far more waxy residue on plastic than liquid does, and cutting it makes a visible difference.
- Wipe down the walls weekly. A fast pass with a damp microfiber cloth keeps grime from building into a hard scrub job.
- Fix drips and hard water early. If you’re on hard water, minerals cement onto plastic fast. A weekly vinegar mist keeps spots from taking hold.
Windowless or poorly ventilated bathrooms need more attention — without airflow, moisture lingers and mildew shows up in the seams much faster.
Frequently Asked Questions
What is the best cleaner for plastic shower walls?
A mix of equal parts white vinegar and warm water with a squirt of dish soap handles most everyday grime and soap scum. For tougher buildup, add a baking soda paste. Both are gentle enough to protect the finish, unlike abrasive powders or harsh solvents.
How do you get soap scum off plastic shower walls without scratching?
Spray the walls with a vinegar and dish soap solution, let it sit for five to ten minutes, then wipe with a microfiber cloth or non-scratch sponge. Letting the cleaner dissolve the scum first means you never have to scrub hard enough to leave marks.
Can you use a magic eraser on plastic shower walls?
Yes, but carefully. A magic eraser is mildly abrasive, so test it on a hidden spot first and use light pressure. It’s great for stubborn stains, but overdoing it can dull the surface over time.
Why do my plastic shower walls turn yellow?
Yellowing usually comes from age, sun exposure, or repeated use of full-strength bleach, which breaks plastic down over time. Once it yellows it’s hard to reverse, so switch to gentle cleaners and dilute any bleach heavily.
How do you remove pink or orange stains from plastic shower walls?
That pink or orange film is typically a bacteria feeding on soap residue, not mold. Wipe it away with your vinegar solution or a baking soda paste, rinse well, and keep the walls dry between uses to stop it from coming back.
How often should you clean plastic shower walls?
A quick wipe-down once a week keeps buildup manageable, with a more thorough clean every two to three weeks. If you squeegee daily and use a daily spray, you’ll rarely need to scrub at all.
Final Thoughts
Plastic shower walls stay glossy for years when you treat them gently — mild cleaners, soft cloths, and a little patience beat any harsh scrubbing. Let your solution do the work, rinse well, squeegee dry, and you’ll keep that finish looking new.
