
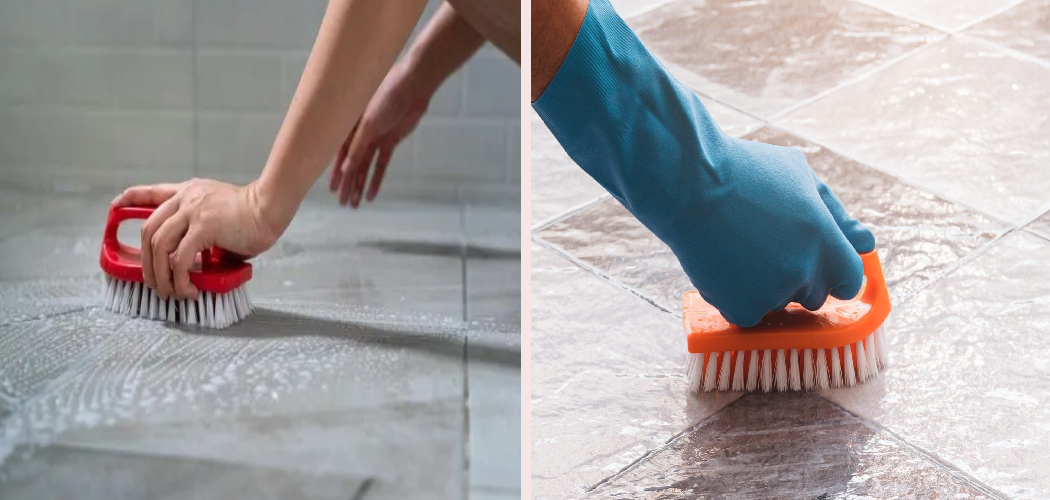
I once watched a homeowner attack her bathroom grout with the same bleach-soaked scrubber she used on her tile shower. Within a week, the grout lines were bright white and the marble around them had turned dull, chalky, and rough to the touch. The bleach didn’t just clean the grout — it etched every inch of stone it touched.
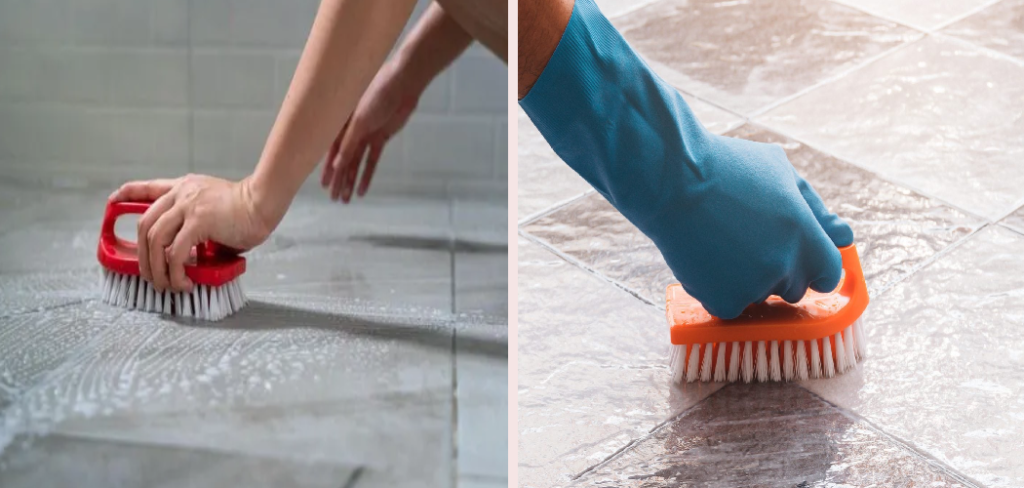
That’s the trap with marble. Learning how to clean grout on marble floor means treating two very different materials at once: the porous grout that traps dirt, and the acid-sensitive stone right beside it. Get the products wrong and you damage the expensive part while cleaning the cheap part.
What You’ll Need
- pH-neutral stone cleaner (or a few drops of pH-neutral dish soap)
- Warm water
- Baking soda
- Hydrogen peroxide (3%)
- A soft grout brush or an old, soft-bristled toothbrush
- Two microfiber cloths
- A spray bottle
- A plastic putty knife or old credit card
- Painter’s tape (to protect the marble edges)
- A small bucket
- Optional: a dedicated pH-neutral grout cleaner made for natural stone
Skip anything acidic — vinegar, lemon, and most “grout brightener” sprays. I’ll cover exactly why below.
Sweep and Pre-Rinse Before You Touch the Grout
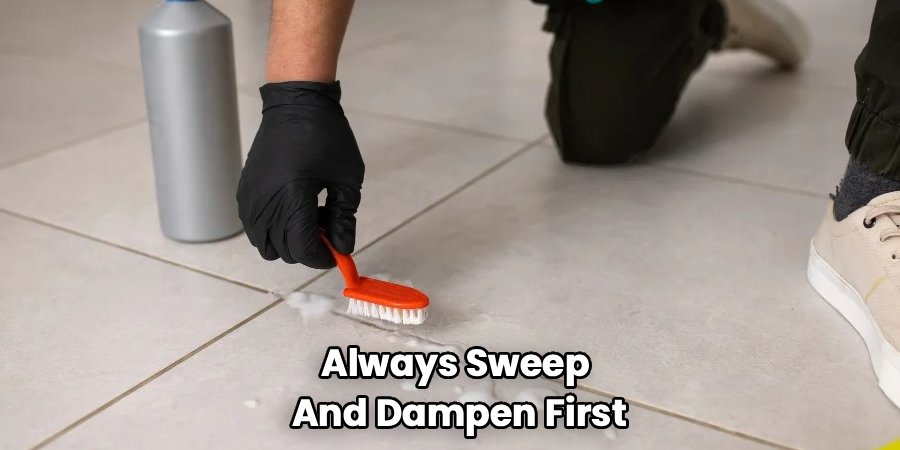
Grit is the enemy. Loose sand and dirt sitting in the grout lines will scratch your marble the moment you start scrubbing. So sweep or vacuum the whole floor first, then dampen the grout lines with warm water using a wrung-out microfiber cloth.
Warm water alone loosens surface grime and lifts a surprising amount of the light stuff. It also stops the grout from drinking up your cleaner too fast, which means the product actually works on the dirt instead of soaking straight into dry, thirsty lines.
Tape Off and Protect the Marble Edges
This is the step that separates a clean job from a ruined floor. Run painter’s tape along the marble right up to the grout line wherever you’re using a stronger cleaner like hydrogen peroxide. Marble is soft and reactive, so the less contact it has with anything beyond neutral soap, the better.
I learned this the hard way early in my career — a peroxide paste crept a millimeter onto a client’s polished Carrara and left a faint pale halo you could only see in raking light. Tape takes two minutes and saves you that conversation.
Apply a Baking Soda and Peroxide Paste
For grout that’s grimy but not badly stained, mix baking soda with a little warm water into a thick paste. For darker, set-in stains, swap the water for 3% hydrogen peroxide. Spread the paste directly onto the grout lines with the plastic putty knife, keeping it off the marble as much as you can.
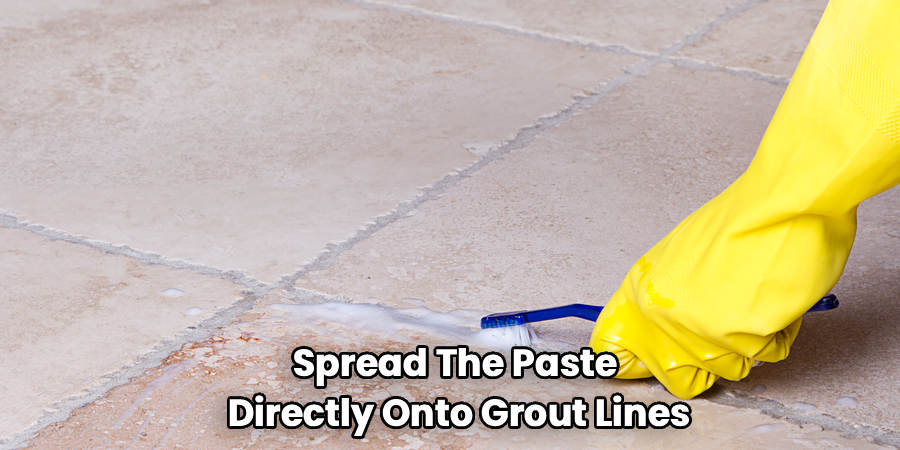
Let it sit for 10 to 15 minutes. Don’t let it dry out completely — if it starts to crack, mist it lightly with water. The paste needs to stay damp to keep working.
Scrub Along the Lines, Not Across the Stone
Take your soft grout brush and work it back and forth along the grout line only. Keep your strokes tight and controlled so the bristles stay in the channel and off the marble. Light, repeated passes beat hard scrubbing every time — pressure is what wears down both grout and stone.
For a whole floor, work in small sections of a few square feet so no paste dries before you get to it. If a stain resists, reapply the paste and give it another 10 minutes rather than pressing harder.
Rinse Thoroughly and Buff Dry
Wipe up the paste with a clean, damp microfiber cloth, rinsing it often in your bucket of warm water. Go over each section twice — leftover baking soda dries into a white film that looks worse than the dirt you started with.
Once it’s rinsed, buff the whole area dry with a second microfiber cloth. Standing water is bad news for both grout and marble, so never let a marble floor air-dry. Drying by hand also gives you that clean, even finish instead of streaks and spots.
Seal the Grout Once It’s Fully Dry
Clean grout is porous grout, and porous grout stains fast. After the floor has dried completely — give it a good few hours — apply a penetrating grout sealer made for natural stone areas. Use a small applicator bottle or brush to keep it on the grout, wipe any excess off the marble immediately, and let it cure per the label.
Sealing is the difference between cleaning your grout once a season and cleaning it every few weeks.
Safe vs. Damaging Products for Marble Grout
| Safe to Use | Will Damage Marble |
| pH-neutral stone cleaner | Vinegar, lemon, any citrus |
| pH-neutral dish soap + warm water | Bleach (etches and dulls stone) |
| Baking soda paste | Ammonia-based cleaners |
| 3% hydrogen peroxide (spot use, taped edges) | “Grout brightener” acid sprays |
| Soft grout brush or toothbrush | Stiff wire brushes, scouring pads |
| Microfiber cloths | Abrasive powders on the marble |
| Natural-stone grout sealer | Steam cleaners on unsealed grout |
The rule is simple: anything acidic or abrasive that saves you time on the grout will cost you far more on the marble.
Common Mistakes to Avoid
- Reaching for vinegar because it’s “natural.” Acid eats marble. One pass might look fine, but repeated use etches the polish and leaves dull, rough patches you can’t buff out at home.
- Using bleach to whiten grout. It works on ceramic tile, but on a marble floor it discolors the stone and breaks down over time. That bright-white grout isn’t worth a hazy floor.
- Scrubbing dry, gritty grout. Sand acts like sandpaper. Always sweep and dampen first.
- Pressing harder instead of waiting longer. Let the paste do the work. Heavy scrubbing wears grout down and pushes cleaner onto the marble.
- Skipping the rinse. Baking soda residue dries to a chalky film. Two rinses, every time.
- Letting the floor air-dry. Standing water spots marble and re-soaks grout. Buff it dry.
- Never sealing. Unsealed grout re-stains within weeks, and you’re back on your knees far sooner than you should be.
Safety and Warnings
Cleaning marble grout is low-risk, but a few things genuinely matter here.
- Never mix cleaning products. Bleach and ammonia together release toxic chloramine gas. Since neither belongs on marble anyway, the safest habit is keeping this job to neutral soap, baking soda, and peroxide only — and never combining peroxide with vinegar or other cleaners.
- Ventilate the room. Even peroxide fumes build up in a small, closed bathroom. Open a window or run the fan while you work.
- Test in a hidden spot first. Try your paste on grout in a closet corner or under a vanity before committing to the whole floor. Wait a few minutes and check both the grout and the surrounding stone.
- Wear gloves. Baking soda and peroxide dry out and irritate skin over a long session, and peroxide will sting any cuts.
- Protect your knees and back. Floor work is hard on the body. Use a padded kneeler and take breaks — I’ve seen more cleaners sidelined by their knees than by any chemical.
- Keep sealer away from kids and pets while it cures, and follow the ventilation guidance on the label.
Keep Your Marble Grout Cleaner for Longer
The goal isn’t scrubbing harder — it’s scrubbing less because the dirt never sets in. Here’s what keeps grout lines bright between deep cleans:
- Sweep or dust-mop daily. Grit is what grinds dirt into grout and scratches marble. Two minutes a day prevents most of the buildup.
- Wipe spills the second they happen. Coffee, wine, and oil sink into grout fast. Blot, don’t smear.
- Damp-mop weekly with pH-neutral cleaner. Never use a standard floor cleaner — most are too alkaline or acidic for stone. Wring the mop well so you’re not flooding the grout.
- Reseal the grout every one to two years. Here’s a quick field test: drop a little water on a grout line and watch it. If it beads, your seal is holding. If it darkens and soaks in, it’s time to reseal.
- Use mats at entrances. Most of the dirt on any floor walks in on shoes. A good mat catches it before it reaches your marble.
One thing worth knowing: grout in bathrooms and entryways always darkens faster than grout in low-traffic rooms, and lighter grout shows every speck. Clients with pale grout in their entry hall used to ask me why it “got dirty so fast” — it wasn’t dirtier, the color just hid nothing. If you’ve got light grout in a busy spot, plan on sealing more often.
Frequently Asked Questions
Can you use vinegar to clean grout on a marble floor?
No. Vinegar is acidic, and while it might lift grime from the grout, it etches and dulls the marble right beside it. The damage builds up with every use and can’t be buffed out at home. Stick with a baking soda paste and pH-neutral cleaner instead.
What’s the best homemade cleaner for marble grout?
A paste of baking soda and warm water covers everyday grime. For set-in stains, mix baking soda with 3% hydrogen peroxide instead. Both are gentle on stone as long as you keep them on the grout and rinse thoroughly afterward.
How do you whiten grout without damaging marble?
Skip the bleach. Use a baking soda and hydrogen peroxide paste, let it sit 10 to 15 minutes, then scrub gently along the lines with a soft brush. Tape off the marble edges first, and reapply rather than scrubbing harder if a stain resists.
Is it safe to use a steam cleaner on marble floor grout?
Be careful. Steam can force moisture deep into unsealed grout and, over time, stress the marble and any sealer. If your grout is freshly sealed and in good shape, brief, light steaming can work — but a neutral cleaner and soft brush are the safer bet.
How often should you clean and seal marble grout?
Sweep daily, damp-mop weekly with a pH-neutral cleaner, and deep-clean the grout every season or as needed. Reseal every one to two years, using the water-bead test to check whether the seal still holds.
Why does my marble grout keep getting dirty so quickly?
Usually the sealer has worn off, so the porous grout soaks up dirt and spills again. Light-colored grout in high-traffic areas also shows grime that darker grout hides. Reseal it, and add entrance mats to cut down the dirt reaching the floor.
Final Word
Treat the grout and the marble as one job, not two, and you’ll keep both looking sharp for years. Keep the acids and bleach far away, let your paste do the heavy lifting, and run that water-bead test so a worn sealer never sends you back to scrubbing sooner than you need to.
