
The furnace kicks off on the coldest morning of the year, and by the time you’re outside squinting at the tank, the culprit isn’t an empty gauge — it’s a filter bowl packed with black sludge that starved the burner overnight. Most people never touch that filter until the heat quits, and by then the gunk has already cost them a service call.
Learning how to clean a filter on an outside oil tank is one of those small jobs that saves you a cold house and a plumber’s bill. The filter sits on the supply line between your tank and the burner, catching sludge and water before they reach the nozzle. Clear it on your schedule, and you control when the heat stays on — not the sediment.
What You’ll Need
- Replacement filter cartridge or element (buy the exact match for your housing before you start)
- New gaskets or O-rings — they come with most cartridge kits, and old ones rarely reseal
- A filter wrench or the correct socket for the housing bolt
- An oil-safe drain pan or wide bucket (at least a gallon capacity)
- Absorbent pads or cat litter for spills
- Clean rags — a stack of them, not two
- Nitrile gloves (heating oil eats through cheap latex)
- Safety glasses
- A flashlight or headlamp
- A small stiff brush for the housing interior
- Sealed container for the used filter and waste oil
Skip the paper towels for the actual oil — they fall apart the second they get saturated. Real shop rags or absorbent pads hold up.
Shut Off the Oil Supply Valve First
Before a single bolt comes loose, close the shutoff valve at the base of the tank. It’s usually a small handle or gate valve right where the supply line leaves the tank. Turn it fully closed and give it a beat — you want the line to stop feeding oil before you open anything downstream.
If your system has a firematic valve or an inline ball valve near the filter too, close that as well. Two closed valves mean no surprise oil running down your arm when you crack the housing.
Confirm the Burner Is Off
Switch off the burner at its service switch — the red-plated switch usually mounted near the basement stairs or on the unit itself. You don’t want the burner motor trying to draw oil through an open line while you work. Kill the power, then double-check the flame is out.
Position Your Drain Pan and Open the Housing
Slide the drain pan directly under the filter housing. There’s always more oil trapped in that bowl than people expect — figure on a cup or two, sometimes more on older canister-style units.
Loosen the center bolt or the housing nut with your wrench. Go slow. As the seal breaks, oil will start to weep out, so let it drip into the pan rather than yanking the whole thing free at once. Once it’s loose enough, lower the bowl or slide the cartridge out and let it drain completely.
Read the Sludge Before You Toss It
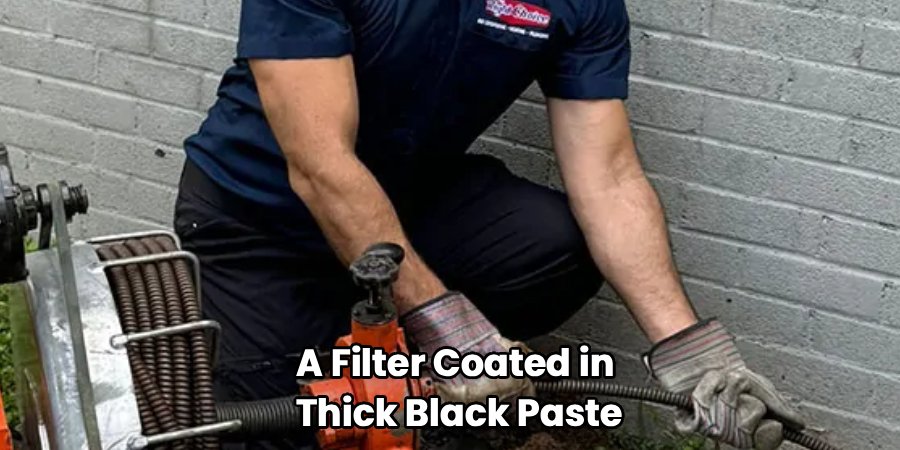
Here’s something I always pointed out to homeowners: the old filter tells you what your tank is doing. A filter coated in thick black paste means heavy sediment settling at the tank bottom. A filter with a layer of water beading at the base of the bowl means condensation is getting in — common on outside tanks that swing between warm days and freezing nights. That water reading is your early warning; catch it now and you avoid a frozen line come January.
Clean the Housing Interior
With the old element out, wipe the inside of the housing bowl clean with a rag. Use your stiff brush to knock loose any caked sediment stuck to the walls and around the base. Don’t leave grit behind — it’ll contaminate the fresh cartridge the moment oil flows again.
Wipe the sealing surfaces where the gasket seats until they’re clean and smooth. Any old gasket material or debris on that lip will stop the new seal from seating flat, and that’s where slow leaks start.
Install the New Cartridge and Gasket
Drop in the new filter element, seating it fully. Peel off the old gasket or O-ring and fit the new one — never reuse the old seal, even if it looks fine. Rubber that’s been compressed and soaked in oil for a year has lost its spring, and it will seep.
A thin smear of clean heating oil on the new gasket helps it seat without pinching. Then reassemble the housing and tighten the center bolt firmly by hand and wrench — snug, not gorilla-tight. Overtightening cracks housings and crushes gaskets.
Reopen the Valve and Check for Leaks
Open the tank shutoff valve slowly and watch the housing. Let oil refill the bowl and hold your eyes on every seam for a full minute. A weeping gasket shows itself fast. If you see a bead forming, close the valve and reseat the gasket before you go any further.
Bleed the Line and Restart
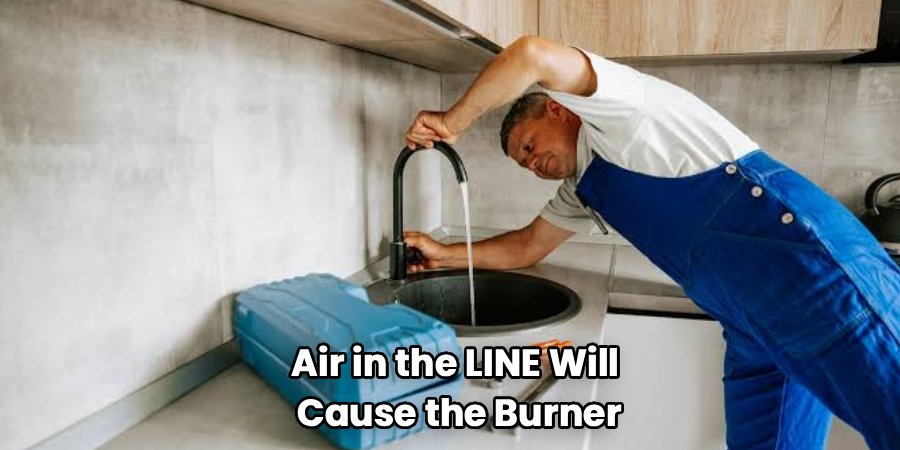
Once the housing holds tight, restore power to the burner and bleed the fuel line at the pump’s bleeder valve to purge trapped air. Air in the line will cause the burner to sputter, lock out, or refuse to fire. Bleed until the oil runs steady and bubble-free, then close the bleeder and let the burner run. Stand there through a full cycle to confirm steady flame and no drips.
Dos and Don’ts
| Do This | Don’t Do This | Why It Matters |
| Close the tank valve before opening the housing | Open the filter with the supply line live | Live oil runs down your arm and floods the work area |
| Replace the gasket every time | Reuse the old gasket “because it looks okay” | Compressed rubber won’t reseal and will seep |
| Buy the exact cartridge match first | Guess or force a close-enough element | Wrong-size filters bypass or leak unfiltered oil |
| Bleed the line after reassembly | Skip bleeding and hope it fires | Trapped air causes sputtering and burner lockout |
| Catch waste oil in a sealed container | Pour used oil down a drain or on soil | Illegal, and it contaminates groundwater |
| Hand-tighten then snug with a wrench | Crank the bolt as hard as you can | Overtightening cracks the housing and crushes seals |
Common Mistakes to Avoid
The failures I saw weren’t from people being careless — they were from rushing the last two minutes of the job.
- Forgetting to bleed the line. This is the number-one reason a “fixed” system won’t restart. The filter’s perfect, but air in the line locks the burner out.
- Reusing the gasket. It costs pennies and comes in the kit. Skipping it guarantees a slow drip you’ll be chasing all winter.
- Leaving sludge in the housing. A clean cartridge in a dirty bowl clogs twice as fast.
- Working on a full-blast hot burner. Shut everything down first. No exceptions.
- Doing it in the dead of winter. Cold oil turns thick and sluggish, spills cling to everything, and a frozen valve won’t budge. Clean in the shoulder season instead.
- Not tracking water in the bowl. Ignore the water reading and you’ll be thawing a gelled line when it’s five degrees out.
Safety and Warnings
This job puts you hands-on with a flammable fuel, so treat it with respect.
Kill all ignition sources. No smoking, no open flames, no running the burner while the housing is open. Heating oil doesn’t flash as easily as gasoline, but vapors and fuel-soaked rags are still a fire risk. Keep a rated fire extinguisher within reach.
Wear your PPE. Nitrile gloves — not latex, which heating oil degrades — plus safety glasses. Oil splashes when a stuck bolt finally lets go, and you don’t want it in your eyes.
Work in open air. Outside tanks make this easy, but if any part of the run is in a shed or enclosed space, keep it ventilated. Fuel vapor builds up fast in still air.
Handle waste responsibly. Used filters, drained oil, and soaked rags are hazardous waste. Seal them in a proper container and take them to a household hazardous-waste facility or an auto shop that accepts used oil. Never pour oil on the ground, into a storm drain, or in household trash.
Know your limit. If the shutoff valve won’t close, the housing is corroded solid, or you smell a strong leak you can’t trace, stop and call a licensed oil technician. There’s no shame in it — a botched fuel connection is a hazard you’ll live above.
How to Keep Your Filter Cleaner Longer
A little upkeep stretches the time between changes and keeps sludge out of your burner.
- Change the filter once a year, before heating season. Late summer or early fall is ideal — mild weather, thin-flowing oil, and no pressure to rush.
- Keep the tank topped up in summer. A full tank leaves less airspace for condensation to form, which cuts the water that ends up in your filter bowl.
- Add a fuel stabilizer or biocide if your tank sits idle. Long warm-weather gaps let sludge and microbial growth build at the tank bottom.
- Watch for water at every change. Consistent water means condensation or a tank issue worth addressing before it freezes a line.
- Insulate exposed supply lines. On outdoor tanks, a wrapped line resists the gelling that clogs filters in a cold snap.
- Have the tank bottom checked periodically. If your filter clogs fast every year, sediment is likely pooling in the tank and needs professional attention.
Frequently Asked Questions
How often should you change an outside oil tank filter?
Once a year is the standard, ideally right before heating season starts. If you burn a lot of oil or your filter shows heavy sludge and water at each change, bump it to twice a year — once in fall and once mid-winter.
Can you clean an oil filter cartridge and reuse it?
No. The paper or fabric element is designed to be replaced, not washed. You can wipe out and reuse the metal housing, but the cartridge itself goes in the waste container every time.
Why won’t my oil burner start after changing the filter?
Almost always trapped air in the fuel line. Opening the housing lets air in, and the burner can’t pull oil past it. Bleed the line at the pump’s bleeder valve until the oil runs steady and bubble-free, then restart.
What happens if you don’t change your oil tank filter?
Sludge and water build up until they clog the line and starve the burner. You get sputtering, frequent lockouts, and eventually no heat — usually on the coldest night, when a service call costs the most.
Is there water supposed to be in the oil filter bowl?
A little condensation is common, especially on outdoor tanks that swing between warm and freezing. But a visible layer of water pooling at the base is a warning sign of moisture getting into your tank, and it should be addressed before it freezes a supply line.
Do you need to bleed the line every time you change the filter?
Yes. Any time you open the fuel line and let air in, you should bleed it before running the burner. Skip it and you’ll be fighting sputtering and lockouts.
Final Thoughts
That crusted filter bowl is a slow-motion problem you can fix in an afternoon of mild weather rather than a frozen emergency at midnight. Shut the valve, swap the cartridge and gasket, bleed the line, and watch for water — do that once a year and your burner keeps its end of the bargain when the cold hits.
