
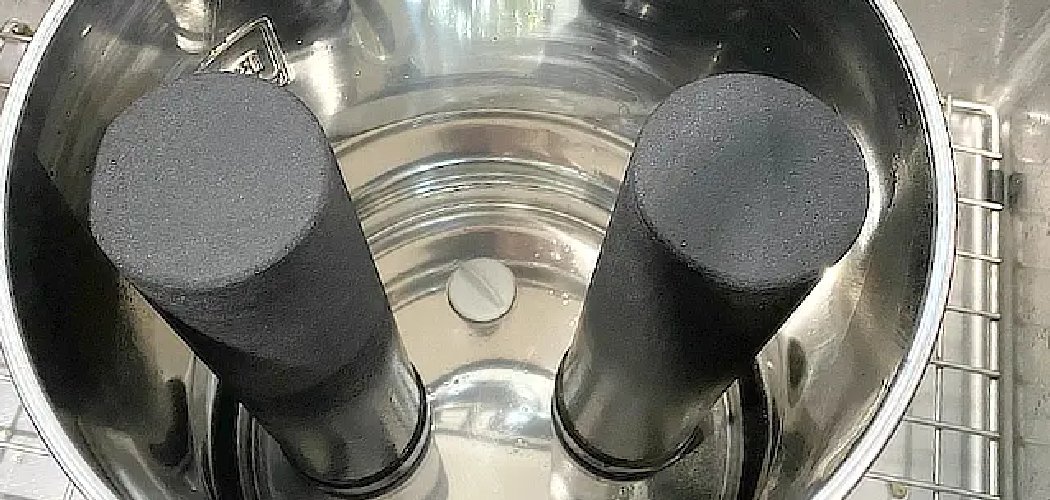
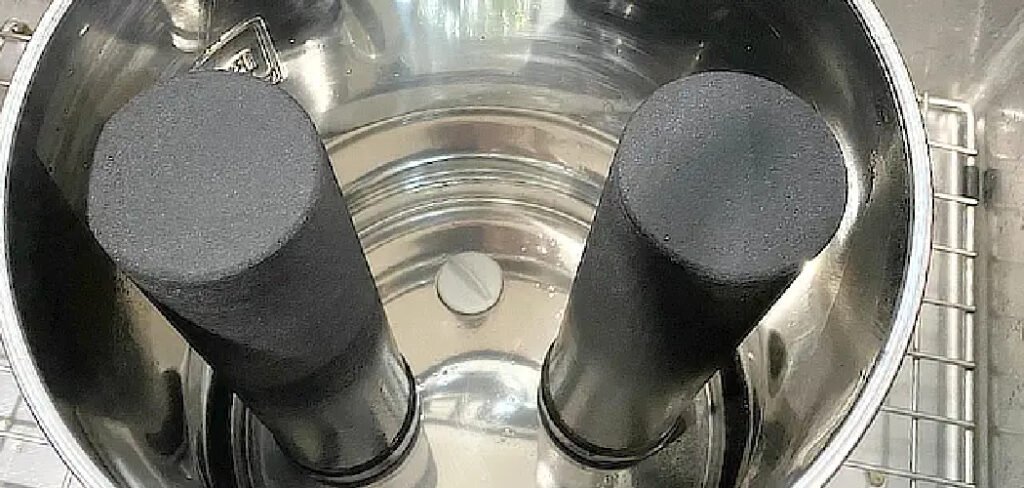
The tap slows to a lazy drip, and your first thought is that the filters are shot — so your finger hovers over the “buy replacement” button. Hold off. Nine times out of ten, that sluggish flow means the outer shells are clogged with sediment, not that the media inside has failed.
Knowing how to clean Black Berkey filters is the difference between a quick five-minute refresh and dropping money on a new set you don’t need. These elements pull water through a dense, porous shell, and that shell catches every bit of grit and mineral your source water carries. Clear the buildup the right way, and your flow rate comes back fast.
What You’ll Need
- A coarse Scotch-Brite pad or a stiff, clean dish scrubber (nothing that’s touched soap)
- Cool running tap water
- A clean, dry towel or a stack of paper towels
- Food-grade red dye (for the priming/re-prime test afterward)
- The priming button or washer that shipped with your system
- A clean sink or basin
- Rubber gloves (optional — mostly for grip on wet filters)
Notice what’s missing: no soap, no dish detergent, no bleach, no vinegar, no all-purpose spray. The shell behaves like a sponge, and anything you rub into it soaks in and stays there where clean water can’t rinse it back out.
Scrub the Outer Shell Under Cool Running Water
Pull the filters out of your system and hold one under cool running tap water. Grab the rough side of your scrubbing pad and work in short, firm strokes down the length of the element. Within seconds you’ll see gray-brown sludge lift away — that’s the sediment that’s been strangling your flow.
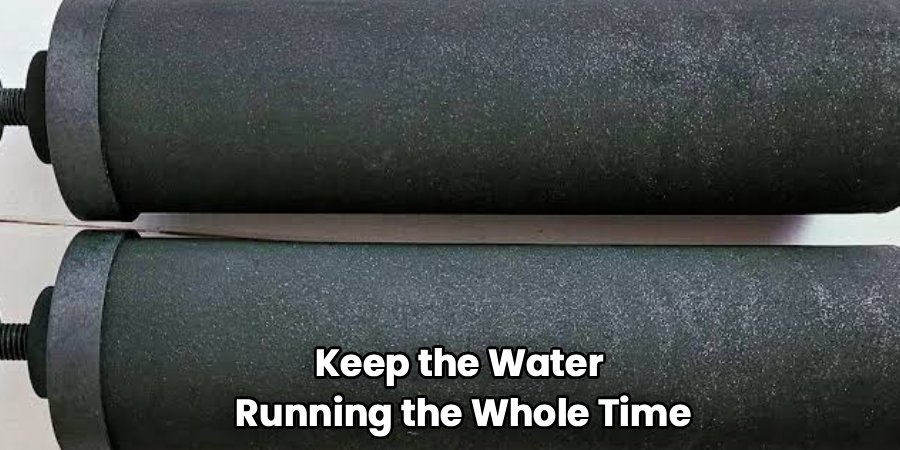
Keep the water running the whole time. You want the loosened grime carried off down the drain, not smeared right back into the pores. Rotate the filter as you go so you cover every side, including the shoulders up near the threaded stem. Don’t fuss over the inside; the outer shell is where clogging happens, and that’s the only surface you’re touching here.
How Much Pressure to Use
Firm and steady beats hard and frantic. You’re abrading the top skin of buildup, not carving into the shell. Two or three passes over a spot is plenty, and you’ll feel the surface change under the pad — it goes from slick and slimy to slightly gritty and clean. That texture shift is your signal to move on.
I always told clients on well water or hard municipal supply to expect this cleaning far more often than folks with soft city water. Mineral-heavy sources cake the outside quickly — sometimes every couple of weeks in high summer, when everyone’s drinking more and running the system harder.
Rinse the Stem and Washer Area
Once the shell looks clean, turn your attention to the threaded stem and the rubber washer. Rinse both under the tap and wipe them down so no grit lingers around the seal. A gritty washer is one of the most common causes of “my Berkey is leaking” panic — people assume a cracked filter when a five-second wipe would have fixed it.
Dry the Threads Before Reassembly
Dry the stem and threads with your towel before the filter goes back in. The porous body will stay damp, and that’s completely normal — you don’t need to dry that. But the connection point should be dry so the wing nut grips properly and the washer seats without slipping.
Re-Prime the Filters
Cleaned filters need re-priming, because scrubbing and reinstalling can trap air pockets that block flow. Fit the priming button over the stem, hold the nub against a faucet, and push the filter’s threaded end firmly against the button so water forces backward through the shell. You’ll see the outside “sweat” as water beads through the pores — that’s how you know it’s primed. Do this for 10 to 15 seconds per filter, then reinstall.
Run the Red Dye Test
If you want proof the filters still work after cleaning, run the red dye test. Add about a teaspoon of food-grade red food coloring per gallon of water in the top chamber. Clean, functioning filters strip the dye completely, so the water in the bottom chamber should come out clear. If it runs pink, the element has failed and needs replacing — cleaning won’t save it.
What to Use vs. What to Avoid
| Task | Use This | Avoid This | Why |
| Scrubbing the shell | Coarse Scotch-Brite pad or stiff brush | Soap, detergent, dish liquid | Soap soaks into the porous media and contaminates it |
| Loosening buildup | Cool running tap water | Bleach, vinegar, cleaning sprays | Chemicals get trapped where rinsing can’t reach |
| Cleaning the washer | Damp towel wipe | Abrasive scouring on rubber | Grinding wears the seal and causes leaks |
| Sanitizing worry | Nothing needed | Alcohol or sanitizer soaks | The filter media isn’t designed for chemical exposure |
| Restoring flow | Re-priming with the button | Boiling the filters | Heat can crack or warp the shell |
Common Mistakes to Avoid
The mistakes I saw most often weren’t about laziness — they were about people trying too hard.
- Using soap “just this once.” There’s no such thing. Even one soapy scrub means you’ll taste it in your water for weeks, and the media never fully rinses clean.
- Scrubbing until the shell feels raw. You’re not sanding furniture. Over-scrubbing thins the shell and shortens its life.
- Skipping the re-prime. Freshly cleaned filters that trickle slowly aren’t broken — they’re full of air. Prime them and the flow returns.
- Reinstalling with wet threads. A slick, wet connection won’t seat right, and then you’ll swear the system is leaking.
- Waiting until flow nearly stops. By then the pores are packed hard, and a quick scrub won’t fully clear them. Clean at the first sign of slowdown.
Safety and Warnings
There’s good news here: cleaning these filters involves no harsh chemicals, so you’re not dealing with fumes, ventilation needs, or the classic “never mix bleach and ammonia” hazards. This is one of the safest cleaning jobs in your house.
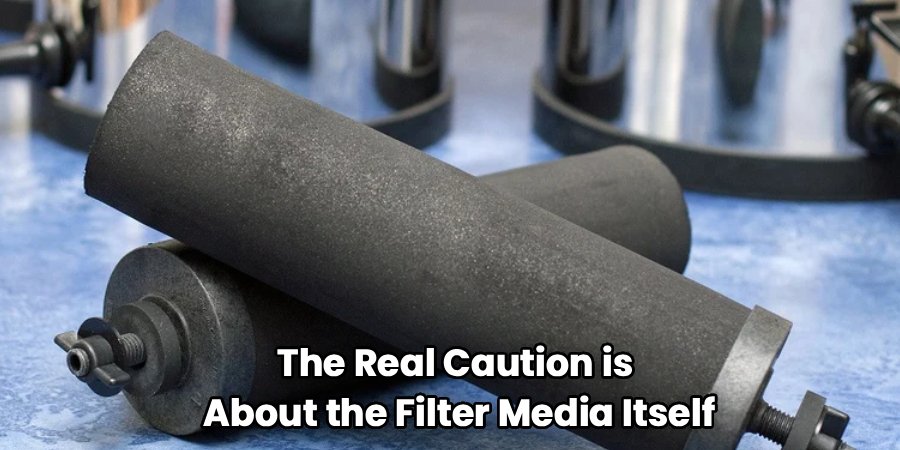
The real caution is about the filter media itself. The shell is intentionally porous — that’s how it captures contaminants — which means it absorbs whatever touches it. Soap, bleach, vinegar, sanitizer, and cleaning sprays all sink into that structure and stay put, leaching into your drinking water long after you think you’ve rinsed them away. That’s not a taste problem alone; it defeats the entire purpose of filtering your water in the first place. Cool water and a clean abrasive pad are the only “cleaners” these elements should ever meet.
One more practical note: dry your hands and grip carefully. Wet filters get slippery, and dropping one on a hard floor can crack the shell — a crack you won’t always see but that will let unfiltered water slip through.
How to Keep Your Filters Clean Longer
A little prevention stretches the time between scrubbing sessions and extends the life of the elements.
- Pre-filter murky source water. If you’re filling from a well, rain barrel, or cloudy tap, let the water settle first or run it through a coffee filter. Less sediment in means less caked on the shell.
- Clean the chambers monthly. Wipe the upper and lower stainless chambers with a damp cloth so grime doesn’t recirculate onto freshly cleaned filters.
- Don’t let the system sit dry for weeks. Filters that dry out completely after heavy use can be slower to re-prime. If you’re traveling, empty the system and store the filters sealed.
- Track your flow rate. Time how long a full top chamber takes to drain when the filters are new. When that time noticeably creeps up, it’s cleaning day — not shopping day.
- Rotate cleaning with the seasons. Summer means more water use and faster clogging. I told clients to plan a scrub at the start of every hot stretch rather than waiting for the drip.
Frequently Asked Questions
How often should you clean Black Berkey filters?
For most households on treated city water, every three to six months keeps flow strong. On well water or hard, mineral-heavy supply, expect to clean every few weeks, especially in summer. Let your flow rate be the guide — when it slows noticeably, it’s time.
Can you clean Black Berkey filters with soap?
No. Soap and detergent soak into the porous shell and can’t be rinsed out, leaving a taste and contaminating the media. Cool water and a coarse scrubbing pad are all you need.
Why is my Berkey so slow after cleaning?
Almost always trapped air. Scrubbing and reinstalling introduces air pockets that block water flow. Re-prime each filter with the priming button until you see the shell sweat, and normal flow returns.
How do you know when Black Berkey filters need replacing instead of cleaning?
Run the red dye test. If the water in the lower chamber turns clear, cleaning has done its job. If it comes out pink, the element has failed and no amount of scrubbing will fix it.
Can you soak Black Berkey filters to clean them?
Soaking in plain water won’t hurt, but it won’t clear surface sediment either — that requires physical scrubbing. Never soak them in any solution containing soap, vinegar, bleach, or sanitizer.
Do you need to sanitize the filters after cleaning?
No. The filters aren’t designed for chemical sanitizing, and doing so contaminates the media. If you’re worried about the chambers, wipe those with a damp cloth — leave the filter elements to plain cool water only.
Final Thoughts
Slow flow is usually a cleaning cue, not a death sentence for your filters. Give the shells a firm scrub under cool water, re-prime them, and run a dye test if you want peace of mind — you’ll likely get months more life out of a set you were ready to throw away.
