
The fastest way to ruin a good RO system is to skip sanitizing it and then wonder why the water tastes like a wet cardboard box. I’ve been called out to plenty of homes where the owner swore something was “wrong” with their unit, when really it just needed the annual cleaning nobody told them about.
Good news: you can handle this yourself in an afternoon. Learning how to clean a reverse osmosis system properly keeps your water fresh, protects the membrane, and saves you the cost of an early replacement. Do it right once, and the routine becomes second nature.
What You’ll Need
- Unscented household bleach (5–6% sodium hypochlorite) OR NSF-certified RO sanitizer
- White distilled vinegar (for scale and mineral buildup)
- A clean bucket
- Filter housing wrench (usually comes with your system)
- Rubber gloves and safety glasses
- Clean microfiber cloths
- A soft bottle brush
- Fresh replacement filters (sediment and carbon)
- Paper towels
- Access to your kitchen sink
Set everything out before you start. Nothing worse than having the system half-apart with soapy hands, hunting for the housing wrench in a junk drawer.
Shut Off the Water Supply and Depressurize the Tank
Turn off the cold water feed valve that supplies the system. This is usually under the sink, a small saddle valve or quarter-turn valve on the incoming line.
Next, open your RO faucet and let it run until the flow stops completely. This drains the storage tank and releases pressure. If water keeps trickling, close the tank’s ball valve and open the faucet again to relieve any remaining pressure. Skipping this step means a soggy cabinet floor the moment you unscrew a housing.
Remove the Filters and Empty the Housings
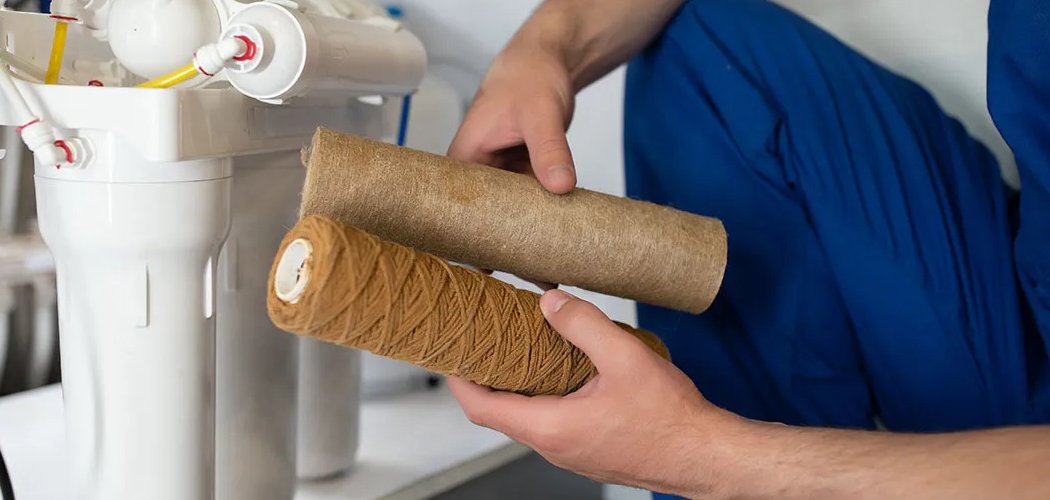
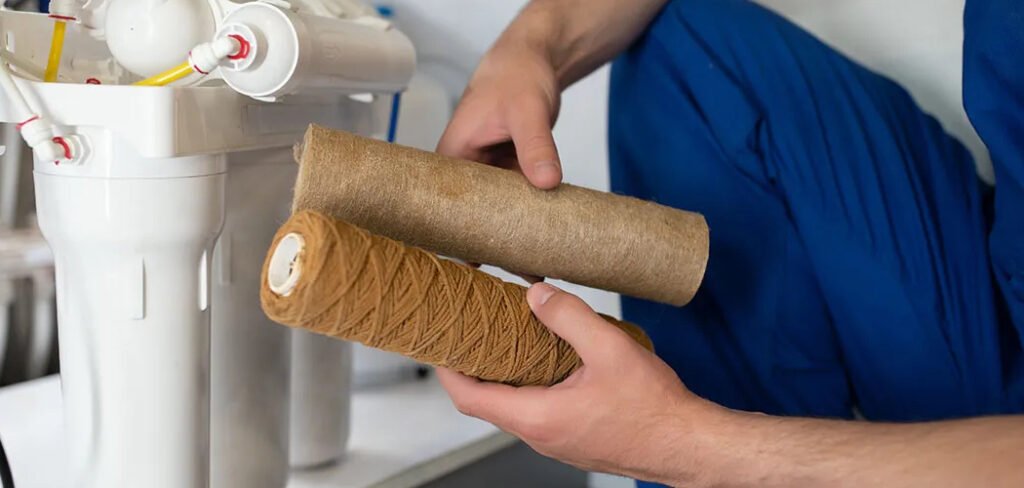
Place your bucket underneath to catch drips. Using the housing wrench, unscrew each filter canister counterclockwise. Pull out the old sediment and carbon filters and toss them.
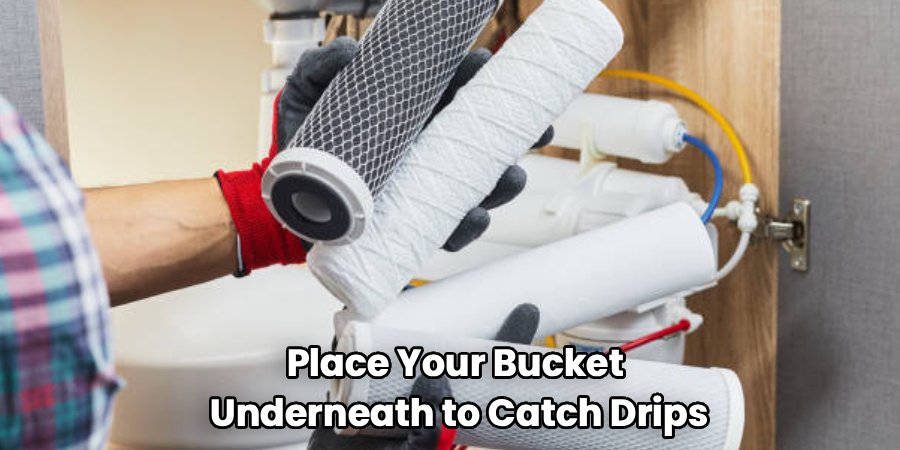
Empty any standing water from the housings into your bucket. Take a look inside while you’re there. A little slime on the walls is normal after a year; a thick orange or black film tells you the cleaning was overdue.
Wash the Housings and O-Rings
Scrub the inside of each housing with warm water, a drop of dish soap, and the soft bottle brush. Rinse well.
Pull each O-ring out carefully and inspect it. Here’s something clients used to ask me about all the time: why the O-ring looks “chewed up.” That flattening and cracking happens because people over-tighten the housings by hand, thinking tighter means no leaks. A dry, dented O-ring is your cue to replace it and to apply a dab of food-grade silicone grease so it seats without pinching.
Sanitize the System With Bleach
This is the core of the job. Mix your sanitizing solution:
- Reinstall the empty housings (no filters inside yet) and reconnect them.
- Add 2–3 tablespoons of unscented bleach directly into the first-stage housing before sealing it. Or follow your RO sanitizer’s dosing label.
- Turn the water supply back on and let the system fill.
- Open the RO faucet until you smell a faint chlorine hint, then close it.
- Let the bleach solution sit in the lines and tank for 20–30 minutes.
Don’t leave it longer than 30 minutes. Prolonged bleach contact can degrade certain tubing and gaskets over time.
Flush the System Thoroughly
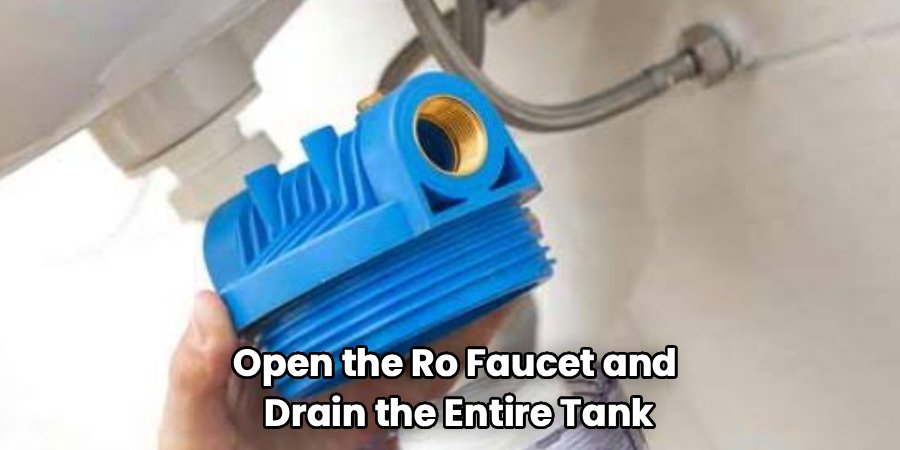
Open the RO faucet and drain the entire tank. Refill and drain again. Repeat this flush cycle three or four times until there’s zero chlorine smell.
Take a sniff at the faucet after the final flush. If you catch even a whiff of bleach, run one more full tank. You do not want that first glass of water tasting like a swimming pool.
Descale With Vinegar (If You Have Hard Water)
If your area has hard water and you saw white crusty deposits, run a vinegar cycle. Fill a housing with distilled white vinegar, let it circulate and sit for 15 minutes, then flush the same way you did after bleaching. This dissolves mineral scale that plain water won’t touch.
Install Fresh Filters and Restart
With everything sanitized and flushed, load in your new sediment and carbon filters. Hand-tighten the housings snugly, then give them a gentle quarter-turn with the wrench. Turn the water on, check for leaks, and let the tank fill fully before you use it.
Discard the first full tank. The new carbon filter sheds fine dust on its first run, and that first batch of water often looks slightly cloudy.
Dos and Don’ts at a Glance
| Do This | Avoid This |
| Use unscented 5–6% bleach for sanitizing | Scented or “splashless” bleach (leaves residue and additives) |
| Flush 3–4 full tanks after sanitizing | Assuming one flush clears the chlorine |
| Hand-tighten housings plus a light wrench turn | Cranking housings as tight as possible |
| Replace O-rings when cracked or flat | Reusing dried-out, pinched O-rings |
| Use distilled white vinegar for scale | Using CLR or harsh acids on plastic housings |
| Sanitize every 6–12 months | Waiting until the water tastes off |
Common Mistakes to Avoid
Sanitizing with the filters still in. Bleach ruins carbon and destroys membrane coatings. Always remove filters first and only add fresh ones after the final flush.
Forgetting to depressurize. Unscrewing a pressurized housing sends water everywhere and can strip the threads.
Under-flushing. The number one taste complaint I dealt with came from people who rushed the rinse. Chlorine lingers in the tank, so flush more than you think you need to.
Mixing cleaners. Never combine bleach with vinegar or any other cleaner. Do the bleach cycle, flush completely, and only then run vinegar if needed.
Ignoring the membrane’s lifespan. Sanitizing cleans the housings and lines, but the RO membrane itself typically lasts 2–3 years. Cleaning won’t revive a spent membrane.
Safety and Warnings
Bleach and vinegar are both common, but they demand respect.
- Never mix bleach with vinegar or ammonia. Combining them releases toxic chlorine gas. Complete and fully flush the bleach cycle before you introduce any vinegar.
- Wear gloves and safety glasses. Bleach splashes and irritates skin and eyes.
- Work in a ventilated space. Open a window or run the exhaust fan while you handle the bleach solution.
- Use only unscented, additive-free bleach. Scented and thickened versions leave residue you can’t fully rinse out of a water system.
- Keep the concentration mild. A few tablespoons per housing is plenty. More bleach doesn’t sanitize better; it just takes longer to flush.
- Store chemicals away from children and pets during the process.
If you’re ever unsure about your specific unit, check the manufacturer’s manual for their recommended sanitizer and dosing.
How To Keep Your RO System Clean Longer
A little upkeep between deep cleans stretches the time between headaches.
- Change pre-filters on schedule. Sediment and carbon filters every 6–12 months keeps gunk from reaching the membrane.
- Run the faucet weekly if the system sits unused, like in a vacation home. Stagnant water in the tank breeds that musty taste fast.
- Wipe the faucet and drain line with a damp cloth to stop grime buildup around the fittings.
- Watch your production rate. If the tank fills noticeably slower, that’s an early sign of a clogging filter or a tiring membrane.
- Note the season. In summer, warmer incoming water can speed up bacterial growth in the tank, so I always nudged clients toward a summer sanitize rather than waiting for a set date.
- Log your service dates. A sticky note inside the cabinet door with the last cleaning date saves you from guessing.
Frequently Asked Questions
How often should you clean a reverse osmosis system?
Sanitize the full system once a year, ideally when you change your filters. If your household uses a lot of water or you’re on well water, every six months is safer. The filters themselves usually need swapping every 6–12 months depending on your water quality.
Can you use bleach to sanitize an RO system?
Yes, a small amount of unscented household bleach is the standard home method. Use 2–3 tablespoons in the first-stage housing with the filters removed, let it sit up to 30 minutes, then flush the tank three or four times. Just never leave bleach in the system long-term or reinstall old filters over it.
Why does my reverse osmosis water taste bad?
Bad taste usually points to overdue filters, a system that needs sanitizing, or leftover chlorine from an incomplete flush. A musty or eggy smell often means bacteria has grown in the tank. Start with a full sanitize and fresh filters before assuming the membrane has failed.
Do I need to replace the RO membrane when I clean the system?
Not usually. The membrane lasts 2–3 years and only needs replacing when your water output drops sharply or the taste doesn’t improve after cleaning and new filters. Sanitizing the housings and lines is separate from replacing the membrane.
How long does it take to sanitize a reverse osmosis system?
Plan for about an hour of hands-on work, plus flushing time. The bleach sits for 20–30 minutes, and the multiple flush cycles add another 30–60 minutes depending on how fast your tank fills and drains.
Is it safe to drink RO water right after cleaning?
No. Dump the entire first tank after installing fresh filters and finishing your flushes. Confirm there’s no chlorine smell at the faucet before drinking. If you catch any bleach odor, run one more full tank.
Final Word
Set a reminder on your phone so this doesn’t slip past a year again. Once you’ve done it a couple of times, the whole routine takes an afternoon and your water tastes exactly the way it should.
