
The call I got most often on cold mornings went like this: “My furnace fires up for a few seconds, then quits. It keeps doing it over and over.” Nine times out of ten, nothing was broken. The flame sensor was just coated in a thin film of soot, and the furnace shut itself off because it couldn’t confirm the flame was actually burning.
That tiny metal rod is one of the cheapest, easiest parts to service, yet a dirty one sends people scrambling for expensive repairs they don’t need. Learning how to clean a flame sensor on gas furnace saves you a service call and gets the heat back on in about 20 minutes. All it takes is the right touch and a couple of safety steps you can’t skip.
What You’ll Need
Gather everything before you shut anything down, because you don’t want to hunt for a screwdriver with the power off and the house cooling.
- A 1/4-inch nut driver or a socket set
- A Phillips and flathead screwdriver
- Fine steel wool (0000 grade) or a fine emery cloth
- Very fine sandpaper (400 to 600 grit) as a backup
- A clean, lint-free rag or paper towel
- A flashlight or headlamp
- Work gloves
- Safety glasses
- A dust mask (optional, but helpful in a dusty basement)
- Your furnace model number, in case you need a replacement sensor
Skip the water, spray cleaners, and shop rags soaked in solvent. None of them belong anywhere near this part, and I’ll explain why below.
Shut Off Power and Gas Before You Touch Anything
This is the step that keeps you safe, so do it first and do it fully. Flip the furnace switch off, then go to your breaker panel and shut off the circuit feeding the furnace. Don’t trust the wall switch alone.
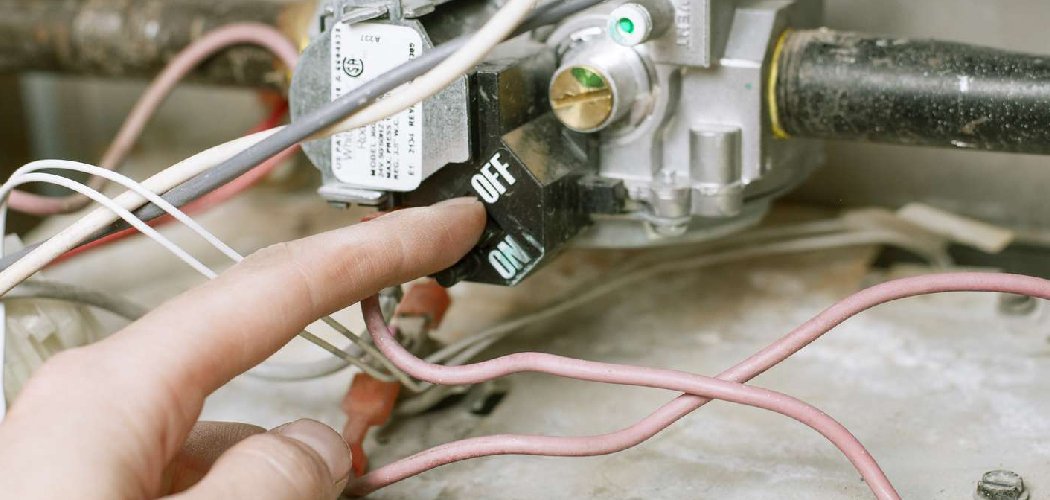
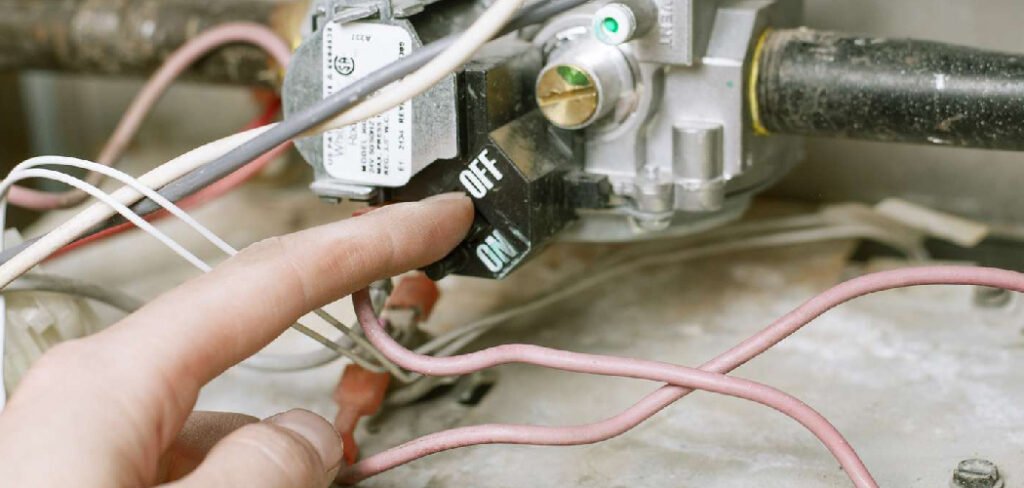
Next, turn the gas valve to the “off” position. You’re working near electrical connections and a burner assembly, and there’s no reason to have live power or flowing gas while your hands are inside the cabinet. Give the unit a few minutes to cool if it just ran, since the burner area holds heat.
Locate and Access the Flame Sensor
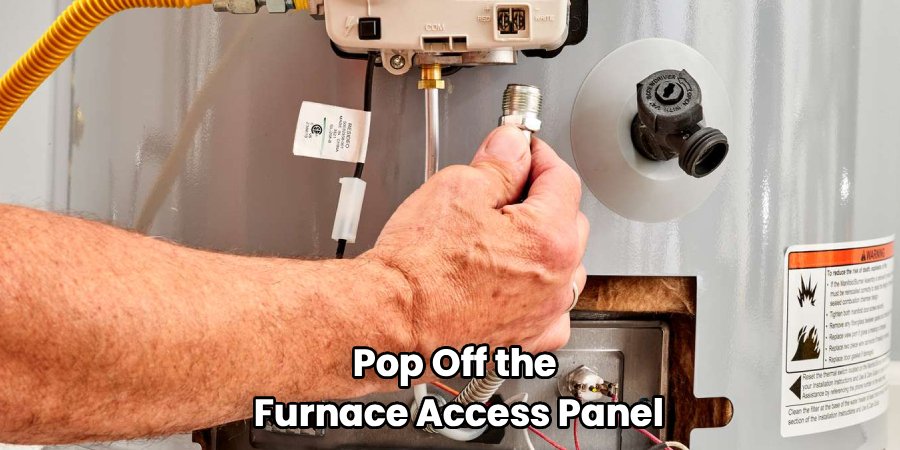
Pop off the furnace access panel. Most slide up and out or lift away after you release a latch or a couple of screws. Set the panel somewhere safe so you’re not tripping over it.
Look toward the burner assembly. The flame sensor sits just off to one side of the burners, positioned so the flame licks across it during operation. It’s a thin metal rod, usually straight or slightly bent, mounted in a small porcelain base with a single wire running to it. People confuse it with the igniter, but the igniter is thicker and often looks like a small ceramic block. The sensor is the skinny rod with one wire.
Tell the Sensor Apart From the Igniter
If you’re not sure which is which, follow the wire. The flame sensor has a single wire connector. The igniter has its own dedicated wiring and sits closer to where the flame first lights. When in doubt, snap a photo with your phone before you touch anything so you can put it all back exactly as it was.
Remove the Sensor Carefully
You’ll usually find one screw, often a 1/4-inch hex head, holding the sensor bracket to the burner assembly. Back it out with your nut driver and keep it somewhere you won’t lose it, like a small dish or a pocket.
Gently pull the sensor free and slide the wire connector off the terminal. It should come off with light pressure. Don’t yank it, and don’t bend the rod. The porcelain base is brittle, so handle it by the metal bracket rather than squeezing the ceramic. If the wire feels stuck, wiggle the connector side to side instead of pulling straight and hard.
Clean the Metal Rod With Fine Steel Wool
Here’s the heart of the job. Take your fine steel wool or emery cloth and lightly buff the length of the metal rod. You’re not sanding down metal or polishing it to a mirror shine. You’re just removing the dull, dark film that built up from months of combustion.
Work gently, all the way around the rod, until the surface goes from dull gray-brown to a clean, matte metal finish. A dozen passes is usually plenty. Then wipe the rod with your dry, lint-free rag to remove any grit or steel wool dust. That last wipe matters more than people think, because leftover residue can interfere with the sensor picking up the flame’s signal.
Why a Light Touch Beats Aggressive Scrubbing
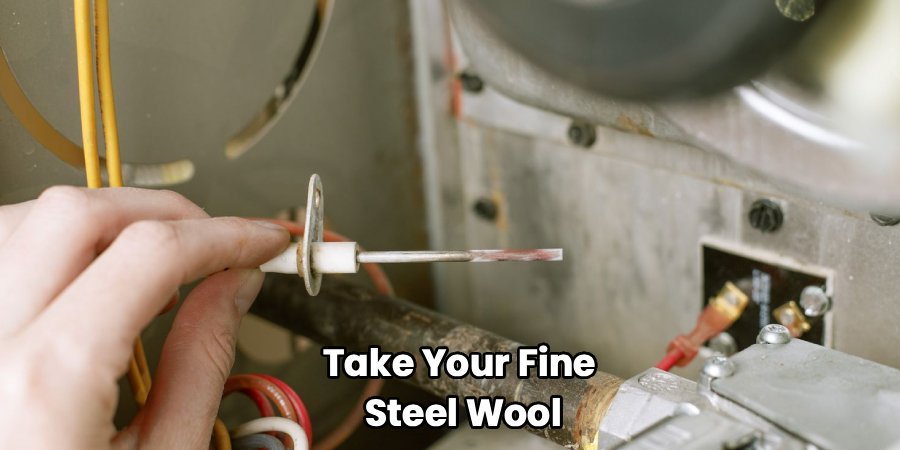
The film that stops a flame sensor from working is microscopically thin. You’re removing an oxide and soot layer, not grinding metal. Scrub too hard with coarse material and you’ll thin the rod over time or scratch it enough to trap more buildup later. Fine and gentle wins every time.
Reinstall the Sensor and Reconnect the Wire
Slide the sensor back into its bracket position, push the wire connector firmly onto the terminal, and drive the mounting screw back in. Snug is enough. Overtightening can crack that porcelain base, and then you’re buying a new sensor anyway.
Double-check that the rod sits where the flame will reach it and isn’t touching any metal surface it shouldn’t. Compare it to the photo you took if you have one.
Restore Power and Test the Furnace
Put the access panel back on, turn the gas valve back to “on,” and restore power at the breaker and the furnace switch. Set your thermostat to call for heat.
Watch the startup. The igniter should glow, the burners should light, and the flame should stay lit instead of cutting out after a few seconds. If it runs steady through a full cycle, you’ve fixed it. Stand there for a couple of minutes to confirm it doesn’t short-cycle again.
Quick Step-by-Step Checklist
Keep this handy and run through it in order every time:
- Gather tools before shutting anything off.
- Turn off the furnace switch and the breaker.
- Turn the gas valve to “off.”
- Remove the access panel.
- Locate the flame sensor (thin rod, single wire).
- Photograph the setup for reference.
- Remove the mounting screw and slide off the wire.
- Buff the rod lightly with fine steel wool or emery cloth.
- Wipe clean with a dry, lint-free rag.
- Reinstall the sensor and reconnect the wire.
- Replace the panel, restore gas and power.
- Run a full heat cycle to confirm the fix.
What to Use vs. What to Avoid
| Use This | Avoid This |
| Fine steel wool (0000 grade) | Coarse steel wool or a wire brush |
| Fine emery cloth | Heavy-grit sandpaper (under 400) |
| 400–600 grit sandpaper as backup | Water or any liquid cleaner |
| Dry, lint-free rag | Solvent-soaked shop rags |
| Light, gentle buffing | Aggressive scrubbing or grinding |
| Handling by the metal bracket | Squeezing the porcelain base |
| A photo for reference | Guessing at reassembly |
Common Mistakes to Avoid
- Leaving the power on. Working inside a live furnace cabinet is dangerous and unnecessary. Kill the breaker, not just the switch.
- Using water or spray cleaner. The sensor is an electrical component. Liquids leave residue, invite corrosion, and can short the connection.
- Scrubbing with a wire brush. It’s too aggressive, thins the rod, and roughens the surface so grime sticks faster next time.
- Overtightening the screw. That brittle porcelain base cracks easily. Snug is enough.
- Confusing the sensor with the igniter. Clean the wrong part and you’ve wasted your time. Follow the single wire.
- Forgetting to wipe off the grit. Steel wool leaves fine dust behind. A dry wipe clears it so the sensor reads the flame cleanly.
- Assuming a clean-looking rod is fine. Here’s one that fooled a lot of homeowners: a sensor can look perfectly clean and still be coated in a film too thin to see. I’d get calls in early fall, right before heating season kicked in, from people whose furnaces short-cycled on the first cold night. The rod looked spotless, but a quick buff fixed it every time. If your furnace acts up, clean it whether it looks dirty or not.
Safety and Warnings
This job is simple, but you’re working around gas and electricity, so treat these as non-negotiable.
- Cut all power at the breaker. The wall switch isn’t enough. Confirm the furnace is truly dead before your hands go inside.
- Shut off the gas valve. No exceptions. There’s zero reason to have gas flowing while you work.
- Let hot components cool. If the furnace just ran, give the burner area several minutes so you don’t burn yourself.
- Keep liquids away from electrical parts. No water, no spray cleaner, no wet rags. Dry methods only on the sensor and its connections.
- Wear gloves and safety glasses. Steel wool sheds tiny sharp fibers, and burner assemblies have sharp edges.
- Smell gas? Stop. If you notice a gas odor at any point, leave the area, ventilate, and call your gas company. Don’t flip switches or relight anything.
- Know your limit. If the furnace still won’t stay lit after cleaning, or if you see cracked ceramic or frayed wiring, call a licensed HVAC tech.
Maintenance and Prevention Tips
A clean sensor stays clean longer when the rest of your system is healthy, so a little upkeep saves you from repeat short-cycling.
- Clean the sensor once a year. Do it at the start of heating season, before that first cold snap catches you off guard.
- Change your furnace filter regularly. A clogged filter chokes airflow and dirties combustion, which speeds up buildup on the sensor. Check it monthly during heavy use.
- Keep the burner area dust-free. A quick vacuum around the burners during your annual service keeps debris from settling on the rod.
- Schedule a yearly furnace tune-up. A pro will check combustion, clean the burners, and catch problems that make sensors foul faster.
- Watch for early short-cycling. If the furnace starts firing and quitting, clean the sensor sooner rather than later. Ignoring it wears on the ignition components.
- Keep a spare sensor on hand. They’re inexpensive and furnace-specific. Having one matched to your model means you’re never stuck cold waiting on a part.
Frequntly Asked Questions
How often should you clean a furnace flame sensor?
Once a year is the sweet spot, ideally right before heating season. If your furnace runs hard all winter or you’ve had short-cycling before, a mid-season cleaning doesn’t hurt. It’s a five-minute job once the panel is off.
What are the symptoms of a dirty flame sensor?
The classic sign is short-cycling: the furnace lights, runs for a few seconds, then shuts off, and repeats. You might also notice the burners igniting but never staying lit, or the furnace struggling to keep up on cold days. These point straight to the sensor before anything more serious.
Can you use sandpaper to clean a flame sensor?
Yes, but only very fine sandpaper, around 400 to 600 grit. Fine steel wool or an emery cloth is gentler and my first choice. The goal is buffing off a thin film, not sanding metal, so anything coarse does more harm than good.
Should you clean or replace a flame sensor?
Clean first, since a dirty sensor is the far more common problem and costs nothing to fix. Replace it if cleaning doesn’t stop the short-cycling, or if you see cracked porcelain, corrosion, or damaged wiring. Sensors are cheap, so replacement is easy when it’s genuinely worn out.
Why does my furnace still short-cycle after cleaning the sensor?
If cleaning didn’t help, the sensor may be worn out and need replacing, or the problem lies elsewhere, like a clogged filter, a faulty igniter, or a bad control board. Try a new sensor first because it’s inexpensive. If that fails, call a licensed technician.
Can a dirty flame sensor be dangerous?
It won’t cause a gas leak, because the safety system does its job by shutting the furnace off when it can’t confirm a flame. The real risk is being left without heat on a freezing night. The repeated ignition cycling also puts extra wear on your igniter over time.
The Takeaway
A furnace that fires and quits usually isn’t broken, it’s just telling you the flame sensor needs a quick buff. Keep the power and gas off, use a gentle touch with fine steel wool, and you’ll have steady heat back in about 20 minutes. Do it every fall and you’ll rarely think about it again.
