
The most common wrecked thermocouple I ever saw came from good intentions. A homeowner’s pilot kept dying, so he took a piece of coarse sandpaper to the copper tip and scrubbed it like a rusty bolt. He gouged the coating clean off, and a five-minute cleaning turned into a parts order. The tip on a thermocouple is delicate, and treating it like hardware is the fastest way to kill it.
Most of the time, a pilot that won’t stay lit isn’t a dead part at all — it’s a thin layer of soot and oxide blocking the signal. Learning how to clean a thermocouple on a gas fireplace fixes that in about 15 minutes with tools you already own. The trick is a gentle touch and knowing exactly when to stop.
What You’ll Need
Set everything out before you shut the gas off, so you’re not fumbling in a cold, dark fireplace looking for a wrench.
- Fine steel wool (0000 grade) or a fine emery cloth
- Very fine sandpaper (400 to 600 grit) as a backup
- A clean, lint-free cloth or paper towel
- An adjustable wrench or the correct-size open-end wrench
- A flashlight or headlamp
- A soft-bristle brush or an old toothbrush
- A can of compressed air (optional, but handy for the pilot area)
- Work gloves
- Safety glasses
- Your fireplace model number, in case you need a replacement
Leave the water, spray cleaners, and household degreasers in the cabinet. None of them belong near this part, and I’ll cover why below.
Turn Off the Gas and Let Everything Cool
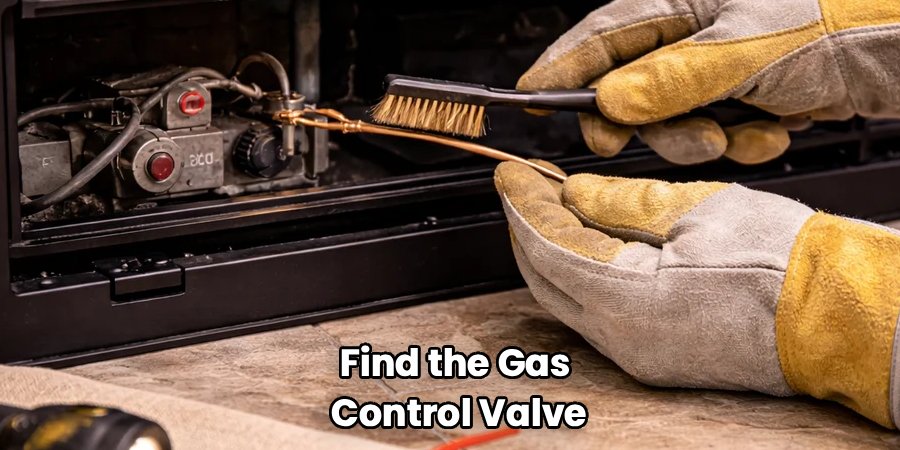
Do this first, and don’t rush it. Find the gas control valve on the fireplace and turn it to the “off” position. If your unit has a separate shutoff on the gas line, close that too. You want zero gas flowing before your hands go anywhere near the burner.
If the fireplace was running recently, walk away for 20 to 30 minutes. The pilot assembly and burner hold heat longer than you’d think, and the metal tip you’re about to handle can burn you well after the flame is out. A cool part is a safe part.
Access the Pilot Assembly
Open or remove the front glass or screen. On most models the glass panel lifts off after you release a couple of clips or latches along the bottom edge. Set it somewhere padded so you don’t crack it.
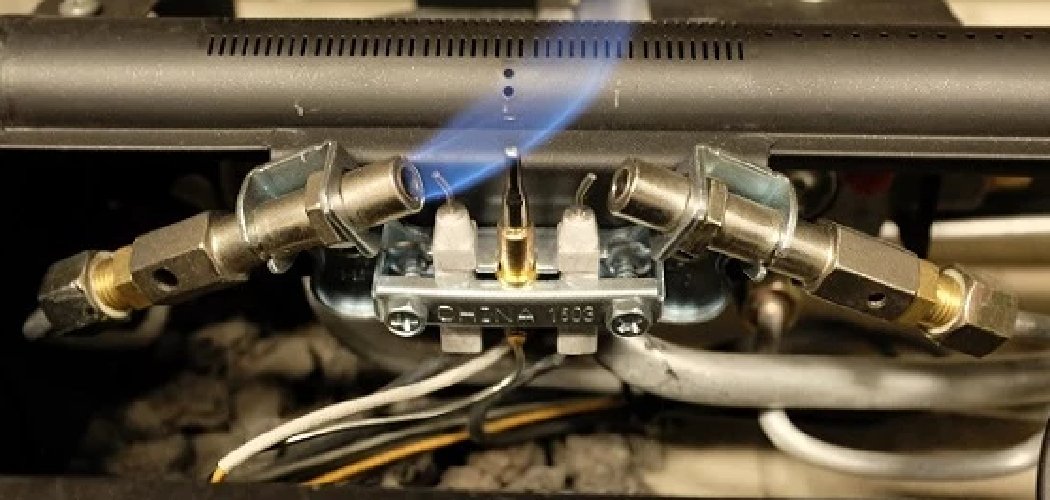
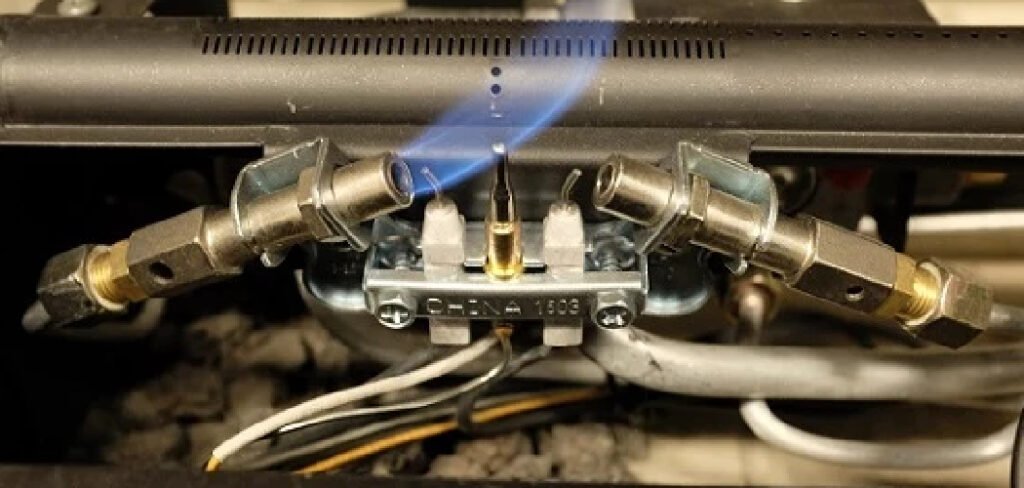
Look for the pilot assembly — a small cluster near the burner where the pilot flame sits. The thermocouple is the slim metal rod, usually copper-colored, positioned so the pilot flame wraps directly around its tip. It has a thin copper lead running back to the gas valve. People mix it up with the igniter or the thermopile, so trace the parts before you touch anything.
Tell the Thermocouple Apart From the Thermopile
Here’s a distinction that trips people up. A thermocouple is a single rod with one thin copper line running to the valve, and it powers the pilot safety only. A thermopile is usually thicker with two wires and generates more voltage to run the main burner controls. If your fireplace has both, the thermocouple is the skinnier one with the single connection. Snap a phone photo before you start so reassembly is foolproof.
Disconnect the Thermocouple
At the gas valve, you’ll find the thermocouple’s copper lead secured with a small nut. Hold the valve fitting steady and back the nut off with your wrench. It’s usually finger-tight plus a quarter turn, so it won’t fight you much.
Gently free the tip end from its bracket at the pilot assembly. Most slide out or release with a light pull. Don’t bend the rod or crimp the copper line — that thin tubing kinks easily, and a kinked thermocouple gets tossed. Handle it by the solid rod, not the flexible lead.
Buff the Tip With Fine Steel Wool
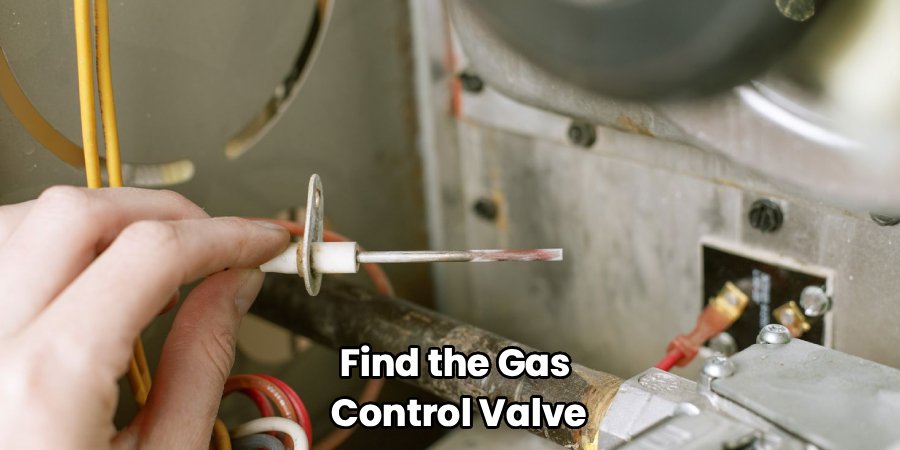
This is where the actual cleaning happens, and it’s gentler than you expect. Take your fine steel wool or emery cloth and lightly polish the metal tip of the thermocouple. You’re lifting a dull, dark film of soot and oxide, not sanding down metal.
Work all the way around the tip until the surface goes from sooty gray-brown to a clean, matte finish. A dozen light passes is plenty. Then wipe it down with your dry, lint-free cloth to clear away any grit or steel wool dust. That final wipe matters more than folks realize — leftover residue insulates the tip and keeps it from reading the flame properly.
Why Gentle Beats Aggressive Every Time
The film that stops a thermocouple from working is microscopically thin. You’re removing a surface layer, not reshaping the part. Scrub hard with coarse grit and you’ll strip the tip’s finish, thin the metal, and leave scratches that trap soot faster next season. Light and slow wins.
Clean the Pilot Orifice While You’re In There
Since the assembly is open, give the pilot orifice a quick once-over. A clogged pilot burns weak and yellow instead of a crisp blue, and a weak flame won’t heat the thermocouple enough to keep the gas flowing.
Brush around the pilot opening with your soft brush, then hit it with a short burst of compressed air to clear dust and spider webbing. I’ve pulled more than one dead pilot back to life just by blowing out a nest a spider tucked in over the summer — it happens more than you’d guess in fireplaces that sit idle from spring to fall.
Reconnect and Reassemble
Slide the thermocouple tip back into its bracket so the pilot flame will wrap around it, exactly as it sat before. Thread the copper lead nut back onto the gas valve by hand first to avoid cross-threading, then snug it with the wrench. Finger-tight plus a quarter turn is the target — over-cranking can crack the fitting or crush the connection.
Check the tip’s position against your photo. It needs to sit right in the flame path, not off to the side. Put the glass or screen back on once everything looks right.
Relight and Test
Turn the gas back on. Follow your fireplace’s lighting instructions — usually hold the pilot knob down, light the pilot, and keep holding for 30 to 60 seconds so the thermocouple heats up and takes over.
Release the knob. If the pilot stays lit, you’ve solved it. Run the main burner for a few minutes and watch that the pilot holds steady. If it dies again the moment you let go, the tip may be worn out, but a fresh clean fixes it far more often than not.
Quick Step-by-Step Checklist
Run through these in order every time:
- Lay out your tools before shutting off gas.
- Turn off the gas control valve and any line shutoff.
- Let the assembly cool for 20 to 30 minutes.
- Remove the glass or screen.
- Locate the thermocouple (slim rod, single copper lead).
- Photograph the setup for reference.
- Loosen the lead nut at the valve and free the tip.
- Buff the tip lightly with fine steel wool.
- Wipe clean with a dry, lint-free cloth.
- Brush and blow out the pilot orifice.
- Reconnect the lead and reseat the tip.
- Replace the glass, restore gas, and relight.
- Hold the pilot knob 30–60 seconds, then confirm it stays lit.
What to Use vs. What to Avoid
| Use This | Avoid This |
| Fine steel wool (0000 grade) | Coarse steel wool or a wire brush |
| Fine emery cloth | Heavy-grit sandpaper (under 400) |
| 400–600 grit sandpaper as backup | Water or liquid cleaners |
| Dry, lint-free cloth | Solvent-soaked rags |
| Soft brush and compressed air on the pilot | Metal picks jammed into the orifice |
| Light, gentle buffing | Aggressive scrubbing or grinding |
| Handling by the solid rod | Bending or kinking the copper lead |
| A reference photo | Guessing at reassembly |
Common Mistakes to Avoid
- Leaving the gas on. Never work on the pilot assembly with gas flowing. Shut the valve and confirm it’s fully off.
- Scrubbing with coarse grit. A wire brush or rough sandpaper strips the tip and shortens the part’s life. Fine and gentle only.
- Using water or spray cleaner. The thermocouple is part of an electrical safety circuit. Liquids leave residue and invite corrosion. Dry methods win.
- Kinking the copper lead. That thin tubing bends permanently. Handle the rigid rod, not the flexible line.
- Over-tightening the valve nut. Snug plus a quarter turn is enough. Cranking harder can crack the fitting.
- Reseating the tip out of the flame path. If the pilot doesn’t wrap around the tip, it won’t stay lit no matter how clean it is. Match your photo.
- Ignoring a yellow pilot flame. A weak, yellow pilot means the orifice needs cleaning too. A clean tip in a starved flame still fails.
Safety and Warnings
This is a simple job, but you’re working with a live gas appliance, so treat these as non-negotiable.
- Shut off the gas completely. Turn the control valve to “off” and close any line shutoff before you start. No exceptions.
- Let it cool fully. Give hot components 20 to 30 minutes. The tip and burner stay hot long after the flame is out.
- Keep liquids away. No water, no spray cleaner, no wet rags near the pilot or valve connections. Dry cleaning only.
- Wear gloves and safety glasses. Steel wool sheds sharp fibers, and burner assemblies have sharp edges.
- Smell gas? Stop everything. If you notice a gas odor at any point, don’t relight or flip switches. Leave, ventilate the room, and call your gas company.
- Don’t force the valve fitting. If the nut won’t budge or the copper lead looks damaged, stop and call a pro rather than snapping the line.
- Know your limit. If the pilot still won’t hold after a clean and reseat, or you see corrosion or cracked ceramic, bring in a licensed gas technician.
Maintenance and Prevention Tips
A clean thermocouple stays reliable longer when the whole pilot area is healthy, so a little upkeep saves you from cold-night surprises.
- Clean it once a year. Do it at the start of heating season, before that first chilly evening when you actually want the fire on.
- Keep the pilot flame blue and crisp. A yellow or lazy flame signals buildup. Address it early before it fouls the tip.
- Blow out the assembly seasonally. A quick shot of compressed air clears dust, pet hair, and the occasional spider nest that collects over the off-season.
- Vacuum the firebox regularly. Less dust and debris around the burner means less soot settling on the thermocouple.
- Book a yearly service. A tech will check the gas pressure, clean the burner, and catch a failing valve before it strands you.
- Keep a spare on hand. Thermocouples are cheap and model-specific. Having the right one on the shelf means you’re never waiting on a part in January.
Frequntly Asked Questions
How do I know if my thermocouple is bad or just dirty?
Start by cleaning it, because dirty is far more common. If a light buff and a fresh relight get the pilot to hold, it was just soot. If the pilot still dies the moment you release the knob after cleaning and reseating, the thermocouple is likely worn out and needs replacing. They’re inexpensive, so swapping one is an easy call.
Why won’t my gas fireplace pilot stay lit?
The usual culprit is a dirty or failing thermocouple that can’t send the signal to keep the gas valve open. Other causes include a weak, yellow pilot flame from a clogged orifice, a loose lead nut at the valve, or a tip that’s sitting out of the flame path. Clean and reseat first, then look at the flame color.
Can I use sandpaper to clean a thermocouple?
Yes, but only very fine sandpaper around 400 to 600 grit, and lightly. Fine steel wool or an emery cloth is gentler and my first pick. Coarse grit strips the tip’s finish and does more damage than the soot ever would.
How often should I clean my fireplace thermocouple?
Once a year is the sweet spot, ideally right before heating season. If you burn the fireplace heavily all winter or you’ve had pilot trouble before, a mid-season touch-up doesn’t hurt. It’s a quick job once the glass is off.
Is a dirty thermocouple dangerous?
Not directly — the thermocouple is a safety device. When it can’t confirm the pilot is lit, it shuts the gas off, which is exactly what you want. The real downside is losing your heat, and a stubborn pilot problem left alone can point to bigger issues like low gas pressure worth having checked.
Do I need to replace the thermocouple every time I clean it?
No. Cleaning restores most thermocouples to full working order for years. Replace it only when cleaning stops working, or if you spot corrosion, a kinked lead, or cracked insulation. Treat replacement as the fallback, not the first move.
The Takeaway
A pilot that won’t hold usually isn’t a broken fireplace — it’s a thin film telling you the tip needs a quick buff. Shut the gas off, cool everything down, and use a gentle touch with fine steel wool, and you’ll have your fire back in about 15 minutes. Do it every fall and you’ll rarely give it a second thought.
