
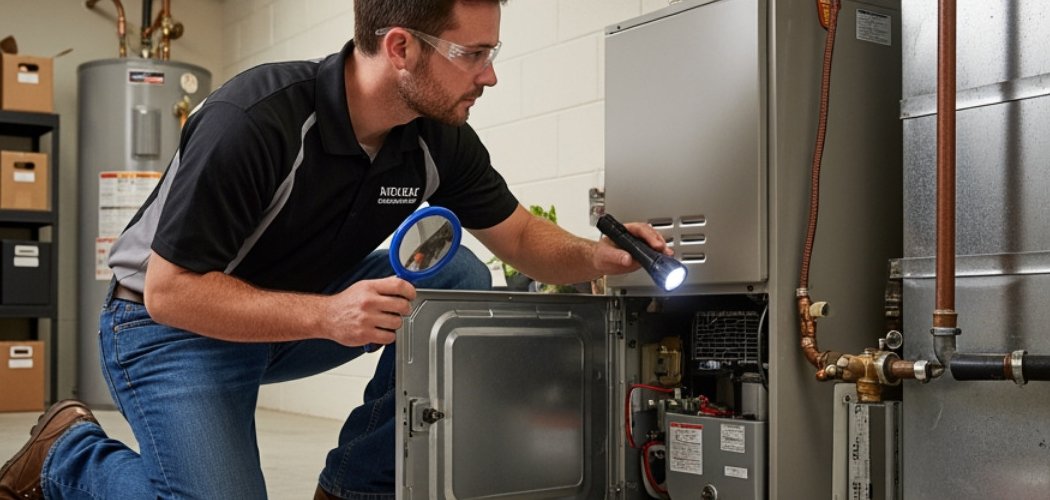
The call I got most every October went the same way: “My furnace won’t stay lit. The pilot flame comes on, I let go of the button, and it dies.” Nine times out of ten the culprit wasn’t a broken part — it was a thin coating of soot and corrosion on the thermocouple, the little sensor that tells your gas valve the pilot is actually burning. People replaced the whole assembly when a five-minute wipe-down would have fixed it.
A thermocouple gets dirty because it sits right in the flame, and over time carbon and oxidation build up on its tip. When that happens, it can’t read the heat properly and shuts the gas off as a safety measure. Learning how to clean a furnace thermocouple saves you a service call and gets your heat back the same afternoon.
What You’ll Need
Gather everything before you shut the gas off, so you’re not hunting for tools with a cold house.
- Fine-grit emery cloth or 400-grit sandpaper
- Fine steel wool (0000 grade)
- A clean, dry microfiber cloth
- A soft old toothbrush
- An adjustable wrench or a small open-end wrench set
- A flashlight or headlamp
- Work gloves
- Safety glasses
- A small container to hold screws
- Optional: a can of compressed air
Skip the water, the household cleaners, and the WD-40. The thermocouple tip only needs a light abrasive touch and a dry wipe — anything wet or oily does more harm than good.
Shut Off the Gas and Kill the Power
Before you touch anything, turn the gas control knob to “Off” and give it a few minutes for any residual gas to clear. Then switch off the power to the furnace at the service disconnect or the breaker. You don’t want the burner cycling on while your hands are inside.
Wait for the unit to cool. If the furnace ran recently, the burner assembly and the thermocouple tip will be hot enough to burn you. I always gave it a solid 10 to 15 minutes — long enough to grab a coffee and let everything come down to a safe temperature.
Locate the Thermocouple in the Burner Assembly
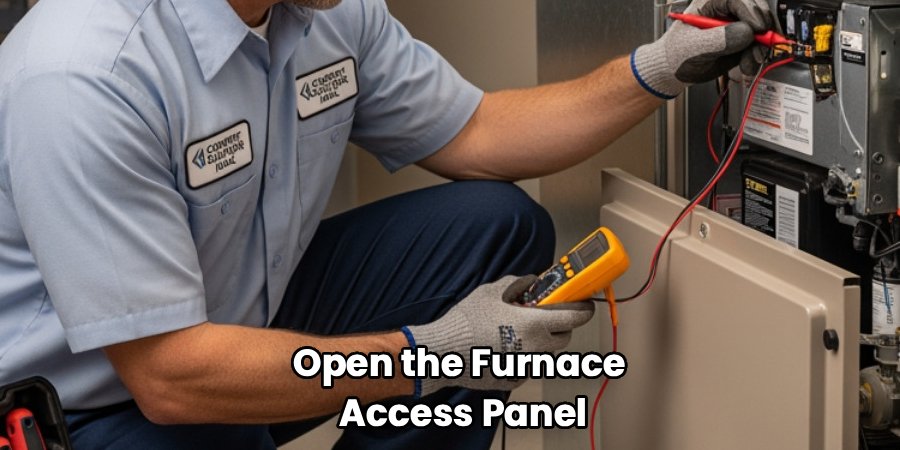
Open the furnace access panel and find the pilot burner. The thermocouple is the thin copper or steel rod, usually about the thickness of a pencil, sitting so its tip rests directly in the pilot flame. Trace the thin copper line from the tip back to where it threads into the gas valve — that’s the connection you’ll be loosening.
On older standing-pilot furnaces it’s easy to spot. Newer units with electronic ignition may use a flame sensor instead, which looks similar but mounts differently. If yours has no standing pilot, you’re likely dealing with a flame sensor, and the cleaning steps below still apply to the tip.
Disconnect the Thermocouple
Follow the copper lead to the gas valve and find the small nut where it connects. Hold the valve body steady and loosen the nut with your wrench — it’s usually finger-tight plus a quarter turn, so it won’t take much force. Back it off gently and set the nut where you won’t lose it.
Next, free the tip end from its bracket near the pilot. Most slide out of a clip or unscrew from a small mounting nut. Ease it out slowly so you don’t bend the rod, because a kinked thermocouple never seats right again.
Clean the Thermocouple Tip
Here’s the part that actually fixes the problem. Look at the tip — you’ll usually see a dull gray or black film, and sometimes a crusty white oxidation. Fold a piece of emery cloth around the tip and rub it with light pressure, turning the rod as you go, until the metal shows a clean, even sheen.
For stubborn spots, switch to fine steel wool and work in small circles. Then run the toothbrush along the length to knock loose debris out of any grooves, and finish with a dry microfiber wipe. The tip should look bright, not polished to a mirror — you’re removing buildup, not reshaping the metal.
Don’t Forget the Connection End
The threaded end that screws into the gas valve carries the tiny electrical signal, so a dirty connection there causes the same failure as a dirty tip. Give the threaded fitting and the contact surface a light pass with the emery cloth too. A clean connection point is something most DIY guides skip, and it’s often the missing piece when a cleaned tip still won’t hold the flame.
Clean the Pilot Assembly While You’re In There
Since you’ve got the panel open, take a minute on the pilot orifice. A clogged pilot gives you a weak, lazy yellow flame that won’t heat the thermocouple properly, no matter how clean the tip is. Brush the pilot opening with the toothbrush and blow it out with compressed air.
You want the pilot flame to burn a crisp blue and wrap around the thermocouple tip. If it’s yellow or drifting off to one side, cleaning the orifice usually brings it back.
Reinstall and Test
Slide the tip back into its bracket so it sits in the same spot the flame will hit. Thread the nut back onto the gas valve by hand first to avoid cross-threading, then snug it with the wrench — firm, not cranked down hard. Overtightening this nut is one of the fastest ways to damage the fitting.
Close up, restore power and gas, and relight the pilot following the instructions printed on the furnace. Hold the button the required 30 to 60 seconds, then release. If the flame holds, you’re done.
Quick Step-by-Step Recap
Run through this order every time and you won’t miss a step:
- Turn the gas knob to “Off” and cut power at the breaker.
- Let the furnace cool for 10–15 minutes.
- Open the access panel and locate the thermocouple.
- Loosen the nut at the gas valve and free the tip from its bracket.
- Sand the tip with emery cloth until it’s clean and even.
- Clean the threaded connection end too.
- Brush and blow out the pilot orifice.
- Reinstall the tip and hand-tighten the nut, then snug it.
- Restore gas and power, relight the pilot, and test.
Do This, Not That
| Do This | Not That |
| Shut off gas and power before starting | Work with the burner able to cycle on |
| Let the unit cool before touching the tip | Grab a hot thermocouple bare-handed |
| Use fine emery cloth or 0000 steel wool | Scrub with a wire wheel or coarse grit |
| Wipe the tip dry when finished | Rinse with water or spray cleaner on it |
| Hand-thread the nut, then snug gently | Crank the gas-valve nut down hard |
| Clean the connection end as well as the tip | Assume only the flame tip matters |
| Check for a crisp blue pilot flame | Ignore a yellow or drifting pilot |
| Replace a bent or badly pitted thermocouple | Keep sanding a rod that’s already worn thin |
Common Mistakes to Avoid
- Using harsh abrasives. A wire wheel or coarse sandpaper strips too much metal and shortens the thermocouple’s life. Fine emery cloth is all you need.
- Cleaning wet. Water and sprays leave residue and can corrode the contact points. Keep everything dry.
- Ignoring the connection end. A clean tip won’t help if the threaded fitting at the gas valve is dirty. That signal path has to be clean on both ends.
- Overtightening the nut. Snug is enough. Forcing it can crack the fitting and leave you buying the part you were trying to save.
- Skipping the pilot orifice. A weak, dirty pilot flame won’t heat the tip properly. Clean both or you’ll be back inside the panel next week.
- Sanding a worn-out part. If the tip is deeply pitted or the rod is bent, cleaning won’t save it. Replace it — they’re cheap.
Safety and Warnings
You’re working on a live gas appliance, so treat these as non-negotiable.
- Shut off the gas first, every time. Turn the control knob to “Off” and let residual gas clear before you open anything up.
- Cut the power. Switch off the furnace at the breaker so the burner can’t ignite while your hands are inside.
- Smell for gas. If you smell rotten eggs or hear hissing at any point, stop, leave the house, and call your gas utility from outside. Don’t flip switches or light anything.
- Ventilate the space. Work with the area open and give gas time to dissipate before relighting the pilot.
- Let it cool. The burner and thermocouple tip stay hot after a cycle. Wear gloves and give it time.
- Know your limit. If the pilot won’t hold after a clean part is installed, or you’re unsure about the gas connection, call a licensed HVAC tech. A cross-threaded or loose gas fitting is not worth the risk.
Maintenance and Prevention
A little upkeep keeps you out of the furnace cabinet all winter.
- Clean it at fall startup. The best time to check the thermocouple is before the first cold snap, not during it. I always told clients to do it in early fall — the sensor collects dust and film all summer sitting idle, and that’s exactly when it acts up on the first light.
- Change your furnace filter regularly. A clogged filter makes the whole system run dirty and hot, which speeds up buildup on the burner components.
- Keep the burner area clean. Vacuum out dust and debris around the pilot and burners once a season so it doesn’t cook onto the tip.
- Watch the pilot color. A steady blue flame is healthy. Yellow or flickering means it’s time to clean the orifice before it starts short-cycling.
- Book an annual tune-up. A yearly professional service catches worn parts early and keeps the system efficient. It also usually costs less than one emergency winter call.
Frequently Asked Questions
How do I know if my thermocouple is dirty or just bad?
Try cleaning it first. If the pilot lights but won’t stay lit after you release the button, and the tip has visible soot or corrosion, a cleaning often fixes it. If the tip looks clean or is bent, pitted, or discolored deep into the metal, the part is failing and should be replaced.
Can I use sandpaper to clean a furnace thermocouple?
Yes, but only fine grit — 400-grit or higher — or fine emery cloth. Coarse sandpaper and wire wheels remove too much metal and wear the sensor out faster. You want to lift off the buildup, not grind down the rod.
Why does my furnace pilot light keep going out after I clean it?
Usually one of three things: the connection end at the gas valve is still dirty, the nut is loose or overtightened, or the pilot flame is weak and not fully wrapping the tip. Clean both ends, snug the nut properly, and clear the pilot orifice so the flame burns strong and blue.
How often should I clean my furnace thermocouple?
Once a year is plenty for most homes, ideally at fall startup. If you run a dusty system or skip filter changes, check it more often. A clean pilot flame and a furnace that lights on the first try are your signs it’s still in good shape.
Do I need to turn off the gas to clean the thermocouple?
Always. Turn the gas control knob to “Off,” cut the power at the breaker, and let the unit cool before you touch anything. Working on a live burner is dangerous and there’s no reason to.
How much does it cost to replace a thermocouple versus cleaning it?
The part itself usually runs about $5 to $20, and a professional replacement might cost $75 to $150 with labor. Cleaning costs you nothing but 15 minutes. That’s exactly why it’s worth trying the clean first before you buy anything.
The Takeaway
A furnace that won’t stay lit is usually crying out for a five-minute cleaning, not a new part or a service bill. Shut off the gas, sand the tip and both connection ends until they’re bright, clear the pilot, and you’ll likely have your heat back before dinner.
