
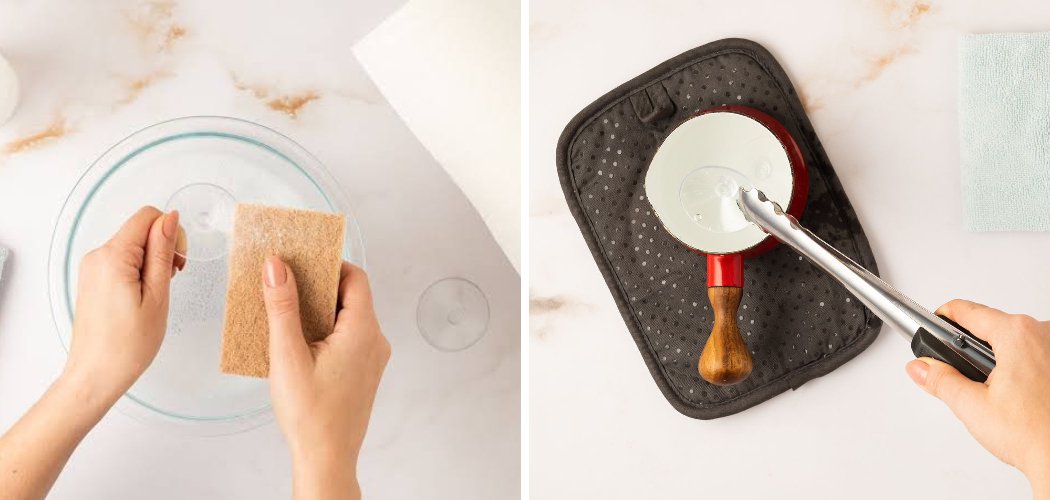
The most common way people ruin a suction cup? They scrub it with a rough sponge, leave tiny scratches all over the seal, then wonder why it keeps sliding down the shower wall at 6 a.m. Those scratches trap air, and once air gets in, the grip is gone for good.
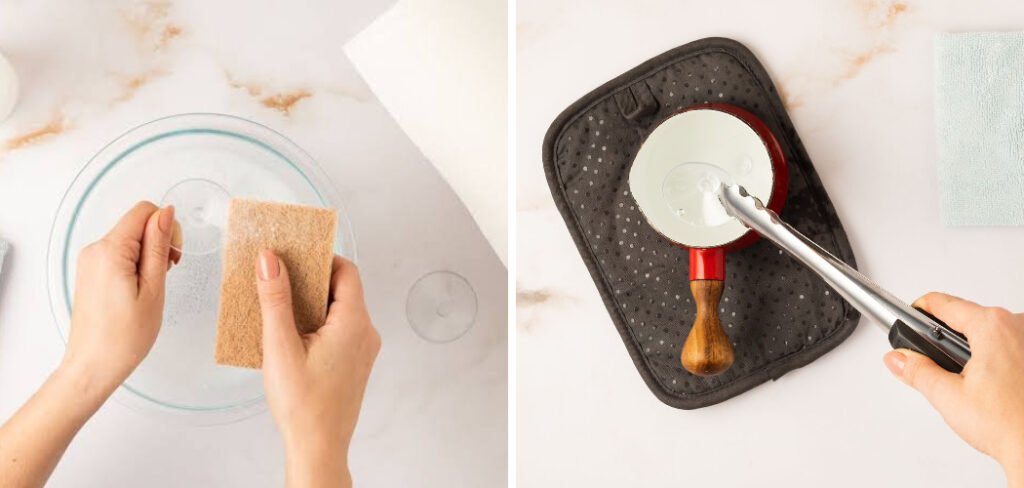
The good news is that most cups don’t need replacing—they need a proper clean. Learning how to clean a suction cup takes about ten minutes and restores that fresh-from-the-package suction you thought was lost.
What You’ll Need
- Warm water (not boiling)
- Mild dish soap
- White vinegar
- A soft microfiber cloth
- A small bowl or cup
- A soft-bristled toothbrush (old one works fine)
- Rubbing alcohol (isopropyl) for stubborn residue
- A clean, lint-free towel for drying
- Optional: a tiny dab of petroleum jelly or cooking oil for restoring grip
You won’t need harsh chemicals or fancy gear. Everything here probably lives under your kitchen sink already.
Rinse Off Loose Grime First
Start by pulling the cup off the surface gently. Don’t yank it—grab the little tab or edge and peel it slowly so you don’t stretch the rubber.
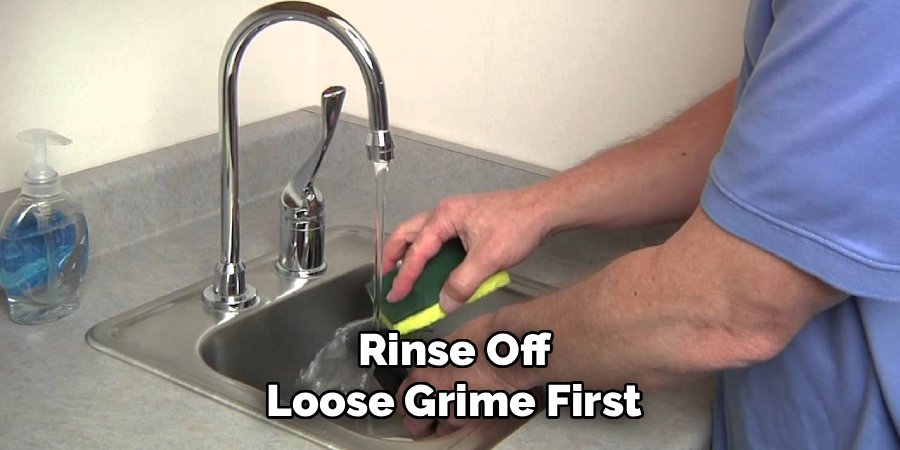
Hold it under warm running water to wash away hair, dust, and loose soap scum. Warm water softens the gunk. Skip hot or boiling water, though, because heat can warp thin PVC cups and leave them permanently misshapen.
Wash the Cup With Soapy Water
Fill your bowl with warm water and a few drops of dish soap. Drop the cup in and let it soak for two or three minutes.
Then take your microfiber cloth and rub both sides of the cup, paying attention to the concave inside face. That inner curve is where suction happens, so it needs to be spotless. Wipe in slow circles rather than hard scrubbing.
Scrub the Sealing Edge
The rim—the outer edge that presses flat against your wall or window—does the real work. Dip your soft toothbrush in the soapy water and gently work around that rim.
You’re clearing out invisible buildup here. In my years doing bathroom deep-cleans, clients used to swear their cups were “broken” when really the rim had a thin film of body oil and hard-water minerals baked on. A minute of soft brushing brought most of them right back to life.
Tackle Stubborn Residue With Vinegar
If your cup has cloudy white spots, that’s limescale from hard water. Soap won’t shift it. Mix equal parts white vinegar and warm water, then soak the cup for ten minutes.
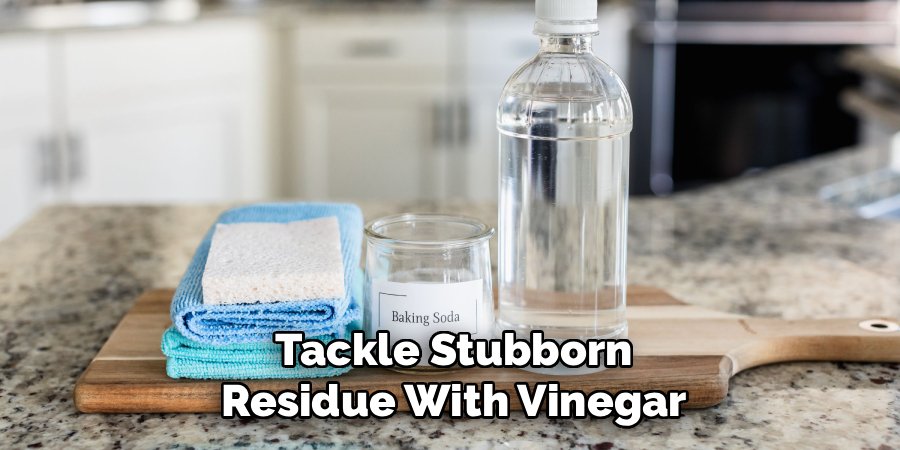
For sticky adhesive residue—say the cup sat in one spot for months—dab a little rubbing alcohol on a cloth and rub the gummy area until it lifts. Alcohol breaks down the tacky film without eating the rubber.
Rinse and Dry Completely
Rinse the cup thoroughly under clean water so no soap or vinegar stays behind. Leftover soap actually reduces suction because it creates a slippery barrier.
Dry it fully with your lint-free towel, then let it air-dry for a few minutes. A truly dry cup grips harder than a damp one. Any moisture trapped under the seal breaks the vacuum.
Restore the Suction (The Trick Most People Miss)
Here’s the step that feels wrong but works. Warm the cup slightly in your hands or run it under warm water for a few seconds to make the rubber pliable.
Then rub the tiniest smear of petroleum jelly or a drop of cooking oil around the sealing edge. Wipe off the excess so it’s barely there. The film fills micro-gaps in the rubber and creates a better airtight seal. Too much, and the cup slides—so go light.
Do This vs. Don’t Do This
| Do This | Don’t Do This |
| Use warm water and mild soap | Use boiling water (warps the rubber) |
| Rub with a soft microfiber cloth | Scrub with abrasive pads or steel wool |
| Soak in vinegar for limescale | Soak in bleach (degrades and yellows rubber) |
| Dry fully before reattaching | Reattach while wet |
| Use a tiny film of oil to boost grip | Slather on thick grease |
| Peel the cup off slowly by the tab | Yank it straight off the surface |
Common Mistakes to Avoid
Scrubbing with anything rough. Micro-scratches on the sealing face are the number one killer of suction. Once that smooth surface is damaged, no amount of cleaning brings it back.
Reattaching a damp cup. Water under the seal breaks the vacuum instantly. People clean the cup perfectly, slap it on wet, and blame the cup when it falls.
Cleaning the cup but ignoring the surface. A spotless cup on a greasy, dusty tile still won’t hold. Both surfaces need to be clean and dry.
Using too much oil. A little restores grip; a lot makes the cup slide down like it’s on a water slide. Wipe almost all of it off.
Letting it soak for hours. A long vinegar bath softens and weakens the rubber over time. Ten minutes is plenty.
Safety and Warnings
You’re working with mild ingredients here, but a few rules still matter.
Never mix cleaning products. Vinegar is acidic. Do not combine it with bleach or any chlorine-based cleaner—the reaction releases toxic chlorine gas. If you’ve used a bleach product nearby, rinse everything and ventilate before you bring vinegar into the mix.
Skip bleach on rubber entirely. It yellows, cracks, and degrades the material, which permanently ruins suction. Vinegar handles mineral buildup without the damage.
Ventilate when using rubbing alcohol. It’s flammable and gives off strong fumes. Crack a window, and keep it away from open flames or heat.
Test oil sparingly. If your cup holds something over a sensitive surface, wipe away every trace of excess oil so it doesn’t drip or stain.
Beyond that, there’s no real hazard—just rubber, soap, and a bit of patience.
Keep Your Suction Cups Gripping Longer
A clean cup that keeps falling usually points to a maintenance habit that’s missing. Try these:
- Wipe cups down monthly. A quick soapy rinse stops buildup before it hardens into limescale.
- Clean the mounting surface too. Glass and tile collect soap film and grease. Wipe with rubbing alcohol before reattaching for the strongest bond.
- Store spare cups flat. Cups left curled or squished develop permanent warps that never seal right again.
- Press out all the air. When you reattach, push firmly from the center outward to force trapped air from under the seal.
- Watch the seasons. Cold rooms make rubber stiff and prone to popping off, which is why bathroom hooks fail more in winter. Warm the cup in your hands before mounting on a cold morning and it’ll hold far better.
- Refresh the seal every few months. Repeat the light oil trick when grip starts to weaken.
FAQ
Why won’t my suction cup stick anymore?
Usually one of three things: the sealing face is scratched, it’s dirty or has dried-on film, or the surface underneath isn’t clean and dry. Clean both the cup and the surface, dry them fully, and try the warm-water-and-oil trick to restore the seal.
Can you use vinegar to clean suction cups?
Yes, and it’s the best choice for cloudy limescale spots from hard water. Soak the cup in a fifty-fifty vinegar and warm water mix for about ten minutes, then rinse well. Avoid long soaks, which can weaken the rubber over time.
How do I make a suction cup sticky again?
Clean it thoroughly, dry it completely, then warm the rubber and rub a tiny film of petroleum jelly or cooking oil around the sealing edge. Wipe off the excess. The film fills microscopic gaps and creates a tighter vacuum.
Does hot water ruin suction cups?
Boiling or very hot water can warp thin plastic cups and leave them permanently misshapen, which destroys the seal. Warm water is safe and actually helps soften the rubber for a better grip. Stick with warm, never hot.
How often should I clean my suction cups?
A quick soapy wipe once a month keeps most cups gripping well. In bathrooms and kitchens where grease and hard water build up fast, every two weeks is better. The moment a cup starts sliding, that’s your cue to clean it.
Why do suction cups fall off in cold weather?
Cold makes rubber stiff and less flexible, so it can’t mold to the surface and hold air. Warm the cup in your hands for a few seconds before mounting, and it’ll seal much more reliably through winter.
Give your cups this ten-minute treatment and most of them will grip like new again. Keep the surface clean, dry everything fully, and remember that light touch with the oil—that’s the difference between a cup that holds and one that hits the floor.
