
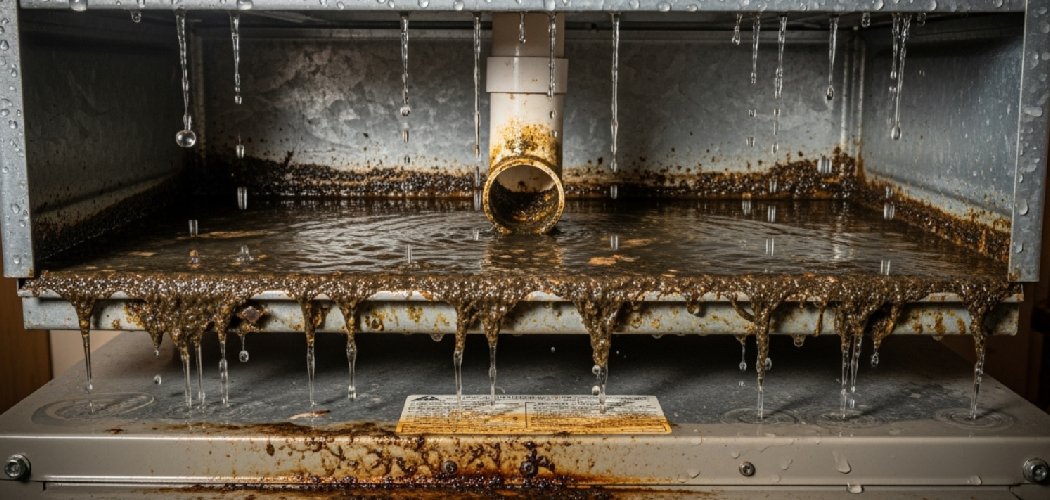
You fire up the furnace on the first cold night of the year, and within minutes the basement smells faintly like a campfire. Nine times out of ten, that’s soot and creosote choking a neglected flue pipe — and the person who ignores it is the same person who reaches for a wire coat hanger to “poke it clear,” punching holes in the metal instead. That single shortcut has caused more emergency service calls than almost anything else I saw in the field.
A flue pipe carries dangerous combustion gases out of your home, so a clogged or corroded one isn’t just a performance issue — it’s a carbon monoxide risk. Knowing how to clean furnace flue pipe sections properly keeps your system venting safely and running efficiently. This guide walks you through the whole job the way I taught homeowners to do it themselves.
What You’ll Need
Gather everything before you disconnect a single section — you don’t want to leave an open flue while you hunt for a screwdriver:
- A flue brush sized to your pipe’s diameter (usually 5″, 6″, or 7″)
- Flexible drain rods or a brush extension kit
- A shop vacuum with a hose attachment
- A stiff wire brush and a plastic scraper
- Screwdriver and nut driver set (for sheet-metal screws)
- Aluminum foil tape (never regular duct tape)
- Work gloves and a dust mask or respirator
- Safety goggles
- A drop cloth or old towels
- A flashlight or headlamp
- A carbon monoxide detector (to test afterward)
- A bucket for debris
Shut Down and Cool the System Completely
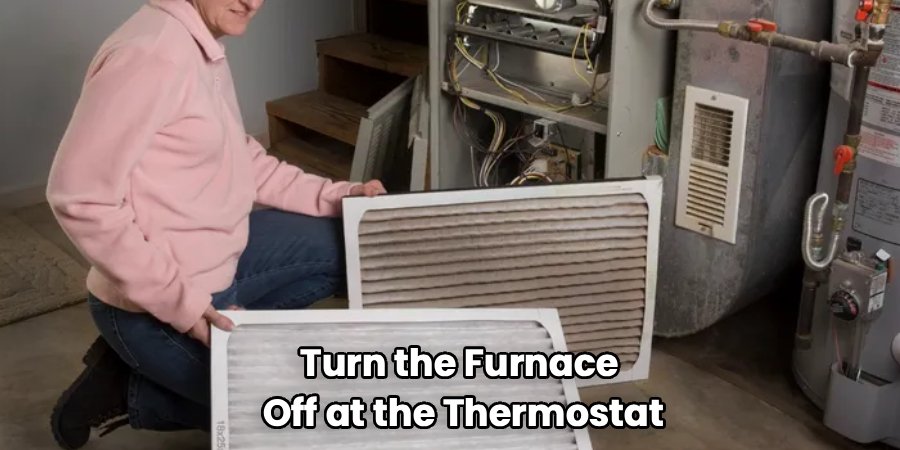
Turn the furnace off at the thermostat, then cut power at the breaker. Gas furnaces also need the gas supply shut off at the valve before you touch anything.
Here’s the part people rush: the flue pipe stays hot for a long time. Wait at least a couple of hours after the last cycle — the thin metal cools faster than the furnace body, but the connections near the heat exchanger hold warmth surprisingly long. Touch-test with the back of your hand before gripping anything.
Inspect the Pipe Before You Disconnect Anything
Lay your drop cloth under the flue run and shine your flashlight along the whole length. You’re looking for three things: soot buildup, rust or flaking metal, and any gaps at the joints.
Soft, crumbly rust spots mean that section needs replacing, not cleaning — no amount of scrubbing saves corroded flue metal. Mark any questionable joints with a piece of tape so you know where to focus when you reassemble.
Disconnect the Flue Sections Carefully
Most residential flue pipe is single-wall or double-wall metal held together with three sheet-metal screws per joint and sometimes foil tape. Back the screws out with your nut driver and keep them in your bucket so they don’t roll away.
Gently twist and pull each section apart. Work from the furnace outward, and set the pieces down in order — I always lined mine up on the floor in sequence so reassembly took minutes instead of guesswork. Take a phone photo of the layout first if your run has elbows.
Brush and Vacuum the Interior
This is where the actual cleaning happens. Run your flue brush through each disconnected section with a firm back-and-forth motion, adding extension rods for longer pieces.
The soot will rain down, so hold each section over your bucket or feed your shop vac hose in behind the brush to catch it. For baked-on creosote glaze, work the stiff wire brush and plastic scraper along the inner wall — don’t gouge, just lift the flakes. Vacuum thoroughly when you’re done so no loose debris blows back into the room on startup.
Clean the Furnace Flue Collar and Draft Hood
The collar where the pipe meets the furnace collects the heaviest buildup because it’s closest to combustion. Brush it out gently and vacuum around the draft hood.
Check the draft hood opening for nests, too. On seasonal shutdowns I pulled out more than one bird’s nest and a startling amount of insulation debris that had drifted in over summer.
Reassemble and Seal the Joints
Fit the sections back together in the same order, making sure the crimped (male) end points down toward the furnace so condensate and soot fall inward rather than leaking out. Drive in three fresh screws per joint if the old ones stripped.
Wrap each joint with aluminum foil tape for a tight seal. Restore gas, then power, then run the furnace and hold your hand near each joint to feel for escaping exhaust — you should feel nothing.
Method Comparison: Which Approach for Which Buildup
Match the tool to what you actually find inside the pipe. Reaching for the heaviest method on light soot just wastes effort.
| Method | Best For | Effort | Risk to Pipe |
| Shop vac only | Light loose soot | Low | None |
| Flue brush + vacuum | Standard seasonal soot | Medium | Very low |
| Wire brush + scraper | Baked-on creosote glaze | High | Moderate if aggressive |
| Section replacement | Rust, holes, soft metal | High | N/A — replaces damage |
| Chemical flue cleaner | Preventive glaze reduction | Low | Low (follow label) |
| Wire coat hanger | Nothing — never do this | — | High (punctures metal) |
Start with the brush-and-vacuum combo for a typical yearly clean. Only step up to scraping if you find hardened glaze, and stop immediately if you uncover rust — that’s a replacement job.
Common Mistakes to Avoid
These are the errors that turned simple cleanings into expensive repairs:
- Poking the pipe with wire or hangers. Thin flue metal punctures easily, and a hole leaks exhaust gas straight into your living space.
- Skipping the gas and breaker shutoff. Working on a live system is how people get burned or worse.
- Reassembling with the crimp facing the wrong way. Point the male end down toward the furnace, or soot and moisture leak out every joint.
- Using regular duct tape. It dries out and fails under heat within weeks. Only foil tape rated for flue temperatures holds up.
- Ignoring rust. Scrubbing corroded metal doesn’t fix it. Flaking or soft spots mean that section is done.
- Forgetting to test draft afterward. If you don’t confirm the pipe vents properly, you won’t know it’s leaking until you feel sick.
Safety and Warnings
A flue pipe handles carbon monoxide and combustion gases, so this job carries real hazards — treat every step seriously.
Confirm the system is fully off. Shut the thermostat, cut the breaker, and close the gas valve. Never work on a flue with the furnace able to fire.
Wear a respirator and goggles. Soot and creosote dust are fine, greasy, and harmful to breathe. A basic dust mask is the minimum; a proper respirator is better.
Ventilate the workspace. Open a window and run a fan. You’ll stir up airborne particles, and you want them clearing out, not settling in your lungs.
Never reconnect a damaged pipe. A cracked, rusted, or punctured flue can dump carbon monoxide indoors. When in doubt, replace the section.
Test carbon monoxide levels after startup. Keep a working CO detector nearby and confirm it stays quiet once the furnace runs. If it alarms, shut down and call a pro.
Know your limits. If your flue connects to a masonry chimney, has a compromised liner, or you smell gas at any point, stop and bring in a licensed technician. Some jobs aren’t worth the risk.
Maintenance and Prevention Tips
A clean flue stays clean longer with a few simple habits. These are the ones I pushed hardest with clients because they prevented most emergency calls:
- Inspect the flue every fall before heating season starts. Catching light soot early means a five-minute vacuum instead of an afternoon of scraping.
- Change your furnace filter on schedule. A clogged filter makes the system run inefficiently and produce more soot in the exhaust.
- Keep the area around the furnace clear. Dust, lint, and stored boxes get pulled into the combustion air and end up as buildup.
- Watch for backdraft signs. Rust streaks below joints, a lingering exhaust smell, or moisture around the collar all point to venting problems.
- Schedule a professional inspection yearly. A tech checks the heat exchanger and draft that a DIY cleaning can’t fully assess.
- Replace aging single-wall pipe before it corrodes through. It’s cheap metal, and swapping a section proactively beats an emergency in January.
One seasonal note: do your deep clean in early fall, not spring. Summer humidity accelerates rust inside a dormant pipe, so cleaning right before you need the furnace lets you catch any corrosion that developed over the off-season.
Frequently Asked Questions
How often should you clean a furnace flue pipe?
Once a year is the standard for most homes, timed just before heating season. If you burn a lot of fuel through a long, cold winter or notice soot building faster, check it twice — early fall and midwinter. A quick annual inspection tells you whether a full clean is even needed.
Can I clean my furnace flue pipe myself?
Yes, if it’s accessible single- or double-wall metal pipe and you’re comfortable disconnecting sections. Shut off power and gas, brush and vacuum each piece, and reseal the joints. Leave masonry chimneys, damaged liners, or any gas smell to a licensed technician.
What happens if you don’t clean your furnace flue?
Buildup restricts airflow, which makes the furnace run inefficiently and can push exhaust gases — including carbon monoxide — back into your home. Heavy creosote glaze is also a fire hazard. Neglect long enough and you risk both a dangerous leak and costly system damage.
How do I know if my flue pipe is blocked?
Watch for a furnace that struggles to stay lit, a stronger exhaust smell indoors, soot marks around the draft hood, or a carbon monoxide detector that keeps triggering. Any of these means you should shut down and inspect the pipe before running the system again.
What is the difference between soot and creosote in a flue?
Soot is the loose, powdery black residue that vacuums and brushes away easily. Creosote is a hardened, glazed deposit that bakes onto the pipe wall and needs scraping. Gas furnaces mostly produce soot, while wood and oil burning leave heavier creosote.
Do chemical flue cleaners actually work?
They help reduce and soften glaze buildup as a preventive measure, but they don’t replace physical brushing and vacuuming. Think of them as maintenance between cleanings, not a substitute for pulling the pipe and scrubbing it. Always follow the product’s label for your fuel type.
Final Word
A flue pipe is cheap metal doing a life-safety job, so clean it with respect and never gamble with rust or shortcuts. Handle the yearly brush-and-vacuum yourself, confirm it vents clean afterward, and call a pro the moment anything looks corroded or smells off.
