
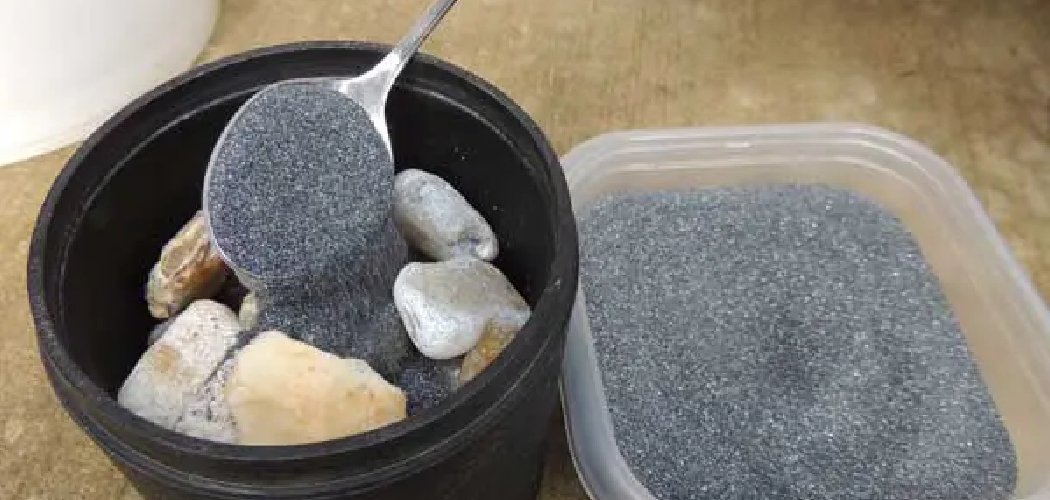
The first rock I ever tried to clean, I scrubbed with a wire brush and dish soap, then wondered why it looked worse than when I found it. Turns out I’d ground fine scratches into a soft piece of calcite and driven grime deeper into its pores. Rocks don’t all take the same treatment, and the harder you go, the more likely you are to wreck the very features that made you pick the thing up in the first place.
The good news is you don’t need a noisy machine running for weeks to get great results. Learning how to clean rocks without a tumbler is mostly about soaking, patience, and matching your method to the type of stone. With a few household supplies and a little time, you can pull years of dirt, algae, and mineral crust off your finds.
What You’ll Need
- Two buckets or a plastic tub for soaking
- Soft-bristle toothbrush or a small nylon brush
- Wooden or plastic toothpick and a dental pick (for tight crevices)
- Mild dish soap
- White vinegar (for acid-safe rocks only — see warnings)
- Baking soda
- Oxygen bleach (sodium percarbonate) for organic stains
- Old towels and a soft cloth
- Rubber gloves and safety glasses
- A colander or mesh strainer for rinsing small stones
- Optional: automotive polishing compound and a felt cloth for a hand-buffed shine
Sort Your Rocks by Hardness First
Before anything touches water, separate your rocks by type and hardness. Soft stones like limestone, sandstone, calcite, and anything chalky will scratch, crumble, or dissolve if you treat them like quartz. Harder stones — quartz, agate, jasper, granite — take far more abuse.
A quick field test: try scratching the rock with a steel knife or a copper coin. If the knife bites in easily, you’re dealing with a soft stone that needs gentle handling and no acids. If it barely marks, you’ve got a hard stone that can handle a good scrub.
I learned to keep a small container of white vinegar on the bench for a fizz test. Drop a bead on a hidden spot — if it bubbles, the rock contains carbonate and vinegar will eat away at it. That two-second check has saved me from ruining more specimens than I can count.
Soak Away Loose Dirt and Mud
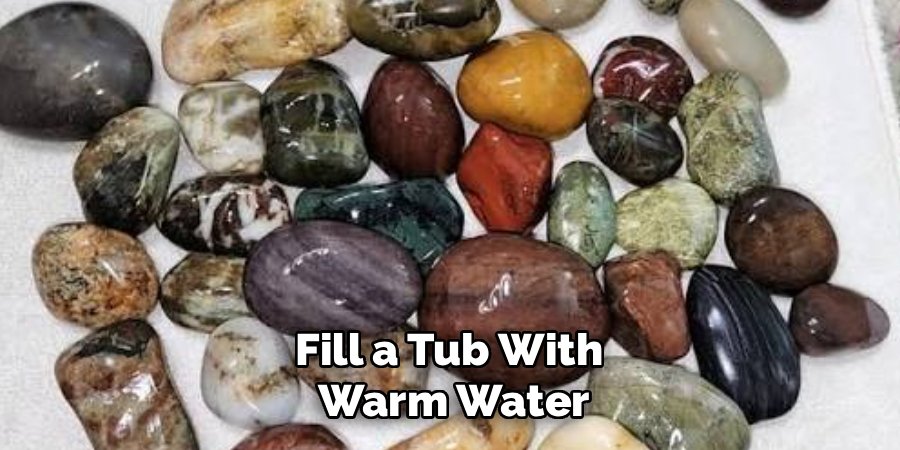
Fill a tub with warm water and a few drops of dish soap, then let your rocks sit for several hours or overnight. Soaking does most of the heavy lifting for you, softening caked mud and loosening grit so you’re not grinding it into the surface later.
For really muddy finds, change the water once the first soak turns cloudy and give them a second round. Warm water works faster than cold, but skip boiling water — sudden temperature changes can crack rocks that hold internal moisture.
Scrub Gently With a Soft Brush
Work one rock at a time with a soft toothbrush, using small circular strokes. Keep the rock wet as you go so any loosened dirt slides off instead of scratching. Rinse frequently to check your progress.
Digging Grime Out of Cracks and Pits
Textured rocks trap dirt in every crevice, and a flat brush won’t reach it. Use a wooden toothpick or a dental pick to lift debris from cracks, working slowly so you don’t chip the edges. A blast from a garden hose nozzle also flushes out packed grit without any risk of scratching.
Lifting Algae, Moss, and Green Stains
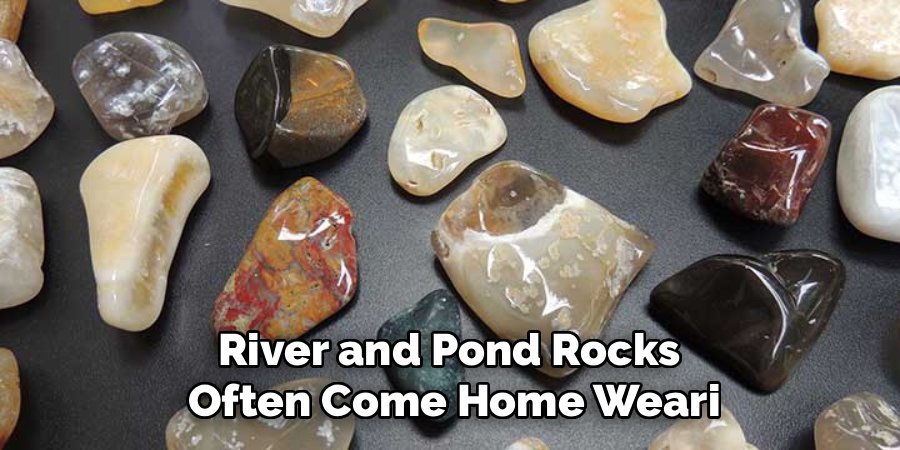
River and pond rocks often come home wearing a film of algae. Mix oxygen bleach with warm water per the package directions and soak the rocks for a few hours. It breaks down organic growth without the harsh fumes or plant-killing runoff of chlorine bleach. Scrub lightly afterward and rinse well.
Remove Stubborn Mineral Crust and Iron Stains
Hard stones sometimes carry a chalky white calcium crust or rusty iron staining that soaking won’t budge. On acid-safe rocks like quartz and agate, a soak in undiluted white vinegar for several hours dissolves calcium deposits — just rinse thoroughly afterward and repeat if needed. For iron stains, a product containing oxalic acid works, but use it only on hard, non-porous stones and follow the label exactly.
Never reach for vinegar or any acid on soft carbonate rocks. It will etch the surface, dull the finish, and in bad cases dissolve fine detail right off the stone.
Rinse, Dry, and Inspect
Rinse each rock under clean running water until no soap or cleaner residue remains. Use a colander for small stones so you don’t lose any down the drain. Pat them dry with a soft towel, then let them air-dry fully before you judge the results — wet rocks always look shinier than dry ones, which fools people into thinking they’re done.
Bring Out Shine Without a Machine
A tumbler creates polish through weeks of grinding, but you can fake a respectable shine by hand. Once the rock is clean and bone-dry, rub a small amount of automotive polishing compound over the surface with a felt cloth, then buff it off. Mineral oil or a dab of clear wax also deepens the color and adds a soft sheen, especially on agates and jaspers.
Method Comparison: What to Use vs. What to Avoid
| Situation | Do This | Avoid This |
| General dirt and mud | Warm soapy soak + soft brush | Wire brushes, steel wool |
| Algae and moss | Oxygen bleach soak | Chlorine bleach (fumes, runoff) |
| Soft/carbonate rocks | Water and mild soap only | Vinegar, acids, aggressive scrubbing |
| Calcium crust on hard rock | White vinegar soak | Acid on any soft or porous stone |
| Iron/rust stains | Oxalic acid on hard stone only | Acids on soft stone or bare hands |
| Adding shine | Hand polish with compound or mineral oil | Boiling water, harsh abrasives |
| Small stones | Rinse in a colander | Loose rinsing over an open drain |
Common Mistakes to Avoid
- Soaking every rock in vinegar. It’s great on quartz and agate, but it destroys limestone, calcite, and sandstone. Fizz test first, every time.
- Scrubbing with metal brushes. Wire brushes and steel wool leave scratches and can transfer metal that turns into rust spots later.
- Using boiling water. The thermal shock cracks porous rocks and any stone holding trapped moisture. Warm is plenty.
- Judging results while wet. Wet rocks always look glossy. Let them dry before deciding whether they need another pass.
- Skipping the rinse. Leftover cleaner leaves a dull film and can keep reacting with the stone.
- Cleaning mixed hardness together. Soft and hard rocks in the same rough scrub means the soft ones lose. Sort first.
Safety and Warnings
Cleaning rocks is low-risk compared to most jobs, but a couple of steps involve real hazards worth respecting.
- Never mix cleaning products. Bleach and vinegar release chlorine gas. Bleach and ammonia create toxic chloramine fumes. Use one product, rinse completely, then move to the next.
- Handle acids carefully. Vinegar is mild, but oxalic acid is genuinely dangerous. Wear rubber gloves and safety glasses, work in a ventilated space, and never let it touch bare skin.
- Test in a hidden spot first. Every rock reacts differently. Try any cleaner on an out-of-sight area and wait a few minutes before committing.
- Dispose of acid solutions properly. Don’t dump used oxalic acid onto plants or down a storm drain. Neutralize it with baking soda and follow local disposal guidance.
- Watch out for unknown rocks. If you don’t recognize a stone, don’t grind or breathe its dust. Some rocks contain silica or other minerals you don’t want in your lungs. Keep them wet while working.
- Ventilate indoor work. Open a window if you’re using anything stronger than dish soap.
How to Keep Your Rocks Clean Longer
A little upkeep saves you from starting over every few months, especially with display pieces that collect dust.
- Seal porous stone. A stone or mineral sealer keeps dirt and moisture out of soft, absorbent rocks and locks in color.
- Store them dry. Damp storage invites mold and mineral bloom. Let rocks dry fully before boxing them up.
- Dust display pieces regularly. A soft, dry brush or microfiber cloth keeps buildup from bonding to textured surfaces.
- Reapply oil or wax as needed. Polished agates and jaspers dull over time. A fresh light coat of mineral oil restores the depth in seconds.
- Keep finds out of direct sun. Prolonged sunlight fades the color on some minerals, especially amethyst and fluorite.
Late fall is my favorite time to do a big cleaning session on a collection. The air is dry, so rocks cure faster after their soak, and you’re not fighting the humidity that keeps porous stones damp for days.
Frequently Asked Questions
How do you clean rocks without a rock tumbler?
Soak them in warm, soapy water to loosen dirt, scrub gently with a soft toothbrush, and use a toothpick or dental pick for tight crevices. For algae, use an oxygen bleach soak, and for calcium crust on hard stones, soak in white vinegar. Rinse well and let them dry fully.
Can you use vinegar to clean rocks?
Only on acid-safe stones like quartz, agate, and jasper. Vinegar dissolves calcium deposits on those beautifully, but it etches and ruins soft carbonate rocks like limestone and calcite. Always do a fizz test on a hidden spot first — if it bubbles, keep vinegar away.
How do you make rocks shiny without a tumbler?
Clean and fully dry the rock, then hand-buff it with a little automotive polishing compound on a felt cloth. Mineral oil or clear wax also deepens the color and adds a soft sheen, which works especially well on agates and jaspers.
How do you remove hard water or calcium deposits from rocks?
On hard, non-porous stones, soak the rock in undiluted white vinegar for several hours, then scrub and rinse. Repeat if the crust is thick. Never use this method on soft or carbonate rocks, since the acid will damage them.
Is it safe to boil rocks to clean them?
It’s risky. Sudden heat causes thermal shock that can crack porous rocks or any stone holding trapped moisture, and some rocks can even explode. Stick with warm soaks instead — they clean just as well without the danger.
How do you get algae and green stains off river rocks?
Soak the rocks in an oxygen bleach solution mixed with warm water for a few hours, then scrub lightly with a soft brush and rinse. Oxygen bleach breaks down organic growth without the fumes or plant-killing runoff of chlorine bleach.
Final Thoughts
Great-looking rocks come down to sorting by hardness, soaking instead of scrubbing, and keeping acids away from anything soft. Take your time, test before you commit, and let each piece dry fully before you decide it’s finished. Do that, and you’ll get results a machine can’t touch — with far less noise and a lot more control.
