
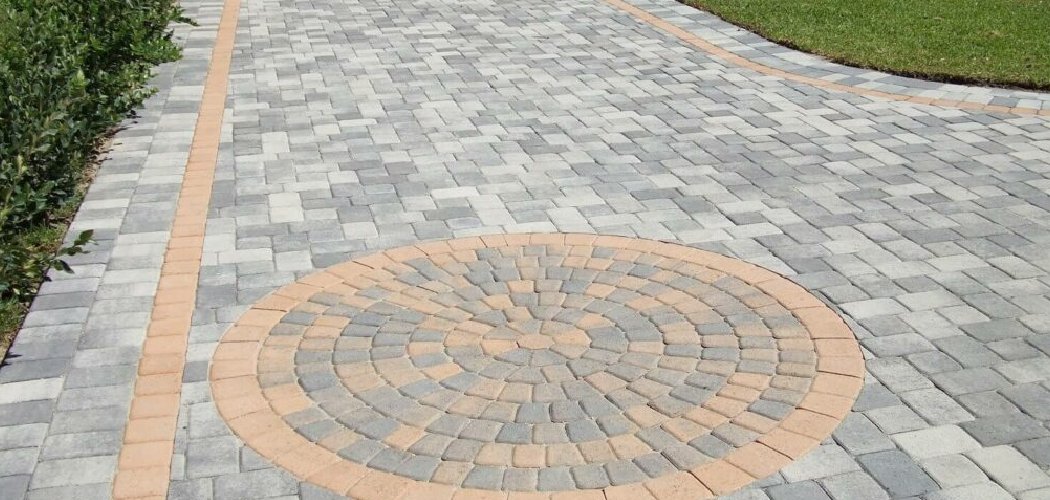
A guy in my old neighborhood pressure-washed his brand-new paver patio on the highest setting the week after it was laid. By that fall, the surface looked pitted, the joints were washed hollow, and weeds were shooting up through every gap because he’d blasted out all the jointing sand. He didn’t have a dirt problem — he had a technique problem, and it cost him a re-sanding job.
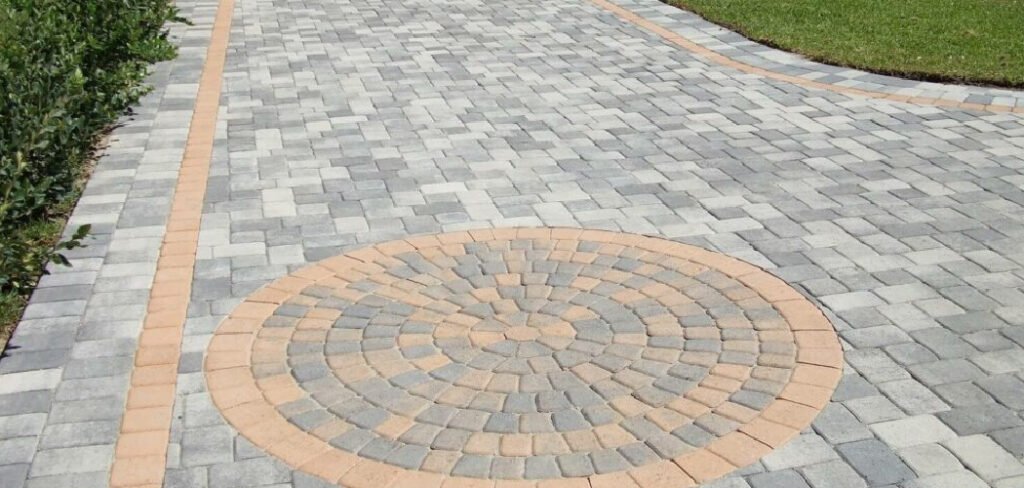
Learning how to clean brick pavers well is mostly about being gentler than you think you need to be. The pavers themselves are tough, but the sand between them and the sealer on top are not, and those are the parts that keep the whole surface locked together and looking sharp.
What You’ll Need
- Stiff-bristled push broom
- Garden hose with a spray nozzle (or a pressure washer with a fan tip you can dial down)
- Two buckets — one for cleaning solution, one for rinse
- Soft-bristled scrub brush or a deck brush on a pole
- Mild dish soap or a pH-neutral paver cleaner
- White vinegar (spot use only — see the warnings)
- Oxygen bleach (oxalic-free, sodium percarbonate type) for organic stains
- Baking soda for grease spots
- Polymeric jointing sand (for re-sanding after a deep clean)
- Paver sealer (for the maintenance step)
- Rubber gloves and safety glasses
- Weeding knife or flat screwdriver for the joints
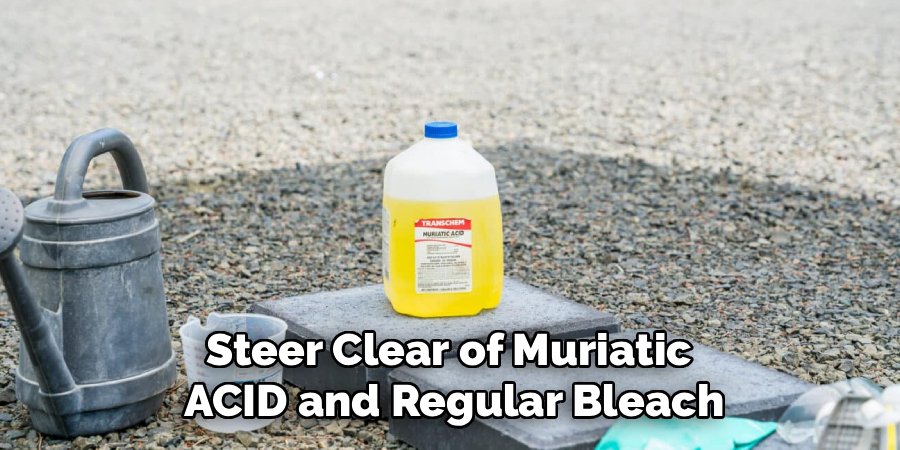
You’ll notice no muriatic acid on that list. People reach for it thinking stronger is better, but it burns the color out of brick and eats the joints — save yourself the regret.
Sweep and Clear the Joints First
Pavers collect grit, leaves, and seeds in every seam, and mopping or spraying over that debris just turns it into mud you push deeper. Sweep the whole surface hard with a stiff push broom, working the bristles along the joint lines to lift out packed dirt.
While you’re down there, pull any weeds or moss growing between the bricks. Get the roots with a weeding knife or a flat screwdriver rather than snapping the tops off, or they’ll be back in a couple of weeks. A clean, dry surface makes every step after this far easier.
Rinse Before You Scrub
Give the whole area a plain water rinse with your hose before any cleaner touches it. This flushes loose surface dust and, more importantly, wets the pavers so they don’t drink your cleaning solution straight into their pores.
Dry, thirsty brick soaks up a cleaner unevenly and can leave you with patchy results and streaks. A pre-rinse keeps everything working on the surface where the dirt actually sits.
Wash With a Mild Solution
Mix a good squirt of dish soap or a capful of pH-neutral paver cleaner into a bucket of warm water. Work in sections you can reach comfortably, spreading the solution with your scrub brush and letting it sit for a few minutes so it can loosen the grime.
Scrub With the Joints, Not Across Them
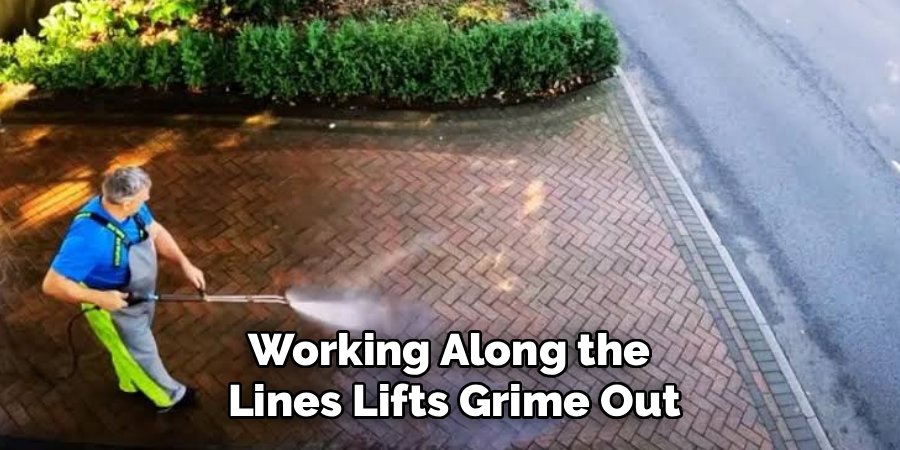
Push your brush along the direction of the joint lines rather than dragging across them. Scrubbing across the seams pulls jointing sand loose and packs dirt into the gaps. Working along the lines lifts grime out while leaving the sand where it belongs.
Rinse Each Section as You Finish
Rinse every section with clean water before the soapy film dries. Leftover residue dries into a dull haze that grabs new dirt fast, and it’s a pain to buff off later. Keep your rinse water moving and don’t let one dirty section drain across a spot you already cleaned.
Tackle Stubborn Stains by Type
Different marks need different treatment, and matching the fix to the stain saves you from over-scrubbing.
- Grease and oil (grills, cars): Cover the spot with a baking soda paste, leave it 15 minutes, then scrub gently and rinse. Fresh grease may need a second round.
- Moss, algae, and green film: Oxygen bleach dissolved in warm water is your friend here. Brush it on, let it dwell, then rinse. It lifts organic growth without the color damage regular bleach causes.
- Efflorescence (that white chalky bloom): This is natural salt working its way out of the brick. Brush it off dry first; if it lingers, a diluted vinegar spot-treatment on sealed pavers can help. Never soak the whole patio in acid.
- Rust: Comes from metal furniture or fertilizer. Use a rust remover made for masonry and follow the label exactly.
Clients used to ask me why fresh white streaks kept showing up on pavers they’d “just cleaned.” That’s usually efflorescence, not dirt — and scrubbing harder does nothing, because it comes from inside the brick, not off the top. It typically fades on its own over the first year as the salts finish leaching out.
Choose Your Cleaning Method: Hand Wash vs. Pressure Wash
| Factor | Hand Wash (brush + hose) | Pressure Wash |
| Best for | Routine cleaning, sealed pavers, small areas | Heavy buildup, large patios |
| Joint sand risk | Low | High — blasts sand out easily |
| Surface damage risk | Very low | Real if pressure or tip is wrong |
| Time and effort | More labor | Faster over big areas |
| Skill needed | Minimal | Careful technique required |
| Re-sanding after | Rarely | Almost always |
If you do use a pressure washer, keep it under about 1,500 PSI, fit a wide fan tip, and hold the wand at least a foot back at an angle. Never point it straight down into a joint.
Re-Sand the Joints After a Deep Clean
Any thorough wash — especially with a pressure washer — will pull some jointing sand out. Empty joints let pavers shift and invite weeds, so top them back up once the surface is fully dry.
Sweep polymeric sand across the pavers so it drops into the gaps, filling each joint nearly to the top. Brush off the excess, mist it lightly with water to activate the binder, and keep foot traffic off until it sets. Skipping this step is why so many patios go wobbly and weedy a season after cleaning.
Common Mistakes to Avoid
- Blasting on full pressure. High PSI pits the brick face, strips sealer, and empties the joints. That’s exactly how my neighbor wrecked his new patio.
- Using muriatic acid or straight bleach. Both strip color and damage joints. Reach for oxygen bleach and mild soap instead.
- Skipping the pre-rinse. Dry pavers absorb cleaner unevenly and streak.
- Scrubbing across the joints. It loosens sand and packs dirt into the gaps.
- Forgetting to re-sand. Empty joints mean shifting pavers and fast-returning weeds.
- Sealing over a damp or dirty surface. You trap moisture and grime under the sealer, which clouds and peels.
- Cleaning in blazing sun. Solutions dry before they work and leave streaks. Pick an overcast day or work in shade.
Safety and Warnings
Basic paver cleaning with soap and water is low-risk, but a few products and situations need real care.
- Never mix cleaners. Don’t combine bleach with vinegar, ammonia, or acid — the fumes are toxic. Pick one product and rinse fully before trying another.
- Skip muriatic acid unless you truly know what you’re doing. It’s dangerous to handle, gives off harsh fumes, and burns skin, eyes, and brick alike. There’s almost always a safer option for a home patio.
- Wear gloves and eye protection. Even oxygen bleach and rust removers can irritate skin and eyes over a full job.
- Test any new cleaner in a hidden spot. Try it on a paver near an edge or under a planter before doing the whole area, so you catch a bad reaction early.
- Ventilate and protect when sealing. Paver sealers give off strong fumes as they cure. Work outdoors with airflow, keep it off your skin, and follow the drying times on the can.
- Mind your footing. Wet, soapy pavers get slippery, so move carefully and keep kids and pets off until things dry.
Keep Your Brick Pavers Clean for Longer
A little upkeep means you almost never face a full deep-clean day.
- Sweep weekly. Regular sweeping keeps grit, leaves, and seeds from settling into the joints and sprouting.
- Rinse off spills fast. Blot grease and colored spills like wine or sauce before they soak in — pavers are porous and stain quickly.
- Pull weeds early. Get them while they’re small and grab the roots, before they widen the joints.
- Reseal every two to three years. A fresh sealer coat repels stains and locks the joint sand in place. High-traffic or poolside areas may need it sooner.
- Top up joint sand as needed. If you spot low or empty joints, refill them before weeds and shifting take hold.
- Move metal furniture off wet spots. Standing metal legs leave rust marks, so lift them or add pads.
- Deep clean once a year. A yearly wash keeps buildup from ever getting a foothold, ideally in spring or early fall when temperatures are mild.
Frequently Asked Questions
Can you pressure wash brick pavers?
You can, but only carefully. Keep the pressure under about 1,500 PSI, use a wide fan tip, hold the wand back at an angle, and never aim straight into the joints. Expect to re-sand the joints afterward, since even a careful pass pulls sand loose. For routine cleaning, a brush and hose are gentler and often all you need.
What is the best cleaner for brick pavers?
For everyday dirt, a mild dish soap or pH-neutral paver cleaner in warm water handles almost everything. For moss and algae, use oxygen bleach, and for grease, a baking soda paste. Steer clear of muriatic acid and regular bleach — they strip color and damage the joints.
How do you get moss and algae off pavers?
Dissolve oxygen bleach in warm water, brush it over the green areas, and let it sit for 10 to 15 minutes before scrubbing and rinsing. It breaks down organic growth without bleaching the brick. Keeping the area swept and well-drained afterward slows the moss from coming back.
Why do my pavers have a white haze after cleaning?
That white bloom is usually efflorescence — natural salts rising out of the brick — not leftover dirt. Brush it off dry, and on sealed pavers you can spot-treat lingering patches with diluted vinegar. It commonly fades on its own over the first year, so scrubbing harder won’t speed it up.
How often should you seal brick pavers?
Most paver patios need resealing every two to three years, though busy areas and poolside spots may need it sooner. Reseal only when the surface is clean and fully dry. A quick water test helps: if water stops beading and soaks in, the sealer has worn thin.
Do you need to put sand back between pavers after cleaning?
Yes, whenever a wash empties the joints — which pressure washing almost always does. Sweep polymeric jointing sand into the gaps, brush off the excess, and mist it to set. Full joints keep the pavers from shifting and block weeds from taking root.
Final Word
Go easy on the pressure, match your cleaner to the stain, and always top the sand back up when you’re done. Do that and your pavers will stay tight, colorful, and weed-free for years instead of falling apart a season after a too-aggressive wash.
