
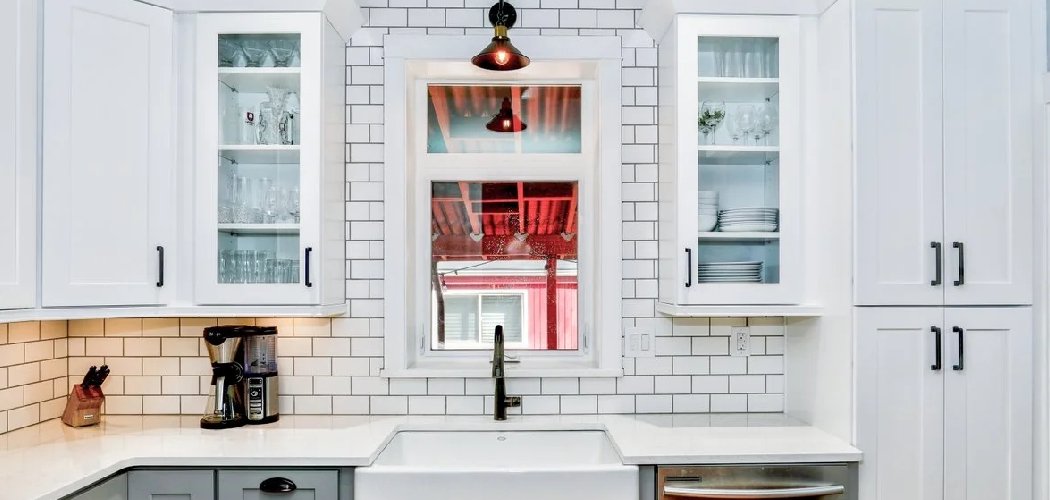
You wipe down your white cabinets with an all-purpose spray, step back, and notice the doors near the coffee maker look faintly yellow — not dirty, exactly, just tired and dingy compared to the ones across the room. So you scrub harder, and now there’s a shinier patch where the sheen has worn thin. White paint shows every mistake, and fighting it with the wrong products only makes the color look worse.
The trick to how to clean painted white cabinets is treating the yellowing and the grime as two different problems. One is a film sitting on top of the paint, and the other is the finish itself changing color over time. Handle each the right way and your cabinets go back to looking crisp and bright instead of gray and blotchy.
What You’ll Need
- Two or three soft white microfiber cloths (colored cloths can transfer dye onto light paint)
- A non-abrasive sponge — skip the scrubby green side
- Mild dish soap
- Warm water
- A small bucket or bowl
- White vinegar, for grease-cutting on durable finishes
- Baking soda, for spot-treating stubborn marks only
- Hydrogen peroxide (3%), for lifting mild yellowing
- A soft old toothbrush for grooves and corners
- Cotton swabs for hardware and tight trim
- A dry duster or vacuum brush attachment
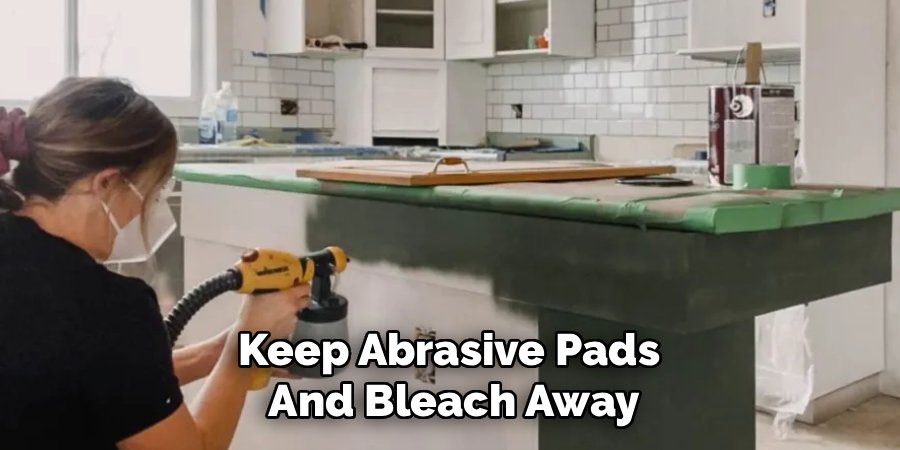
Leave the melamine erasers and abrasive pads in the drawer. They lift dirt, but they also buff the sheen off white paint and leave a dull halo that stands out even more against the surrounding gloss.
Dry-Dust Before Anything Gets Wet
Run a dry microfiber cloth or a vacuum brush attachment over every door and drawer front first. White cabinets sit under kitchen dust that mixes with airborne cooking oil, and adding water to that straight away turns it into a gray, gritty smear that drags across the paint as you wipe.
Work from the top cabinets down so loose dust falls onto surfaces you haven’t cleaned yet. Give extra attention to the top edges of upper doors and the raised trim on shaker fronts — those flat ledges collect the most, and on white paint the buildup reads as a dingy shadow.
Mix a Gentle Cleaning Solution
Fill your bucket with warm water and add just a few drops of mild dish soap. Keep it barely sudsy, not a foamy sink of bubbles. Too much soap dries into a sticky film that streaks badly on white and actually grabs more dust down the line.
Dish soap cuts grease, which is what most cabinet grime turns out to be. For heavier buildup around the stove, mix a small bowl of half water, half white vinegar as a booster. Keep vinegar off chalk paint and specialty matte finishes, though — the acid dulls them, and dullness is glaring on white.
Wash the Doors From the Bottom Up
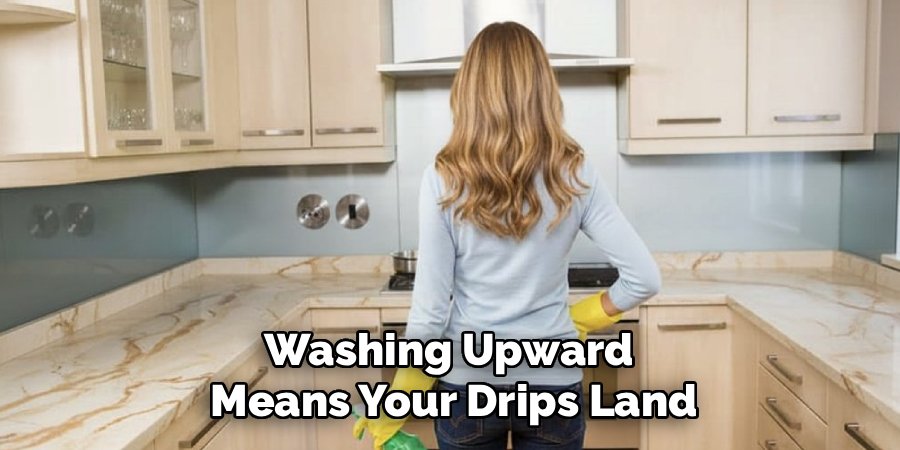
Wring your sponge until it’s damp, not dripping, then wipe each door starting at the bottom and working upward. Cleaning top-first lets dirty water run down over dry paint and set into streaks, which show up far worse on white than on any other color. Washing upward means your drips land on an area you’re about to clean anyway.
Wipe in the direction of the brush strokes or grain with light, even pressure. Let the soap sit for ten or fifteen seconds on greasy patches so it can break the film down — that soak time does more than scrubbing ever will.
Tackle the Yellowing, Not Just the Dirt
Here’s the part most guides skip: white cabinets yellow for two different reasons, and you treat them differently. A yellow film that wipes away with soapy water is grease buildup — common on the doors around the stove and the trash pull-out. But a yellow that won’t budge is usually the paint itself aging, and that’s most obvious on oil-based or older latex finishes.
I used to get asked this constantly by clients whose cabinets looked fine at night but sallow in daylight. Oil-based white paint ambers over time, and it speeds up in spots that get little natural light — think the inside of a corner or the run behind a door that stays open. For mild surface yellowing that isn’t grease, dab a cloth lightly dampened with 3% hydrogen peroxide, let it sit a minute, then wipe clean. Deep, set-in ambering, though, only truly resolves with repainting.
Clean the Grooves, Corners, and Hardware
Shaker and raised-panel doors trap grime in their seams, and on white it collects as dark lines that make the whole door look grubby. Dip a soft toothbrush in your soapy water and work it gently along the grooves, then run a cotton swab into the tight inside corners where the panel meets the frame.
Ease up around the edges — inside corners often have thinner paint and chip more readily than the flat faces. For handles and pulls, a cotton swab lifts the buildup that gathers right where fingers grip, which on white shows as a gray smudge.
Spot-Treat Stubborn Marks
For scuffs, dried splatters, or sticky residue that soap won’t lift, make a paste of baking soda and a little water. Dab it right on the mark and rub in small circles with almost no pressure. Baking soda is a mild abrasive, so keep it on the spot itself — never drag it across the whole door.
Wipe it off with a clean damp cloth the second the mark lifts. Left to dry, baking soda leaves a chalky white film that blends in just enough to fool you, then flakes off later.
Rinse and Dry Every Surface
Go over each door and drawer front with a clean cloth wrung out in plain warm water to lift any soap, vinegar, or peroxide residue. Change your rinse water as soon as it looks cloudy — reusing dirty water on white just redistributes the grime. Then dry immediately with a fresh microfiber cloth.
Never let white cabinets air-dry with water sitting on them. Standing droplets leave hard-water spots that stand out on a light surface, and moisture seeping into a seam or unsealed edge can lift the paint over time — especially along the bottom rail near the dishwasher.
Safe vs. Unsafe Products and Methods
On white paint, the wrong product doesn’t just fail — it leaves a visible mark. This table is what keeps your cabinets bright instead of blotchy.
| Safe for White Painted Cabinets | Avoid — Damages or Discolors |
| Mild dish soap and warm water | Heavy-duty degreaser sprays |
| Diluted white vinegar (durable finishes) | Bleach straight on paint |
| 3% hydrogen peroxide for mild yellowing | Ammonia-based cleaners |
| White microfiber cloths | Colored cloths that transfer dye |
| Non-abrasive sponge | Abrasive scouring pads |
| Baking soda paste, spot-only | Full-surface abrasive scrubbing |
| Soft toothbrush for grooves | Stiff-bristle or wire brushes |
| Light, even pressure | Hard scrubbing on one spot |
Melamine erasers deserve a specific callout. They feel soft, but they act like ultra-fine sandpaper — on white satin or matte paint they buff away the sheen and leave a permanent dull patch that catches daylight and looks worse than the mark you started with.
Common Mistakes to Avoid
- Skipping the dry-dust step. Water on greasy dust makes a gray smear that scratches as you wipe. Dust first, every time.
- Reaching for bleach to “whiten.” Bleach can discolor paint, soften it, and actually leave a yellow cast on some white finishes. It’s the wrong tool.
- Using colored or dye-heavy cloths. A damp red or blue cloth can transfer a faint tint onto light paint. Stick to white microfiber.
- Scrubbing yellowing that’s actually aging. No amount of scrubbing fixes ambered paint — you only wear the finish thin trying.
- Overloading on soap. A heavy sudsy film dries streaky and shows badly on white, then pulls in dust faster.
- Letting cabinets air-dry. Water spots and seam damage show more on white than any other color. Dry by hand.
- Testing nothing first. Trying peroxide or vinegar straight on a visible door is how you learn — too late — that it dulls or lightens unevenly.
Safety and Warnings
Soap and water carry little risk here — this is mostly about protecting the finish and the color. But a few precautions save you from an expensive repaint.
- Test in a hidden spot first. Try any cleaner, including vinegar, peroxide, or baking soda, on the inside edge of a door before touching a visible face. White finishes react unevenly, and you want to see the result somewhere it won’t show.
- Never mix cleaners. Don’t combine bleach with ammonia or vinegar — some mixes release toxic gas. Use one product at a time and rinse between them.
- Skip bleach on the paint. Beyond the fumes, it can yellow or soften white finishes rather than brighten them. Hydrogen peroxide is the safer lightener.
- Ventilate when using peroxide or vinegar. Crack a window, especially in a closed-up kitchen, and keep peroxide off your skin and eyes.
- Go easy on baking soda. Only in gentle, spot-specific dabs — too much pressure sands the paint.
- Keep water out of the seams. Moisture wicking into a chip or unsealed edge lifts paint from underneath over time.
Maintenance and Prevention Tips
A little routine keeps white cabinets bright and stretches the time between full washes:
- Wipe high-touch zones weekly. Handles, the doors either side of the stove, and the trash pull-out collect the most oil, and grease shows first on white. A ten-second damp wipe stops it hardening.
- Wipe splatters the same day. Grease and sauce lift with plain water while fresh. Left for weeks, they set into that stubborn yellow film.
- Run the range hood while cooking. It pulls airborne oil away from your uppers — the single biggest thing that slows yellowing near the stove.
- Let in natural light where you can. Cabinets that stay shaded amber faster, so an open blind on a bright day genuinely helps keep the white even.
- Dust monthly. A dry cloth over the tops and trim keeps grit from scratching and stops that dingy shadow forming on ledges.
- Mind the dishwasher cabinet. Steam escapes when you open it mid-cycle, so wipe the neighboring doors dry and don’t let moisture sit on the bottom rail.
- Touch up chips early. A dab of matching white paint stops water getting underneath and blends far better than a spreading bare spot.
Frequently Asked Questions
How do you clean white cabinets without ruining the paint?
Dust dry first, then wipe with warm water and a few drops of mild dish soap on a soft microfiber cloth, working bottom to top with light pressure. Let the soap soak for a few seconds on greasy spots instead of scrubbing. Rinse with a clean damp cloth, dry by hand right away, and keep abrasive pads and bleach away from the finish entirely.
Why are my white cabinets turning yellow?
Two reasons, and they need different fixes. A yellow film that wipes off is grease buildup, common near the stove — mild soap and water lift it. Yellow that won’t budge is the paint itself aging, especially oil-based finishes and spots that get little natural light, and that usually only resolves with repainting.
Can you use vinegar on white painted cabinets?
Yes, diluted with water, on durable satin and semi-gloss finishes where it helps cut grease. Keep it off chalk paint and matte finishes, since the acid dulls them and dullness is obvious on white. Always test on a hidden corner before wiping a visible door.
How do you whiten yellowed cabinets?
For mild surface yellowing that isn’t grease, dab lightly with 3% hydrogen peroxide, let it sit about a minute, then wipe clean and dry. Test a hidden spot first, since it can lighten unevenly. Skip bleach — it often yellows white paint further rather than brightening it, and deep ambering needs a fresh coat of paint.
How often should you clean white cabinets?
Wipe high-touch areas and the doors near the stove weekly, and dust the whole run monthly. A full wash every couple of months keeps most kitchens crisp, though heavy cooking means the uppers around the range need attention more often since grease shows fastest on white.
Can you use a magic eraser on white cabinets?
Better not to. Melamine erasers work like ultra-fine sandpaper and strip the sheen, leaving a permanent dull patch that stands out against the surrounding gloss. Use a soft cloth or non-abrasive sponge, and save baking soda for the occasional stubborn mark.
Sort the grease from the aging before you reach for anything, wipe gently with soap and water, and dry every surface by hand. Do that and your white cabinets stay bright and even instead of turning that tired, blotchy gray.
