
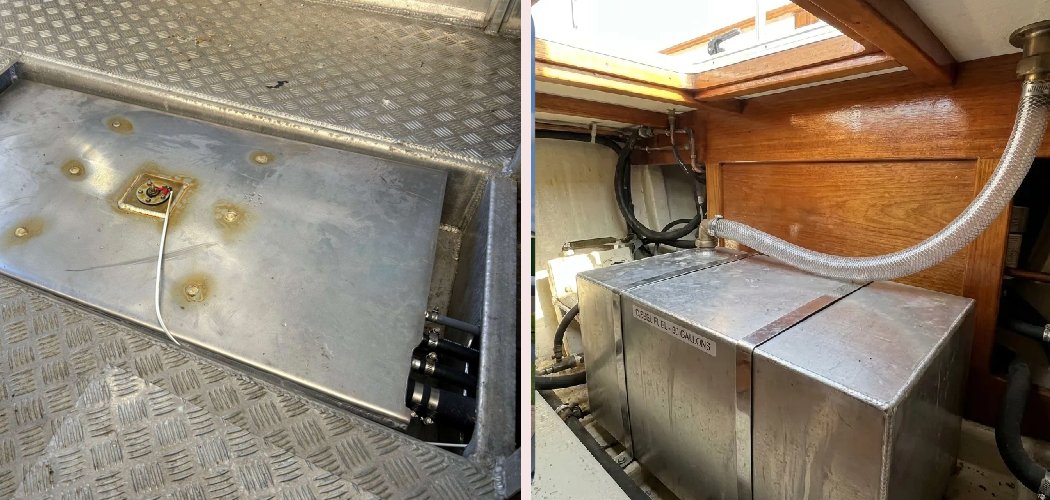
You crank the engine on the first warm weekend of the season, it sputters, coughs, and dies — then does it again a mile out on the water. Nine times out of ten it’s not the engine at all. It’s the tank full of gunk, water, and jelly-like sludge that built up while the boat sat all winter, and the biggest mistake people make is topping off with fresh fuel on top of it and hoping the problem flushes itself out. It never does.
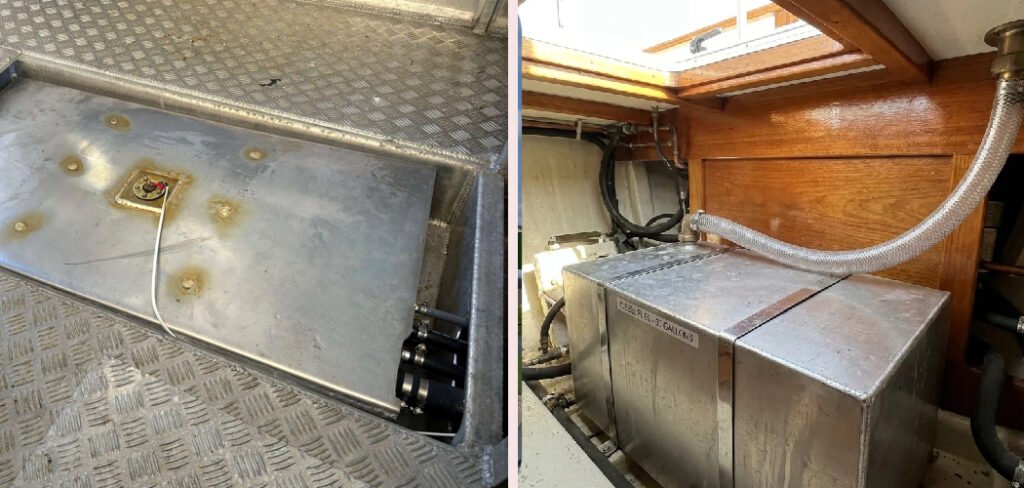
Learning how to clean a fuel tank on a boat is one of those jobs that saves you from being stranded and from a repair bill that dwarfs the cost of a Saturday afternoon. Old fuel breaks down, water sneaks in, and bacteria set up shop right at the fuel-water line. Ignore it and you’ll clog filters, foul injectors, and eventually stall out where a tow costs real money.
What You’ll Need
- Fuel-rated transfer pump (hand pump or 12V electric)
- Clean, approved fuel storage containers or drums
- Long, stiff-but-safe brush or non-sparking scraper
- Fuel-resistant hose long enough to reach the tank bottom
- Absorbent pads and rags
- Marine-grade fuel tank cleaner or degreaser
- Fresh, ethanol-free fuel (or fuel with a quality stabilizer)
- Fuel filter and water-separating filter (new replacements)
- Nitrile gloves — chemical-resistant, not the thin kind
- Safety goggles and a respirator rated for organic vapors
- Flashlight or inspection camera (a phone borescope works great)
- Bucket for waste and a funnel with a fine screen
- Fire extinguisher rated for flammable liquids, within arm’s reach
Skip the shop rags soaked in unknown solvents and never grab a household vacuum to suck out fumes or fuel. That’s how garages catch fire.
Empty the Old Fuel Completely
Start by getting every drop of the old fuel out. Run your transfer pump hose to the lowest point of the tank and pump the fuel into approved containers. Tilt the boat slightly if you can, so the last of it pools where your hose can reach.
Old gasoline that’s gone stale smells sour and sharp — almost like varnish. If you catch that odor, don’t try to reuse it. Pump it out, cap your containers, and set them aside for proper disposal.
Draining the Water and Sludge Layer
Water is heavier than fuel, so it sinks to the bottom along with the sludge. Once the bulk of the fuel is out, keep pumping from the very bottom to pull that last nasty layer. This is where phase separation lives — that milky, jelly-like goo you get when ethanol fuel absorbs water and drops out of solution.
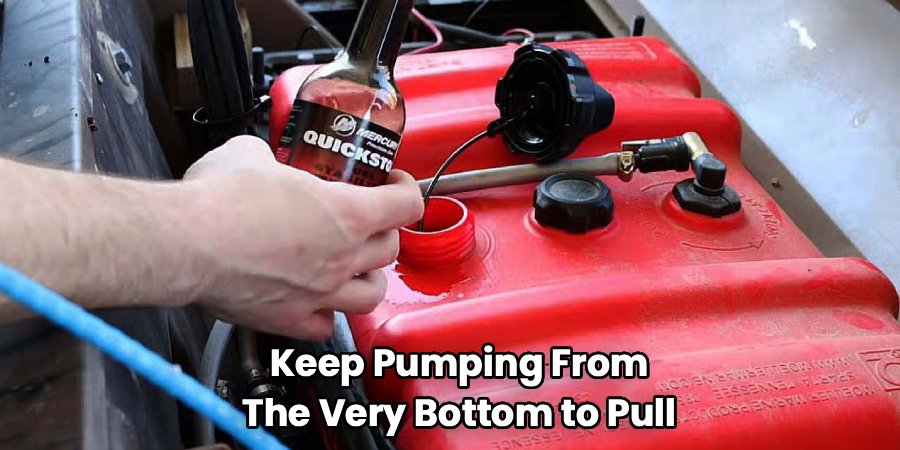
Here’s something clients used to ask me about all the time: they’d swear the tank was “empty” because the gauge read zero, then I’d pull a full quart of water-fuel emulsion off the bottom. The gauge doesn’t see that layer. Always assume there’s a slug of water down there and pump until you get clean, single-color fuel or nothing at all.
Open and Inspect the Tank Interior
If your tank has an inspection port or removable sending unit, take it off and look inside with a flashlight or phone borescope. You’re checking for rust, scaling on metal tanks, and that brown or black film that coats the walls. On plastic and aluminum tanks, look for the crusty buildup near the seams and baffles.
Snap a photo before you clean. It gives you a before-and-after and helps you spot corrosion that might mean the tank needs professional attention rather than a scrub.
Scrub the Interior Walls and Baffles
Pour in your marine-grade tank cleaner according to the label — most want a measured amount mixed with a little fresh fuel or water, depending on the product. Slosh it around by rocking the boat or the tank if it’s removable, so the cleaner reaches every wall and baffle.
For tanks you can physically reach into, use a long non-sparking brush to loosen the film on the walls. Baffles are the sneaky part — sludge hides behind them where fuel pickup can’t flush it. Work the cleaner into those pockets and let it dwell for the time the label states. Don’t rush the soak; the chemistry does the work you can’t reach with a brush.
Flushing Out the Loosened Debris
After the soak, pump out the dirty cleaner along with everything it loosened. Then rinse with a small amount of fresh fuel — not water, unless the product specifically calls for it — and pump that out too. Repeat until what comes out runs clear.
Wipe any reachable surfaces with clean absorbent pads. Check the pad color each pass; when it comes up clean, you’re done.
Dry the Tank Before Refueling
Any moisture left inside invites the exact problem you just fixed. Leave the inspection port open and let the tank air-dry fully — a few hours in warm, dry weather, longer if it’s humid. A little airflow from a fan positioned nearby (never inside the tank, and never near a spark source) speeds things up.
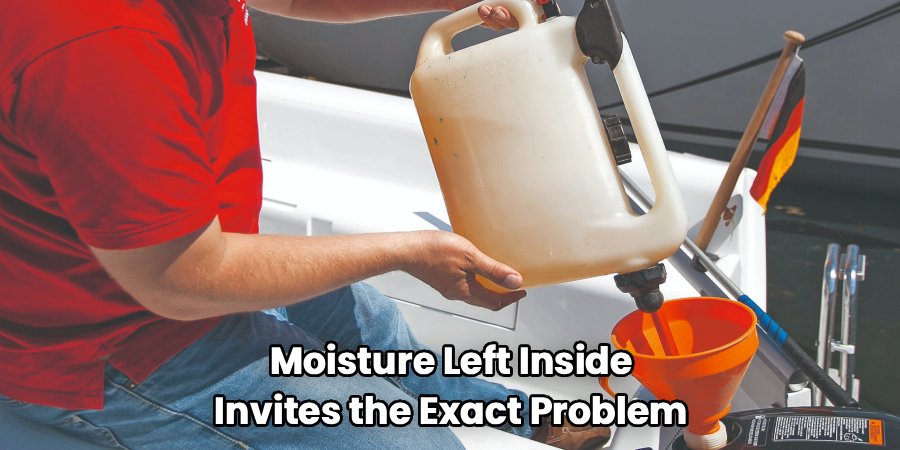
Run your finger or a clean pad along the bottom before you close up. If it comes back damp, keep drying.
Replace Filters and Add Fresh Fuel
Swap in a new fuel filter and a fresh water-separating filter. There’s no point pushing clean fuel through a filter already packed with old debris. Reassemble the sending unit and inspection port with fresh gaskets if yours were brittle or cracked.
Fill with fresh, ethanol-free fuel where you can get it, and add a quality stabilizer. Run the engine for a few minutes to pull clean fuel through the whole system and confirm it runs smooth.
What to Use vs. What to Avoid
| Product / Method | Verdict | Why |
| Marine-grade fuel tank cleaner | Use it | Formulated to break down sludge without harming tank material |
| Fresh fuel rinse | Use it | Flushes loosened debris without leaving water behind |
| Fuel-rated transfer pump | Use it | Moves fuel safely without static or leaks |
| Water-separating fuel filter | Use it | Catches water before it reaches the engine |
| Non-sparking brush or scraper | Use it | Cleans walls with zero ignition risk |
| Water for rinsing (general) | Avoid | Leaves moisture that restarts corrosion and phase separation |
| Household shop vacuum | Avoid | Motor sparks near fuel vapor — serious fire risk |
| Wire brush on aluminum tanks | Avoid | Scratches the surface and speeds corrosion |
| Harsh solvents like acetone | Avoid | Can damage seals, hoses, and some tank plastics |
| Reusing old stale fuel | Avoid | Puts the same water and gum right back in |
Stay in the top rows and the job is safe and clean. The bottom rows either restart the problem or put you in real danger.
Common Mistakes to Avoid
- Topping off instead of draining. Fresh fuel on top of sludge just dilutes the problem for a week. Empty the tank fully.
- Trusting the fuel gauge. It won’t show the water-and-sludge layer sitting on the bottom. Always pump from the lowest point.
- Rinsing with water and not drying. Leftover moisture brings back corrosion and phase separation fast. Dry completely before refueling.
- Reusing the old filter. Clean fuel through a clogged filter defeats the whole job. Replace both filters.
- Working in a closed space. Fuel vapor pools and ignites. Always work outdoors or with strong cross-ventilation.
- Using anything that sparks. Household vacuums, power tools, even certain metal-on-metal scraping. Keep everything non-sparking.
- Skipping stabilizer on the fresh fill. Untreated fuel starts degrading again within weeks. Stabilize it, especially before layup.
Safety and Warnings
This is the one cleaning job where cutting corners can put you in the hospital or burn your boat to the waterline. Fuel and its vapor are the hazard, not the tank. Treat every step with that in mind.
- Ventilate aggressively. Work outdoors, never in a closed garage or below deck with the hatches shut. Fuel vapor is heavier than air and pools in low spots where you can’t see it.
- Kill all ignition sources. No smoking, no open flames, no running engines nearby. Disconnect the battery before you start so a stray spark from wiring can’t ignite fumes.
- Never use anything that sparks. That means no household vacuums, grinders, or non-rated electric tools near the tank.
- Wear real PPE. Chemical-resistant nitrile gloves, sealed goggles, and a respirator rated for organic vapors. The thin dust mask does nothing against fuel fumes.
- Never mix cleaning products. Combining a fuel cleaner with other solvents or bleach can trigger dangerous reactions and toxic gas. Use one product as directed.
- Manage static electricity. Fuel flowing through a hose builds a static charge. Bond and ground your containers where possible, and keep metal nozzles in contact with the container.
- Keep a fire extinguisher within reach. Rated for flammable liquids (Class B), not just paper and wood. Know how to use it before you start.
- Dispose of waste properly. Old fuel, sludge, and soaked pads are hazardous waste. Take them to a marina or hazardous-waste facility — never pour them down a drain or on the ground.
Keep Your Fuel Tank Clean for Longer
The whole nasty job above gets rare once you build a few habits. Most contamination comes from water and time, and both are easy to manage.
- Add stabilizer to every fill during off-season. It keeps fuel from breaking down and gumming up while the boat sits.
- Store the tank full over winter. A full tank leaves less air space for condensation to form water on the walls.
- Change the water-separating filter on schedule. Check it often and drain any collected water before it backs up.
- Buy ethanol-free fuel when you can. Ethanol pulls in moisture and drives phase separation — the root of most sludge.
- Inspect through the port once a season. A quick look catches rust or film early, before it becomes a full teardown.
- Keep the fuel cap and seals tight. A worn cap lets rain and humidity in every time it sits.
- Run the boat regularly. Fuel that circulates and gets used up simply has less time to degrade and settle.
Frequently Asked Questions
How do you know if your boat fuel tank needs cleaning?
Watch for a sputtering or stalling engine, clogged filters that fill fast, or dark, cloudy fuel when you pull a sample. A sour, varnish-like smell from the tank is another giveaway. If the boat sat unused for months, assume water and sludge collected on the bottom.
Can you clean a boat fuel tank without removing it?
Often yes, if the tank has an inspection port or removable sending unit. You pump out the fuel, drain the water and sludge layer, soak with a marine tank cleaner, then flush and dry — all in place. Tanks that are badly corroded or fully sealed may need professional removal.
What is the best cleaner for a boat fuel tank?
A marine-grade fuel tank cleaner made to dissolve gum and sludge without harming metal, plastic, or seals. Avoid harsh solvents like acetone and never rinse with water unless the product specifically says to. Follow the dwell time on the label — the soak does the work.
How often should you clean a boat fuel tank?
Do a full clean when you see contamination signs, and inspect through the port once a season. Boats stored over winter or run on ethanol fuel need more frequent checks. Good habits like stabilizer and a full off-season tank stretch the time between deep cleans considerably.
What causes sludge in a boat fuel tank?
Fuel breaking down over time, plus water getting in from condensation or a loose cap. Ethanol fuel makes it worse by absorbing moisture until it separates into that milky, jelly-like layer on the bottom. Bacteria then feed at the fuel-water line and add to the mess.
Is it safe to clean a boat fuel tank yourself?
It can be, with the right precautions: work outdoors, ventilate hard, kill all ignition sources, wear proper PPE, and keep a Class B extinguisher close. If you’re unsure about fuel handling or the tank is heavily corroded, hand it to a marine pro. The fumes and flammability are the real risk, not the cleaning itself.
Final Word
Drain it fully, scrub the sludge the gauge never shows you, dry it completely, and refuel with fresh, stabilized fuel behind new filters. Respect the fumes at every step — ventilation and no sparks are non-negotiable. Do this before layup and after long storage, and you’ll start clean and stay running all season.
