
A guy called me out once because his brand-new mini split “wasn’t cooling right” and made a faint musty smell every time it kicked on. I popped the front cover, and both filters were packed so solid with gray fuzz you couldn’t see the mesh underneath. He’d had the unit eight months and never once opened it — the manual was still shrink-wrapped in a drawer.
Those flimsy plastic mesh screens behind the front cover do the heavy lifting on air quality and airflow, and they clog faster than most people expect. Knowing how to clean a mini split filter takes about fifteen minutes, and it’s the single easiest thing you can do to keep the unit cooling hard and running quiet.
What You’ll Need
- A small step stool or sturdy chair (most units sit high on the wall)
- A vacuum with a soft brush attachment
- A sink, basin, or bathtub
- Mild dish soap — plain, no bleach or heavy degreasers
- Lukewarm running water
- A soft-bristle brush or clean toothbrush
- White vinegar (optional, for musty odor)
- Clean microfiber cloths
- A drop cloth or old towel for the floor under the unit
- An airy spot to dry the filters flat
Skip anything hot — no hair dryers, no radiators, no sunny windowsills. Mini split filters are thin plastic, and heat warps the frame so it won’t seat flush when you slide it back in.
Turn Off the Unit and Open the Front Cover
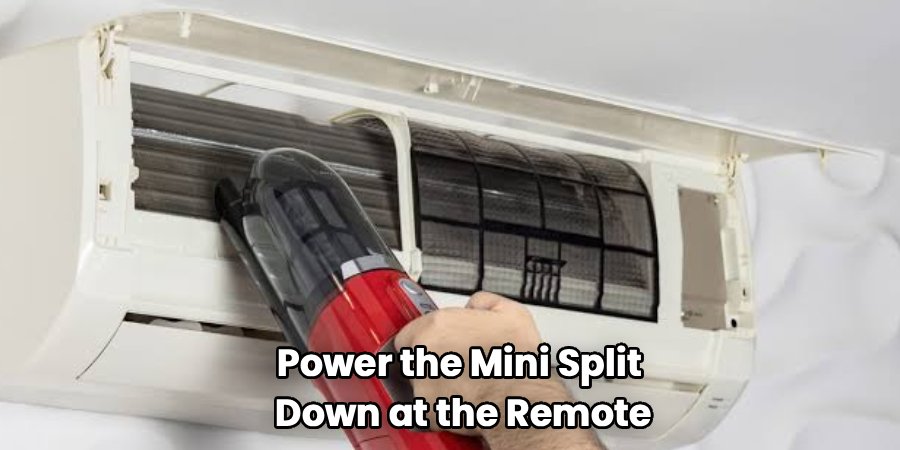
Power the mini split down at the remote, then flip it off at the wall or breaker if you can reach it. You don’t want the fan spinning while your hands are inside the housing, and cutting power also lets any condensation settle instead of dripping on you.
Grip the bottom edge of the front cover on both sides and lift straight up. It hinges at the top and swings open, usually catching at around 60 degrees so it holds itself there. Lay your towel on the floor underneath first — the moment you open the cover, a little loose dust always drifts down.
Locate and Release the Filters
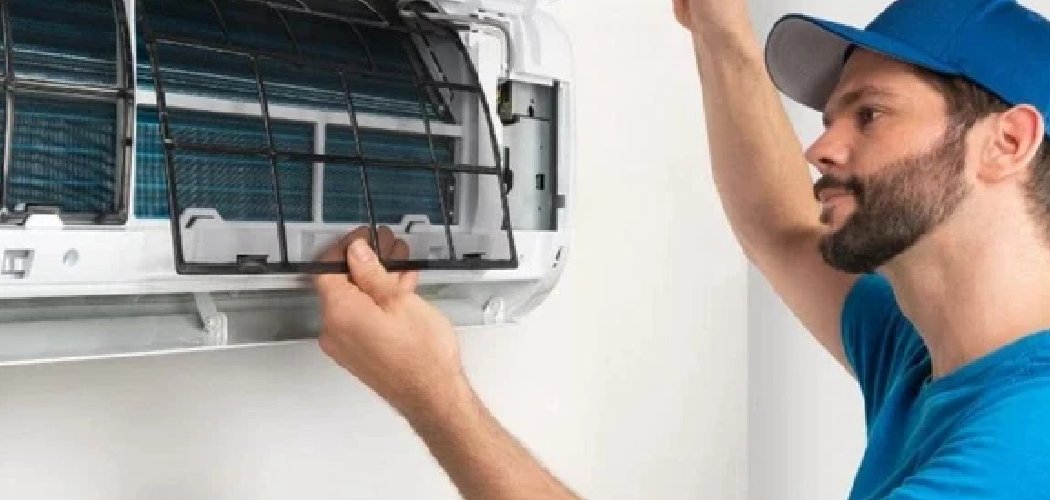
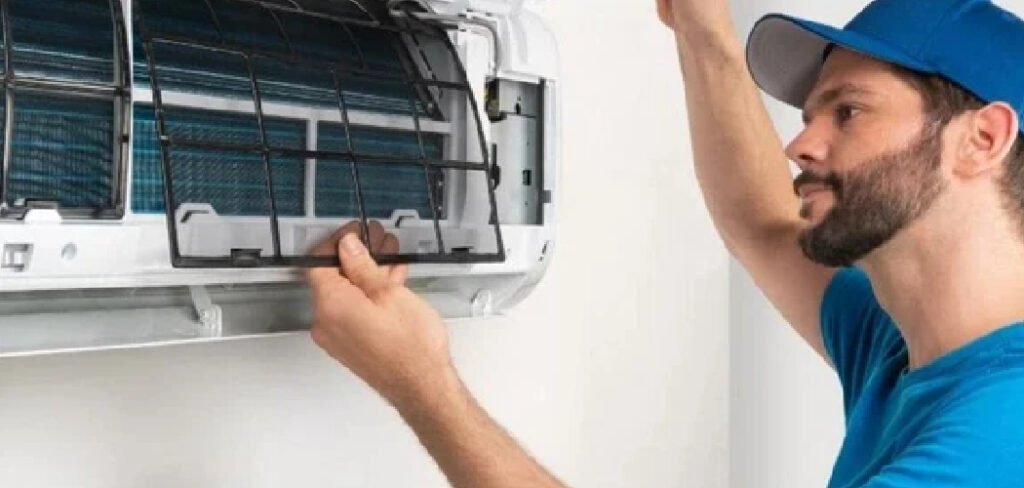
Behind the cover you’ll see one or two flat plastic mesh panels curving across the front of the unit. Most snap in with a small tab at the top — press it up gently and the top edge tips toward you. Some slide out sideways instead. Don’t force anything; if it resists, look for a second tab you missed rather than yanking.
Note how they sit before you pull them. On a lot of models there’s a left and a right that aren’t interchangeable, and a filter jammed in the wrong slot won’t sit flat.
Pull the Optional Sub-Filters (If Your Model Has Them)
Some units clip small extra filters onto the main mesh — a carbon deodorizing pad or a silvery ion filter about the size of a playing card. Those are usually not washable. Check the little printed label on the frame. If it says replace, set it aside and don’t get it wet; a soak destroys the carbon and it comes out worse than it went in.
Vacuum the Dry Dust First
Take the filters to a spot where you can vacuum, and run the soft brush attachment over both faces before any water touches them. Hit a caked filter straight with water and the dust turns to gray paste that smears into the mesh instead of rinsing free — you end up scrubbing twice as long.
Wear the vacuum right up close and work slowly across the whole panel. A season of trapped dust and pet dander lifts off in a cloud, so this step alone gets you most of the way there on a lightly used unit.
Wash the Mesh With Lukewarm Water and Mild Soap
Run lukewarm water — never hot — through the mesh from the back side, so you’re pushing trapped grime out the way it came in rather than driving it deeper. Hold each filter at an angle under the tap and let the water flow through the screen.
If the filters feel greasy or smell musty, fill a basin with lukewarm water, add a few drops of dish soap or a splash of white vinegar, and lay them in for ten minutes. Then work both faces gently with a soft brush. Move light and easy — the mesh is thin and the frame corners crack if you bend them hard. I’ve handed clients a filter with a snapped corner from over-scrubbing, and once it won’t clip in tight, air just slides around it unfiltered.
Rinse Until the Water Runs Clear
Rinse both sides under running water until there’s no soap slick left and the runoff is completely clear. Leftover soap film is a dust magnet — the filter loads right back up if you leave residue behind. Give it a firm shake over the sink to fling off the standing water.
Air-Dry the Filters Completely
Stand the filters upright or lay them flat on a towel somewhere with good airflow, out of direct sun. Depending on your room’s humidity, they’re dry in an hour or two — the thin mesh doesn’t hold much water.
No heat, ever. A hair dryer or hot windowsill warps the plastic frame just enough that it won’t clip back flush, and then you’ve got gaps letting dust straight past. Patience here saves you buying replacement filters.

Wipe Down the Cover and Reinstall
While the filters dry, wipe the front cover and the visible plastic inside the housing with a damp microfiber cloth. Skip the metal fins deep inside — those bend if you touch them wrong and that’s a repair call, not a cleaning job.
Once the filters are bone dry, clip them back into their correct slots, reattach any sub-filters, close the cover until it clicks, and restore power. Run the unit a couple of minutes and listen — quiet, strong airflow means you’re done.
Wash vs. Replace: Which Filter Does What
| Filter Type | Clean or Replace? | How Often | Notes |
| Main plastic mesh | Wash and reuse | Every 2–4 weeks | Vacuum, then rinse with mild soap |
| Carbon deodorizing pad | Replace | Every 3–6 months | Never wash — water ruins the carbon |
| Silver ion / anti-bacterial | Usually replace | Per manufacturer | Check label before wetting |
| Front cover & housing | Wipe only | Each filter clean | Damp microfiber, no soaking |
Dos and Don’ts
| Do This | Not This | Why |
| Vacuum dry dust before rinsing | Blast a caked filter with water | Wet dust turns to paste that smears in |
| Use lukewarm water | Use hot water | Heat warps the thin plastic frame |
| Rinse from the back of the mesh | Rinse the front face | Pushes grime out instead of deeper in |
| Air-dry at room temperature | Hair-dry or sun-bake it | Heat warps the frame so it won’t seat |
| Check labels on sub-filters | Soak every filter you find | Carbon and ion filters aren’t washable |
Common Mistakes to Avoid
The dead giveaways of a filter that was cleaned wrong show up fast. Watch for these:
- Never opening the unit at all. By far the most common. Filters clog silently, airflow drops, and the unit strains until efficiency tanks.
- Reinstalling filters while damp. Moisture in a dark housing invites mold, and you’ll smell it within days.
- Using hot water or heat to dry. Warps the frame, ruins the fit, and lets dust bypass the mesh.
- Soaking the carbon or ion sub-filters. Water destroys them; they need replacing, not washing.
- Scrubbing too hard. Cracks the frame corners so the filter won’t clip in tight.
- Touching the metal fins inside. They bend easily and hurt airflow — leave the interior to a technician.
Safety and Warnings
Nothing about this job involves harsh chemistry — it’s plastic mesh, mild soap, and water. Still, a few points keep you and the unit safe.
Cut the power first, every time. Never reach inside with the fan able to spin. Kill it at the remote and at the breaker if the unit sits over a sink or damp spot.
Mind your footing. Most mini splits hang high on the wall, so you’re working overhead on a stool. Use something stable, not a wobbly chair, and don’t overreach to one side.
Don’t mix cleaners. Mild dish soap OR a vinegar soak — one or the other. There’s no reason to add bleach or ammonia here, and mixing products near an air handler means those fumes circulate through the room the second you power back on.
Dry filters fully before reinstalling. A damp filter in a closed housing is prime mold territory, and a mini split blows those spores straight into your living space. If it isn’t dry, it doesn’t go back in.
Keep water off the electronics. Wipe the housing with a damp cloth, not a dripping one, and never spray water inside the unit.
How to Keep Your Filters Cleaner Longer
A little routine stretches the gap between deep cleans and keeps airflow strong.
- Vacuum the filters every two weeks, wash monthly. Homes with pets, smokers, or heavy cooking need the shorter end of that range.
- Time a deep clean before each season’s hard use. Do one in late spring before the cooling months and another in early fall before you lean on the heat. Those two windows keep you ahead of peak strain.
- Run the fan-only mode for an hour after heavy cooling. It dries out the interior and cuts down on the musty smell that builds in a damp housing.
- Keep the room dusted. The less airborne dust in the room, the less your filters pull in.
- Set a phone reminder. The number-one reason filters get neglected is simply forgetting they exist behind that cover.
- Stock a spare sub-filter. Having a carbon pad on hand means you’ll actually swap it on schedule instead of running it dead.
Frequently Asked Questions
How often should you clean a mini split filter?
Vacuum every two weeks and do a full wash about once a month. Pets, smokers, and heavy cooking push you toward every two weeks for the wash too. If airflow feels weak or you catch a musty smell, check it regardless of the calendar.
Can you wash mini split filters with water?
Yes — the main plastic mesh filters are made to be rinsed. Use lukewarm water and mild dish soap, rinse from the back until the water runs clear, and air-dry them fully. Just keep the carbon and ion sub-filters dry, since water ruins those.
How long do mini split filters take to dry?
Usually one to two hours, since the thin mesh holds little water. Stand them upright somewhere with good airflow and out of direct sun. Never use a hair dryer or hot surface — heat warps the frame so it won’t clip back in flush.
Why does my mini split smell bad after cleaning?
Almost always a filter that went back in damp, or moisture sitting in the housing. Make sure filters are bone dry before reinstalling, and run fan-only mode for an hour after heavy cooling to dry the interior out. If the smell lingers, the metal coils inside may need a professional cleaning.
What happens if you don’t clean your mini split filter?
Airflow drops as the mesh clogs, so the unit works harder for less cooling and your power bill climbs. Trapped dust and moisture also breed mold that blows into the room. Left long enough, the strain shortens the compressor’s life.
Are mini split filters reusable or do you replace them?
The main mesh filters are reusable — wash them for years. The small clip-on sub-filters like carbon deodorizers and ion pads are consumables you replace every few months. Check the printed label on each one if you’re unsure.
Final Thoughts
A mini split rewards fifteen minutes of attention more than almost any appliance in your home — clean mesh means strong, quiet, efficient cooling. Vacuum the dry dust, rinse gentle from the back, and let the filters dry all the way before they go back in. Set that phone reminder now, because the only real mistake is forgetting the filters are there at all.
