
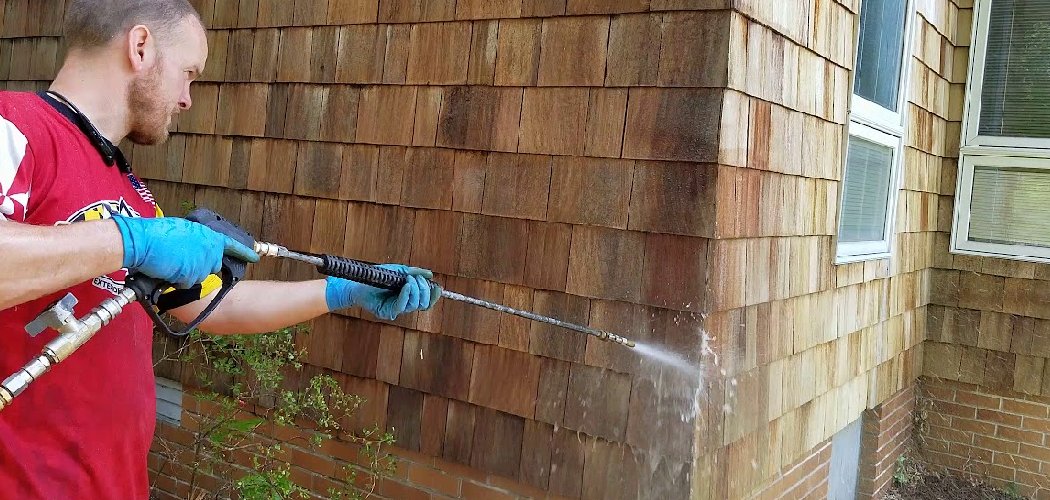
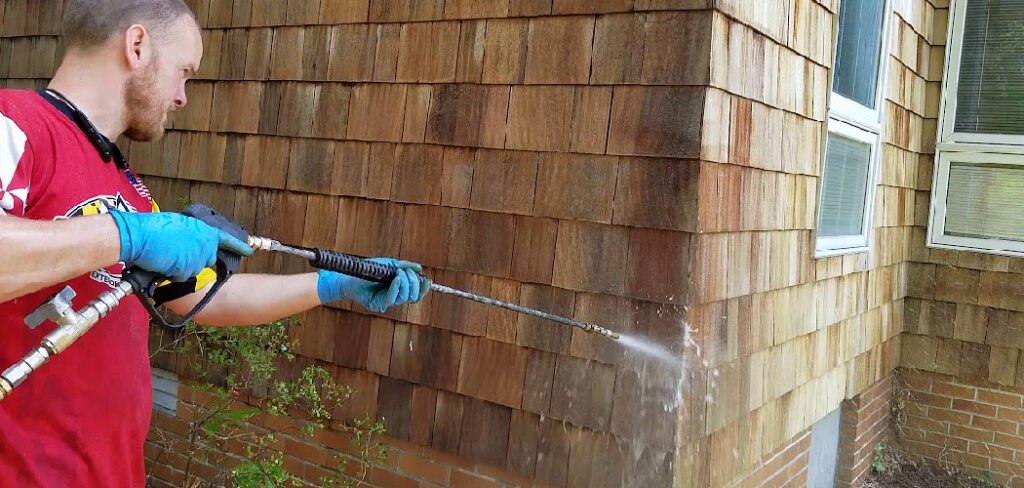
I once got called out to a lake house where the owner had blasted his cedar shakes with a pressure washer set to full power. He’d stripped the soft grain right out of the wood, leaving fuzzy, splintered patches and blown-out gaps where water was already seeping behind the shakes. Cedar is soft, and that afternoon of “cleaning” cost him thousands in replacement shingles.
That single mistake is the fastest way to ruin a cedar exterior. Learning how to clean cedar shake siding the right way means working with the wood’s softness instead of fighting it, using gentle pressure and the correct cleaner for whatever’s actually growing on your walls.
What You’ll Need
Gather everything before you start so you’re not hunting for a missing brush halfway through with soap drying on the wall.
- Garden hose with a spray nozzle (or a pressure washer with a wide fan tip you can control)
- Soft-bristle scrub brush on an extension pole
- Oxygen bleach (sodium percarbonate) — the safest all-around choice for wood
- Mild dish soap or a dedicated wood siding cleaner
- Large bucket
- Two or three clean sponges or cloths
- Painter’s plastic and drop cloths to protect plants and shrubs
- Rubber gloves and safety glasses
- A ladder rated for your height, plus a spotter
- Optional: white vinegar for light mildew spots
- Optional: a wood brightener if the cedar looks gray and tired
Skip the wire brushes and stiff deck scrubbers. They gouge cedar and leave marks that show for years.
Inspect the Shakes and Identify What You’re Cleaning
Walk the whole exterior first and look closely at the discoloration. Green usually means algae, black speckling points to mildew or mold, and a dull silvery-gray is just weathered wood, not dirt. Each one needs a slightly different approach, so knowing what you’re dealing with saves you from scrubbing the wrong thing.
While you’re there, check for loose or cracked shakes and any spots where the wood feels soft or spongy. Push a fingernail into a suspicious area — if it sinks in easily, that shake needs replacing, not cleaning. Water forced into rotten wood just spreads the damage.
Protect Your Landscaping and Wet the Surrounding Plants
Cover shrubs, flower beds, and grass at the base of the wall with plastic or drop cloths. Even oxygen bleach, which is far gentler than chlorine, can stress plants if it pools around their roots.
Before you apply any cleaner, soak nearby greenery with plain water. Wet leaves and roots absorb far less of any runoff, and a quick rinse afterward flushes away what does land on them. This one habit saved more than a few prized hydrangeas over my years on the job.
Mix and Apply an Oxygen Bleach Solution

Mix oxygen bleach with warm water following the package ratio — usually around a cup per gallon. Warm water activates it better than cold. Stir until it dissolves fully, then work from the bottom of the wall up.
Cleaning bottom-to-top sounds backward, but it stops clean streaks of solution from running down over still-dirty shakes and etching those lines permanently into the wood. Apply with a sponge or a low-pressure sprayer and let it sit for 10 to 15 minutes. Don’t let it dry out — mist it again if the sun is pulling the moisture off fast.
Scrub Gently Along the Grain
Take your soft-bristle brush and scrub lightly, always moving in the direction of the wood grain. Going against the grain or in tight circles roughs up the surface fibers and creates fuzzy patches that trap dirt faster next time.
Let the cleaner do the work. If a stain resists, give it more dwell time rather than more muscle. Cedar responds to patience, not pressure.
Rinse From the Top Down
Now flip your direction. Rinse from the top of the wall downward with a regular garden hose so clean water carries the loosened grime and cleaner off the shakes. Keep the stream at a low angle so you’re not driving water up under the shakes.
If you use a pressure washer, keep it under 1,500 PSI, fit a wide 40-degree tip, and hold the nozzle at least two feet from the wall. Aim slightly downward, following the natural overlap of the shakes so water sheds off instead of getting forced behind them.
Let It Dry Completely and Reassess
Give the siding a full day or two of dry weather before you decide it’s done. Wet cedar looks darker and cleaner than it really is, and stains often reappear as it dries. Once dry, spot-treat any lingering mildew and, if the wood still looks gray, apply a wood brightener to restore some of that warm tone.

What To Use vs. What To Avoid
The cleaner you choose matters as much as your technique. Here’s how the common options stack up on cedar.
| Cleaning Approach | Good For | Verdict on Cedar |
| Oxygen bleach + water | Algae, mildew, general grime | Best choice — safe for wood and plants |
| Mild dish soap + water | Light dirt and dust | Fine for routine cleaning |
| White vinegar solution | Small mildew spots | Okay for spot treatment only |
| Chlorine bleach | Heavy mold | Avoid — dries out wood, kills plants, lightens color |
| High-pressure washing (3,000+ PSI) | Fast blasting | Avoid — splinters and gouges soft cedar |
| Wire brush / stiff scrubber | Stubborn stains | Avoid — permanently scratches the grain |
If you take one thing from this table: chlorine bleach and full-power pressure washing are the two habits that age cedar fastest.
Common Mistakes to Avoid
- Cranking up the pressure washer. Cedar is soft. High PSI strips grain, splinters edges, and forces water behind the shakes.
- Reaching for chlorine bleach. It lightens the wood unevenly, dries out the natural oils, and scorches your landscaping.
- Scrubbing against the grain. This raises fuzzy fibers that grab dirt faster and look rough once dry.
- Cleaning in direct summer sun. The solution dries before it can work and leaves streaks.
- Letting cleaner run down dry shakes. Top-down application etches permanent clean lines. Work bottom-up.
- Ignoring soft or rotten shakes. Cleaning won’t fix rot — water just spreads it. Replace bad shakes first.
- Skipping the rinse on nearby plants. Even gentle cleaners stress greenery if you leave residue sitting on the leaves.
Safety and Warnings
Cleaning cedar shakes puts you on a ladder with wet, slippery surfaces and chemical cleaners, so treat both risks seriously.
- Never mix cleaning products. Combining bleach with ammonia or acidic cleaners like vinegar can release toxic gases. Pick one cleaner and stick with it.
- Test any solution on a hidden section first, such as a rear corner or under an eave. Wait for it to dry and check that the color hasn’t changed before treating the whole wall.
- Wear rubber gloves and safety glasses. Oxygen bleach is gentler than chlorine, but it still irritates skin and eyes, and overhead work sends drips straight down at your face.
- Set your ladder on level, dry ground and have someone foot it. Wet cedar shavings and runoff make the base slick.
- Keep electrical outlets, lights, and outdoor fixtures dry. Don’t spray directly into them, and shut off exterior circuits if you’re working near fixtures.
- Watch your footing on wet surfaces. Runoff pools on walkways and decks and gets slippery fast.
If a large section is high up or you’re uneasy on a ladder, hire a pro who cleans cedar specifically. No clean wall is worth a fall.
How To Keep Your Cedar Shakes Clean Longer
A little routine care stretches the time between deep cleans and keeps rot and algae from ever getting a foothold.
- Rinse the siding with plain water once or twice a year, especially on shaded, north-facing walls where algae loves to grow.
- Trim back shrubs and tree branches so air and sunlight reach the shakes. Damp, shaded cedar stays green with algae far longer.
- Keep gutters clean and downspouts aimed away from the walls so overflow doesn’t constantly wet the lower shakes.
- Reapply a clear wood preservative or stain every few years. Sealed cedar sheds water and resists mildew much better than bare, weathered wood.
- Spot-clean small green or black patches early with a little oxygen bleach before they spread across a whole section.
- Inspect every spring and fall for cracked shakes, soft spots, and clogged weep gaps, and handle small repairs before winter drives moisture in.
Frequently Asked Questions
What is the best cleaner for cedar shake siding?
Oxygen bleach (sodium percarbonate) mixed with warm water is the safest and most effective option. It lifts algae, mildew, and grime without drying out the wood or harming your plants the way chlorine bleach does. For light dirt, plain water with a few drops of mild dish soap works fine.
Can you pressure wash cedar shake siding?
You can, but only with great care. Keep the pressure under 1,500 PSI, use a wide 40-degree tip, and hold the nozzle at least two feet from the wall while aiming slightly downward. High pressure splinters cedar and drives water behind the shakes, so many people get better, safer results with a soft brush and a garden hose.
Will bleach damage cedar siding?
Chlorine bleach can. It strips the wood’s natural oils, lightens the color unevenly, and kills nearby plants. If you want a bleaching agent, use oxygen bleach instead — it cleans effectively while staying gentle on both the wood and your landscaping.
How do you remove green algae from cedar shakes?
Wet the surrounding plants, apply an oxygen bleach solution from the bottom up, and let it dwell for 10 to 15 minutes. Scrub gently along the grain with a soft-bristle brush, then rinse from the top down. For recurring algae, trim back plants to let more sunlight hit that wall.
How often should you clean cedar shake siding?
A gentle rinse once or twice a year keeps most homes looking good, with a deeper clean every couple of years. Shaded or damp walls that grow algae quickly may need more frequent attention. Catching small patches early beats waiting until the whole exterior turns green.
Why does my cedar siding look gray?
That silvery-gray is natural weathering, not dirt. Sun and moisture break down the surface layer over time. Cleaning removes grime, but to bring back the warm tone you’ll need a wood brightener followed by a fresh stain or preservative.
Match your cleaner to whatever’s actually growing on the wall, keep the pressure low, and always scrub along the grain. Do that, and your cedar shakes will stay warm-toned and sound for years instead of splintering under a well-meaning power wash.
